
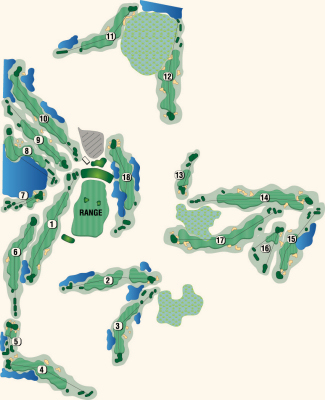
Golf Course Map |
|||||||||||||||||||||||||||||||||||
|
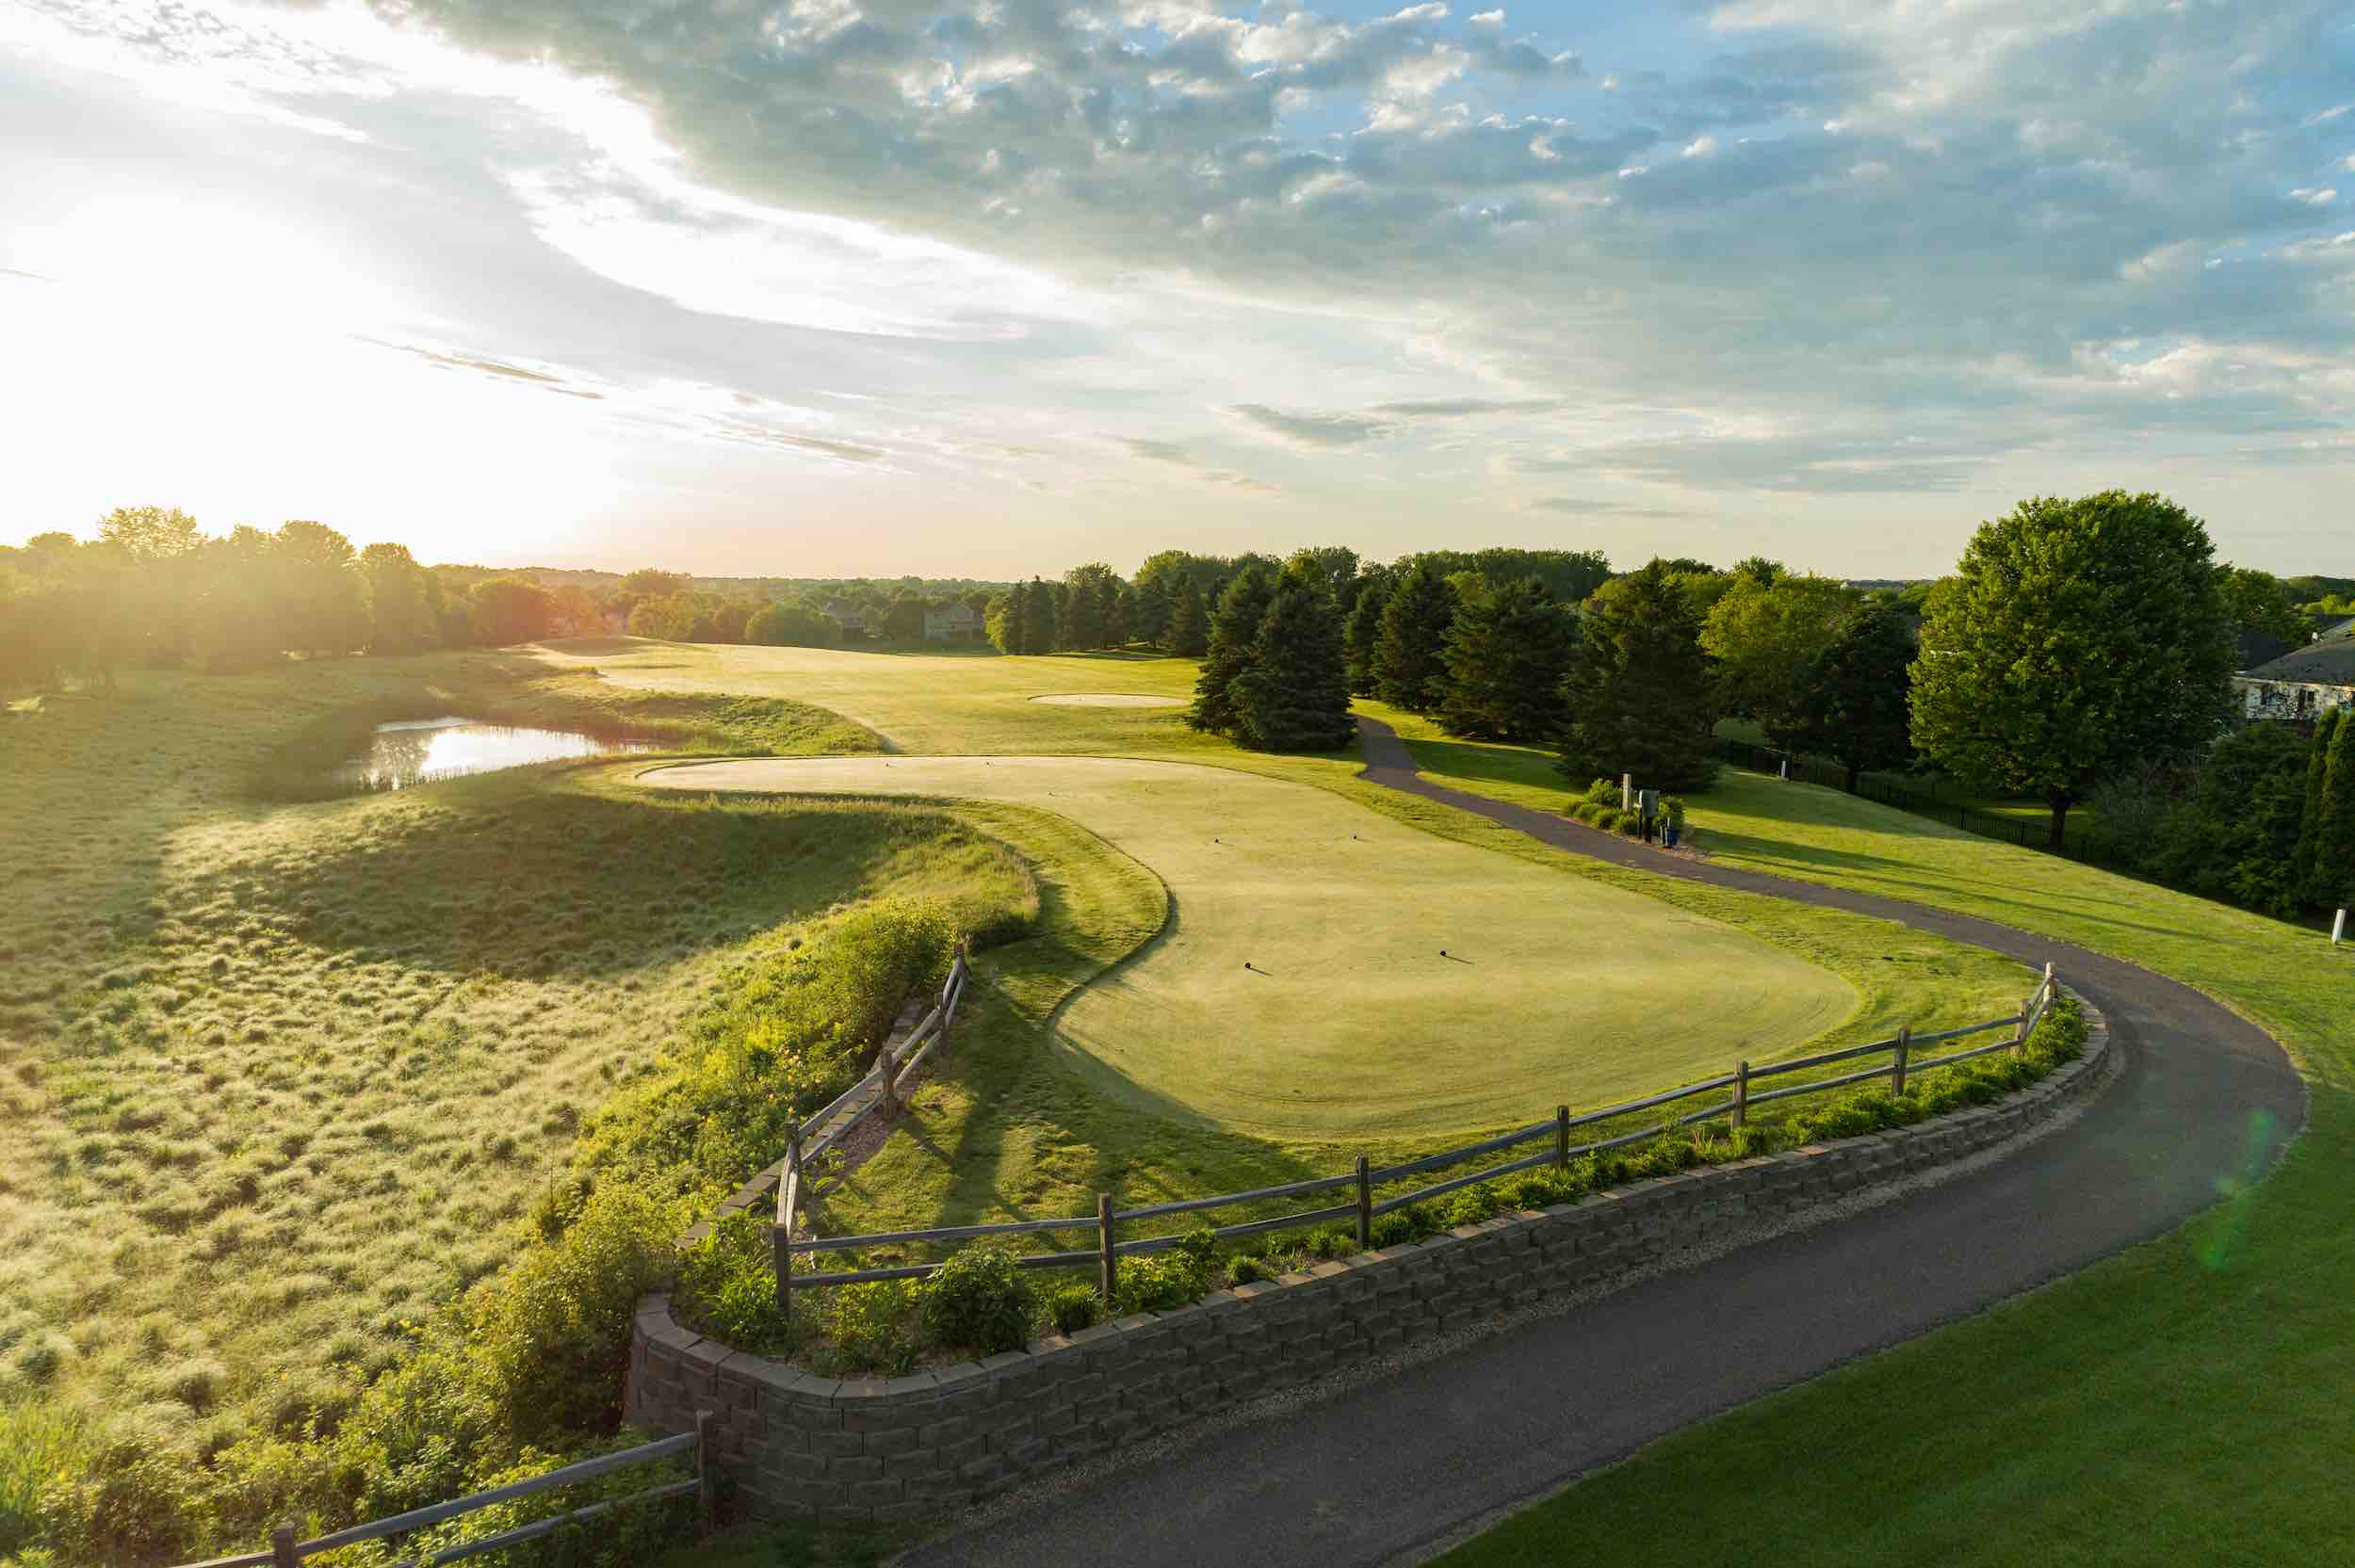
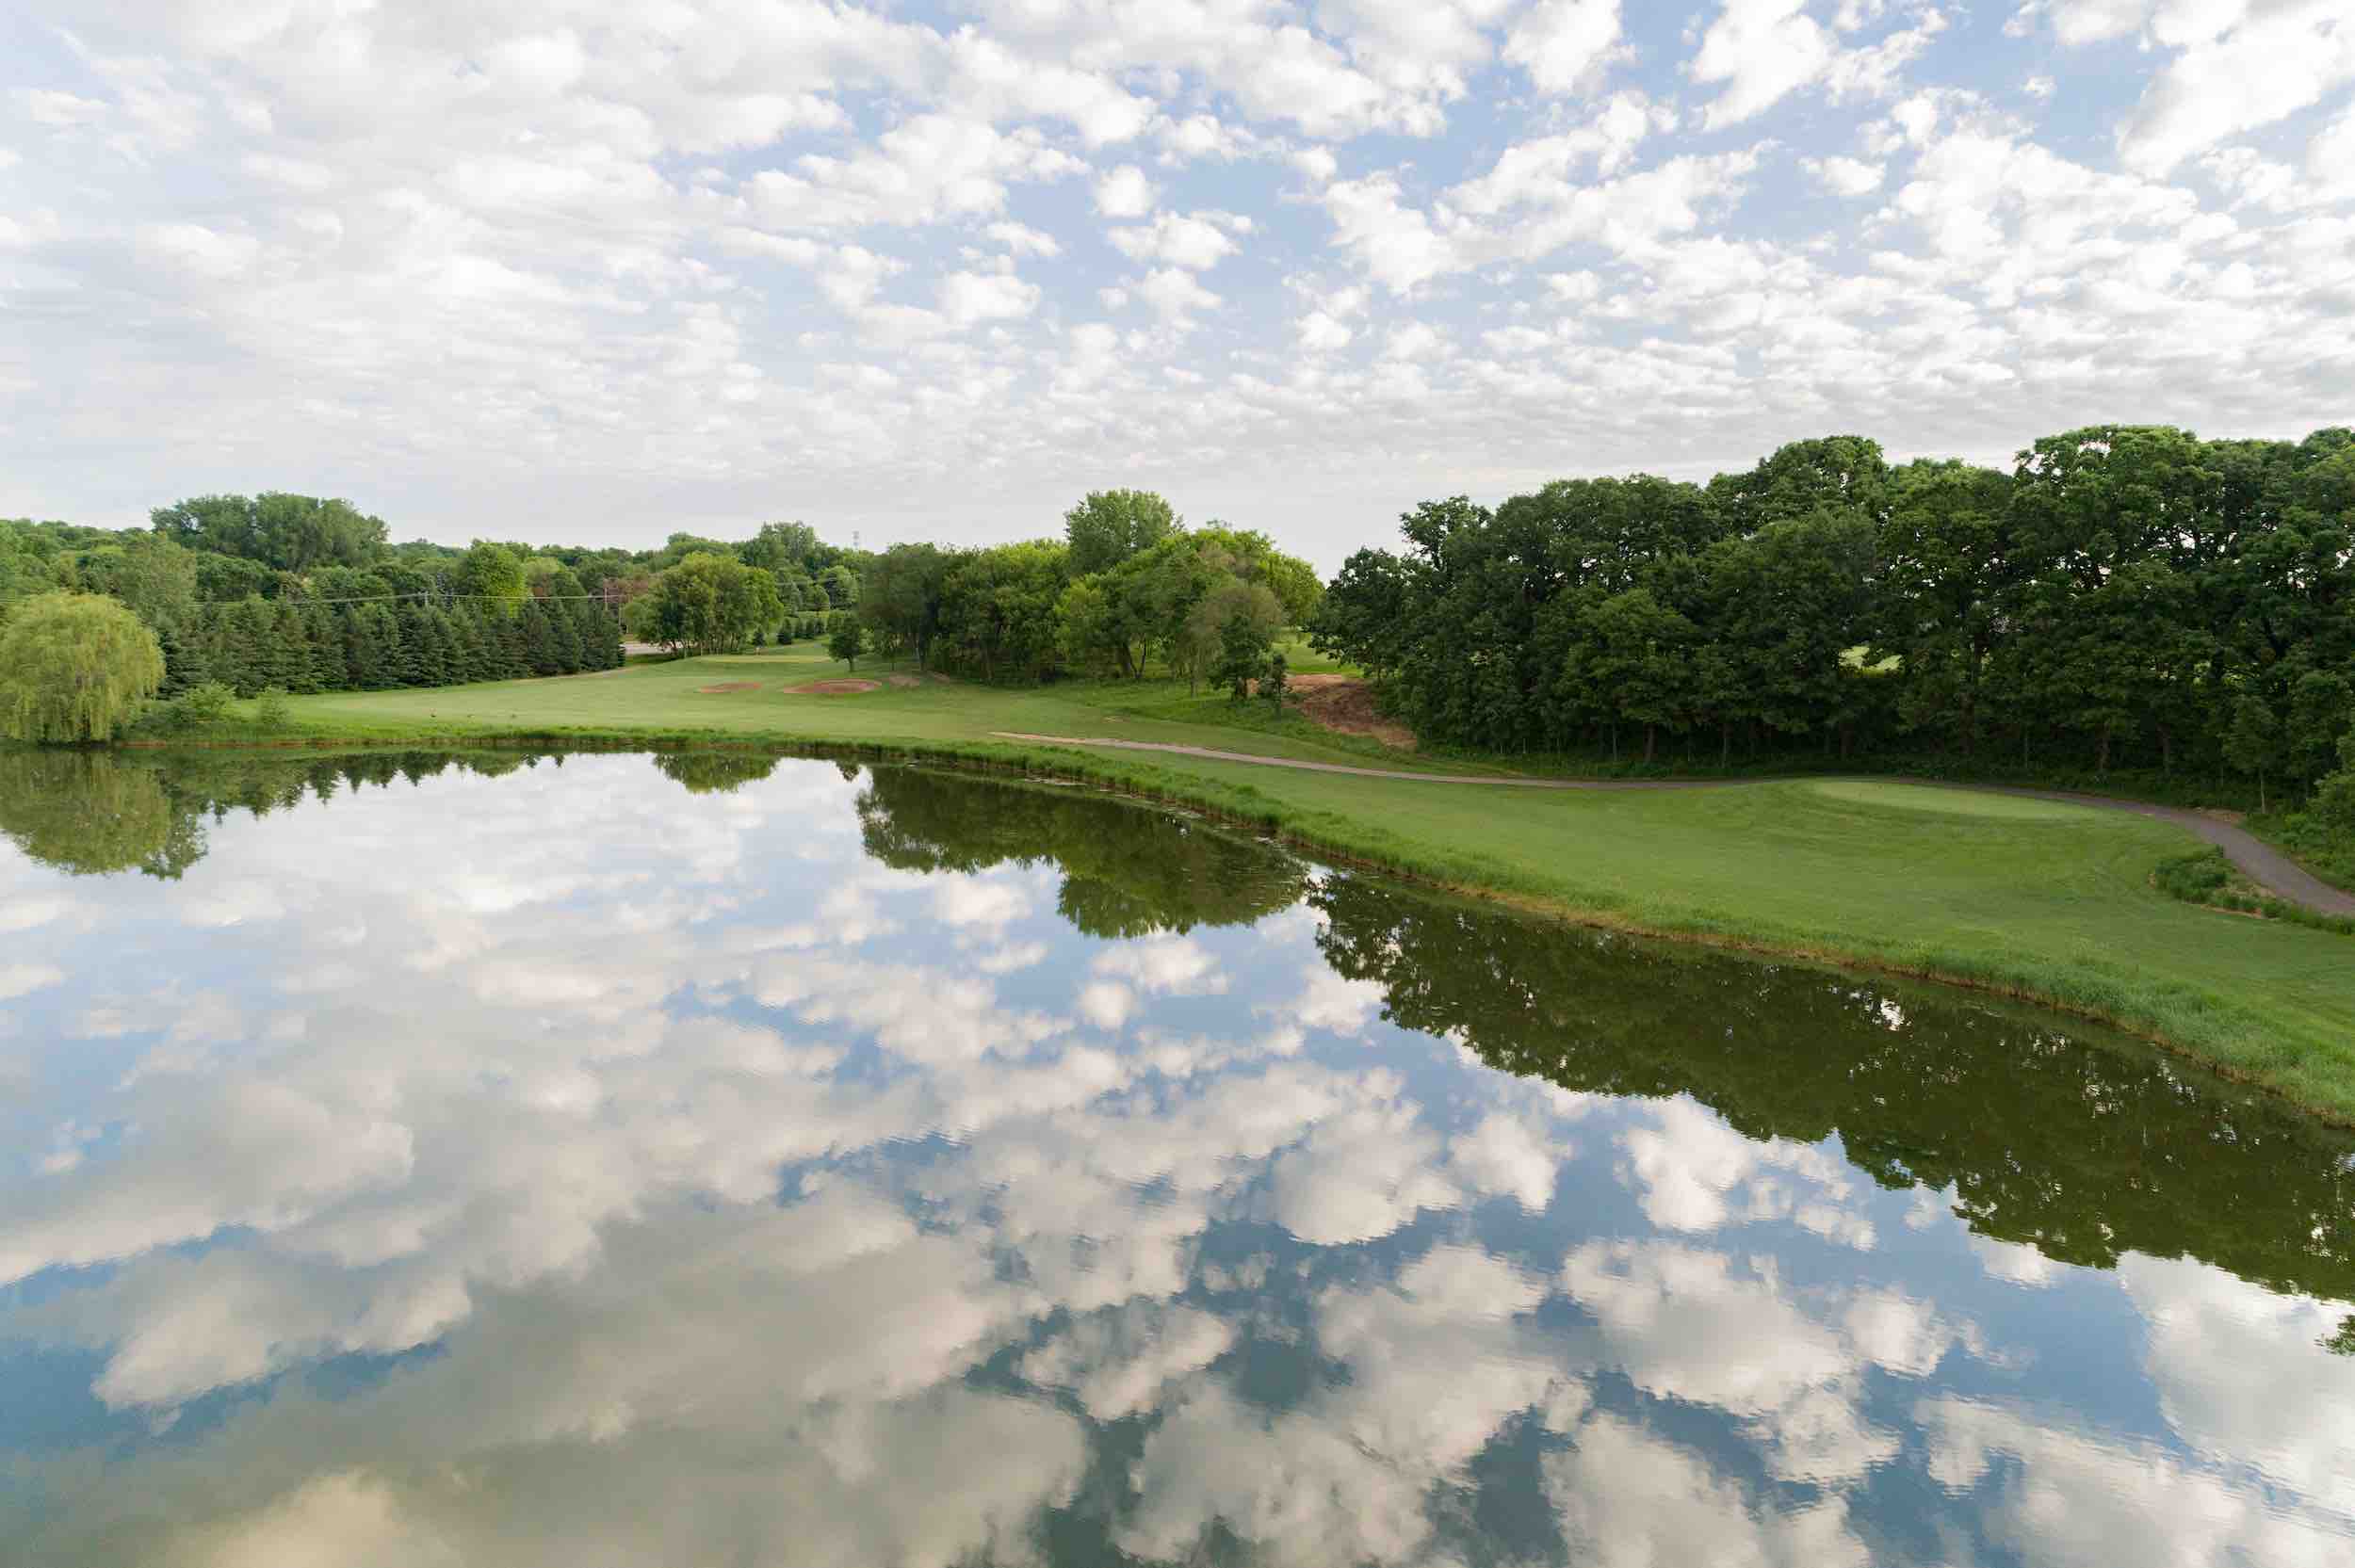
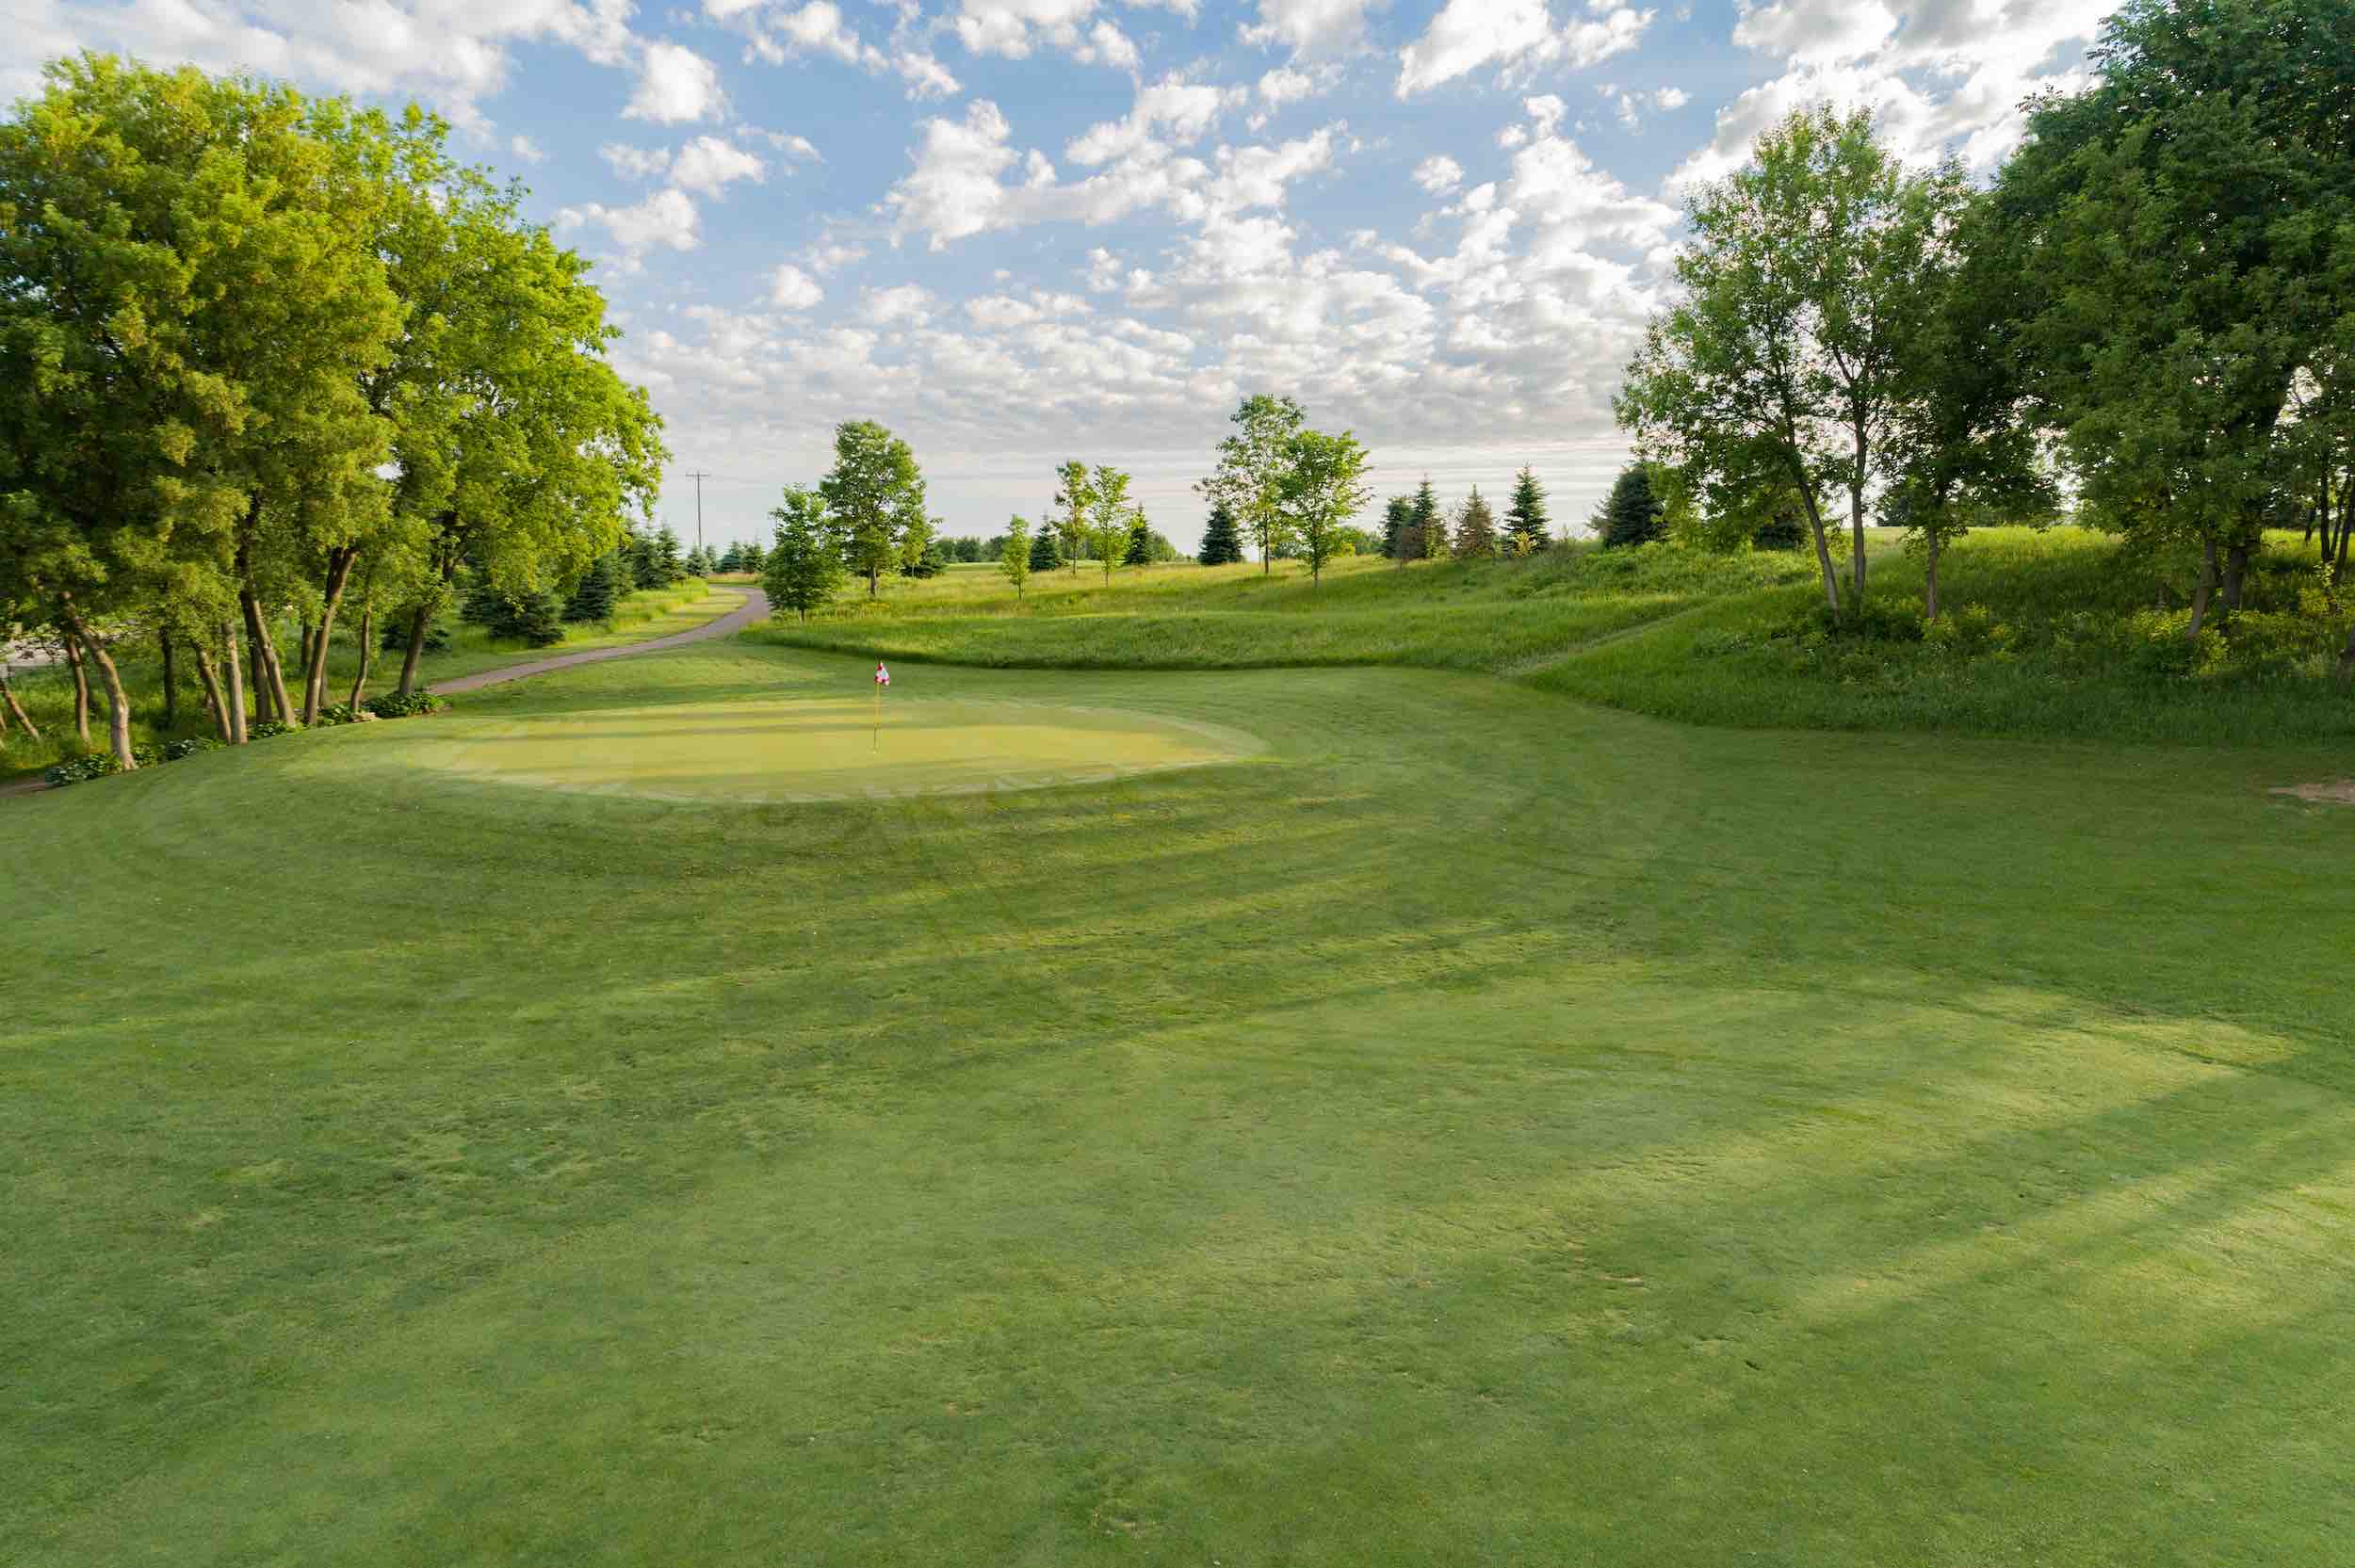
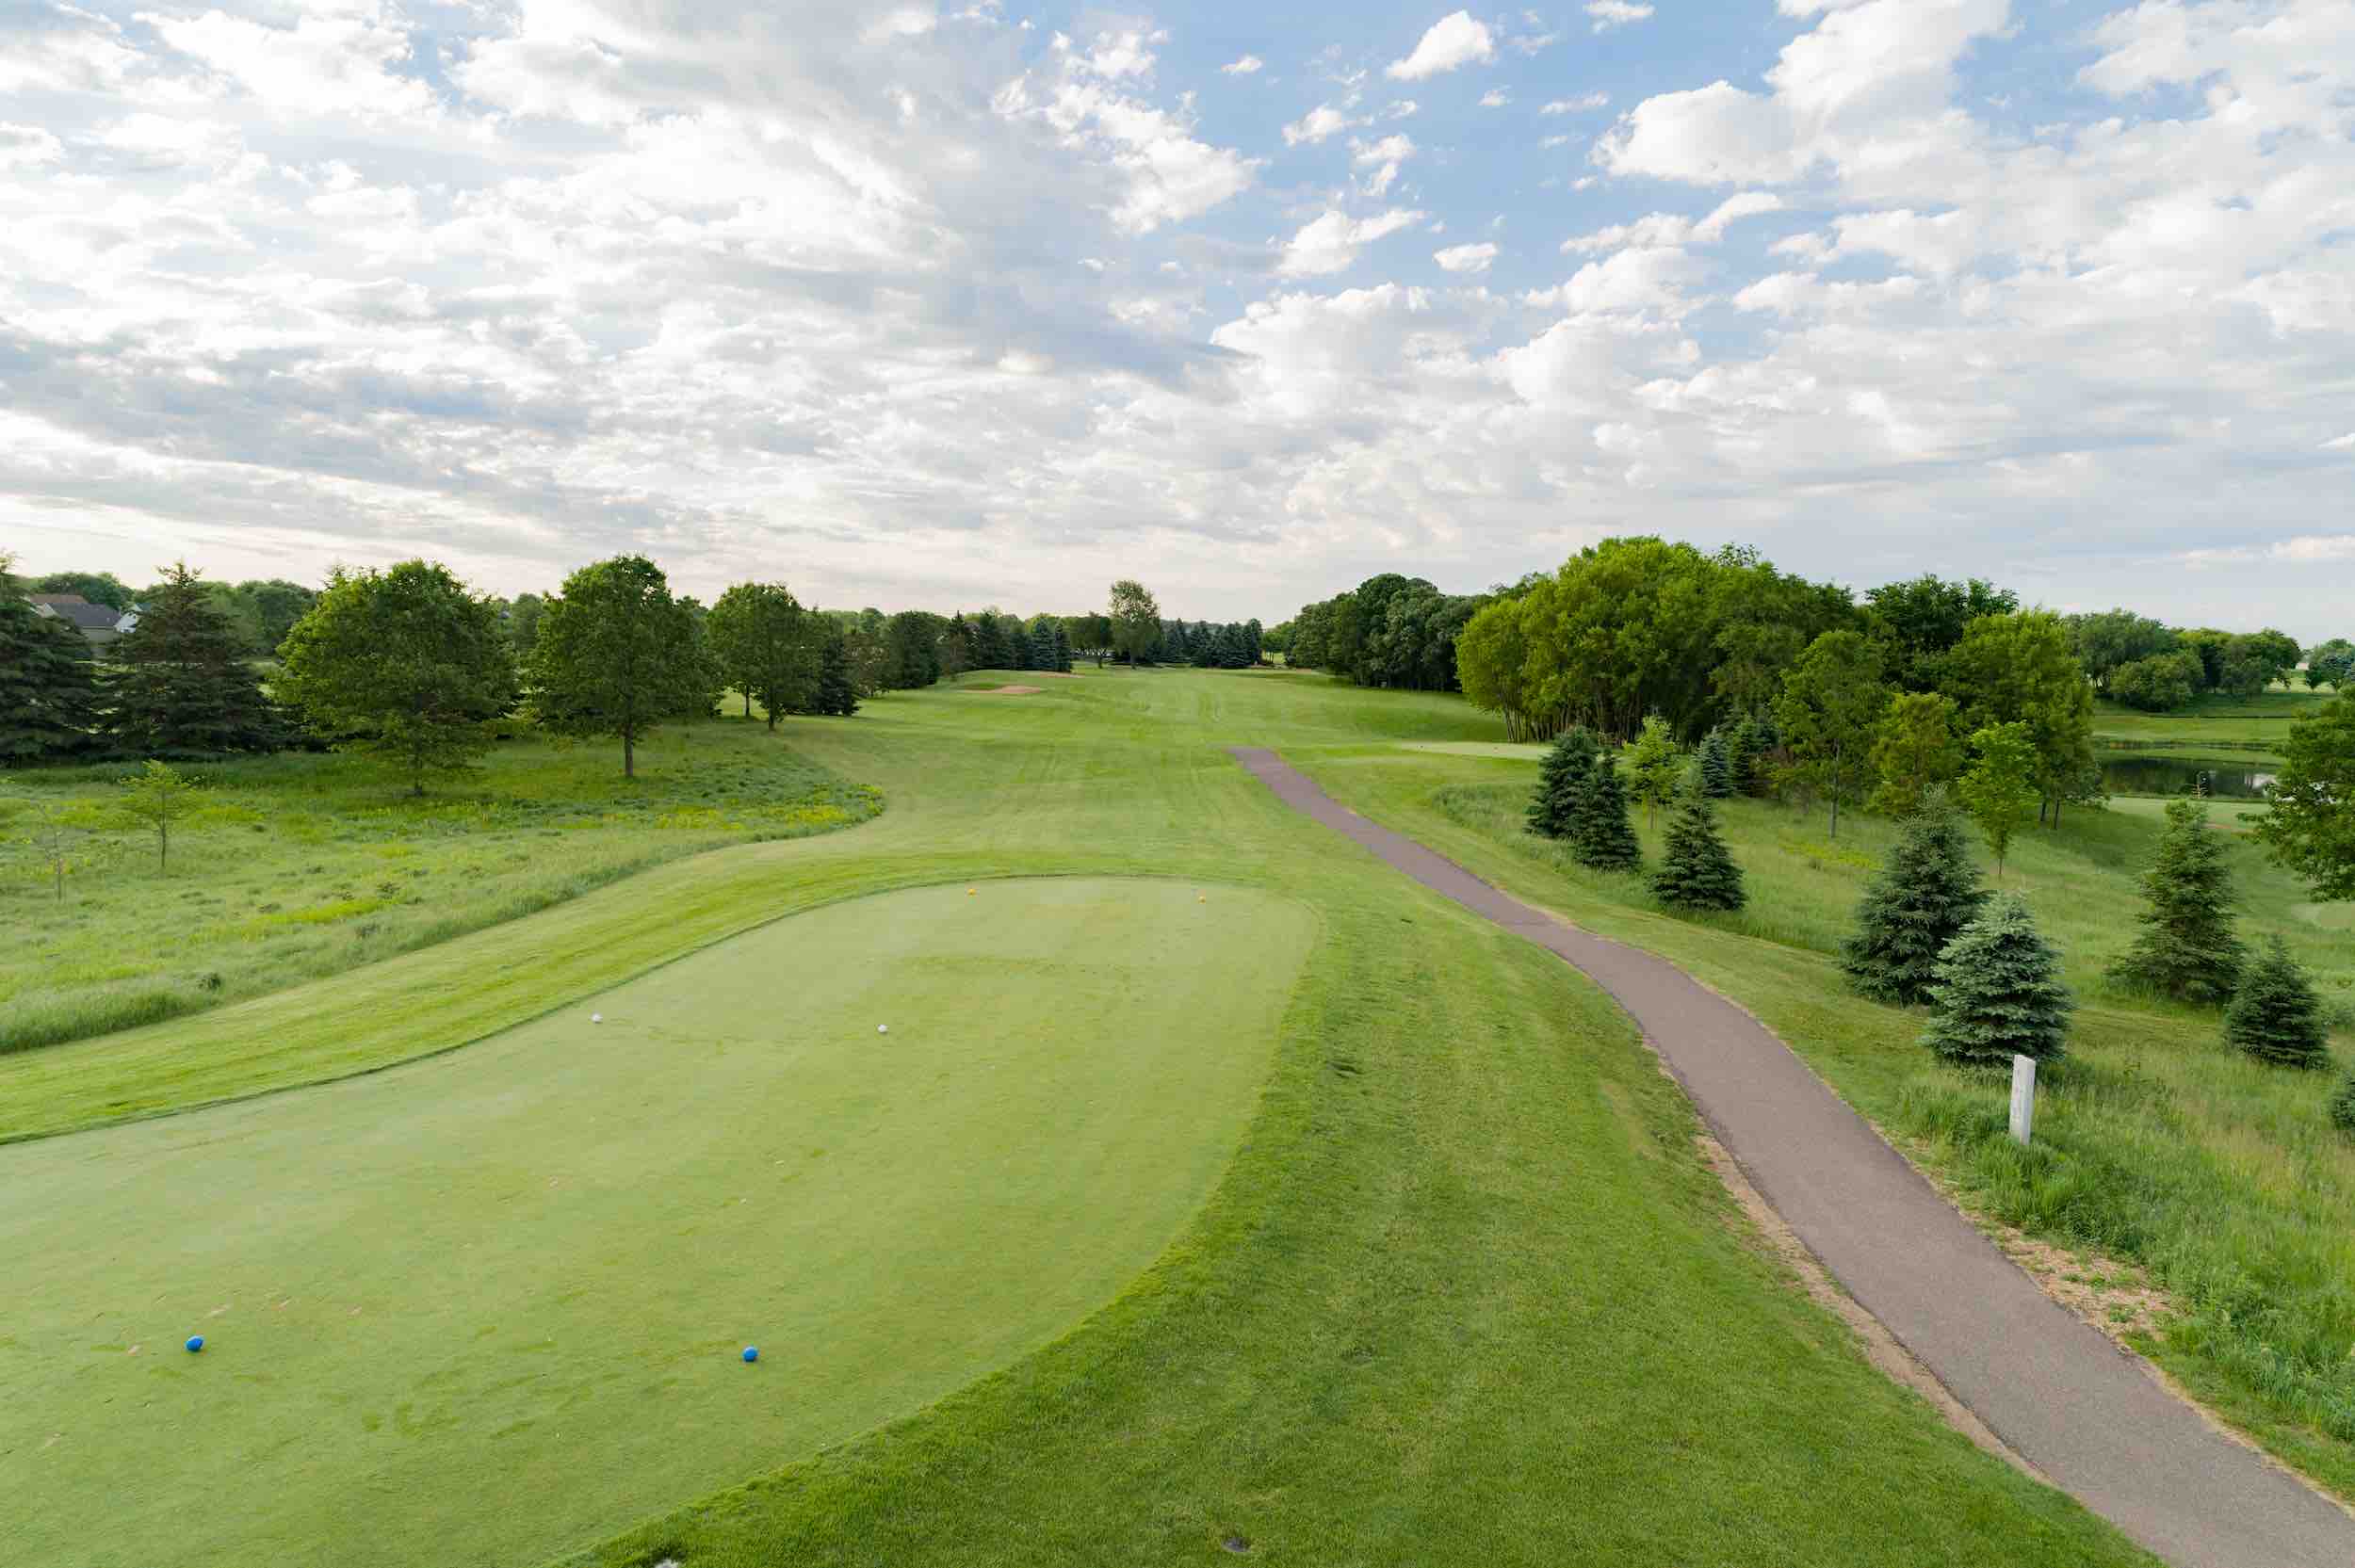
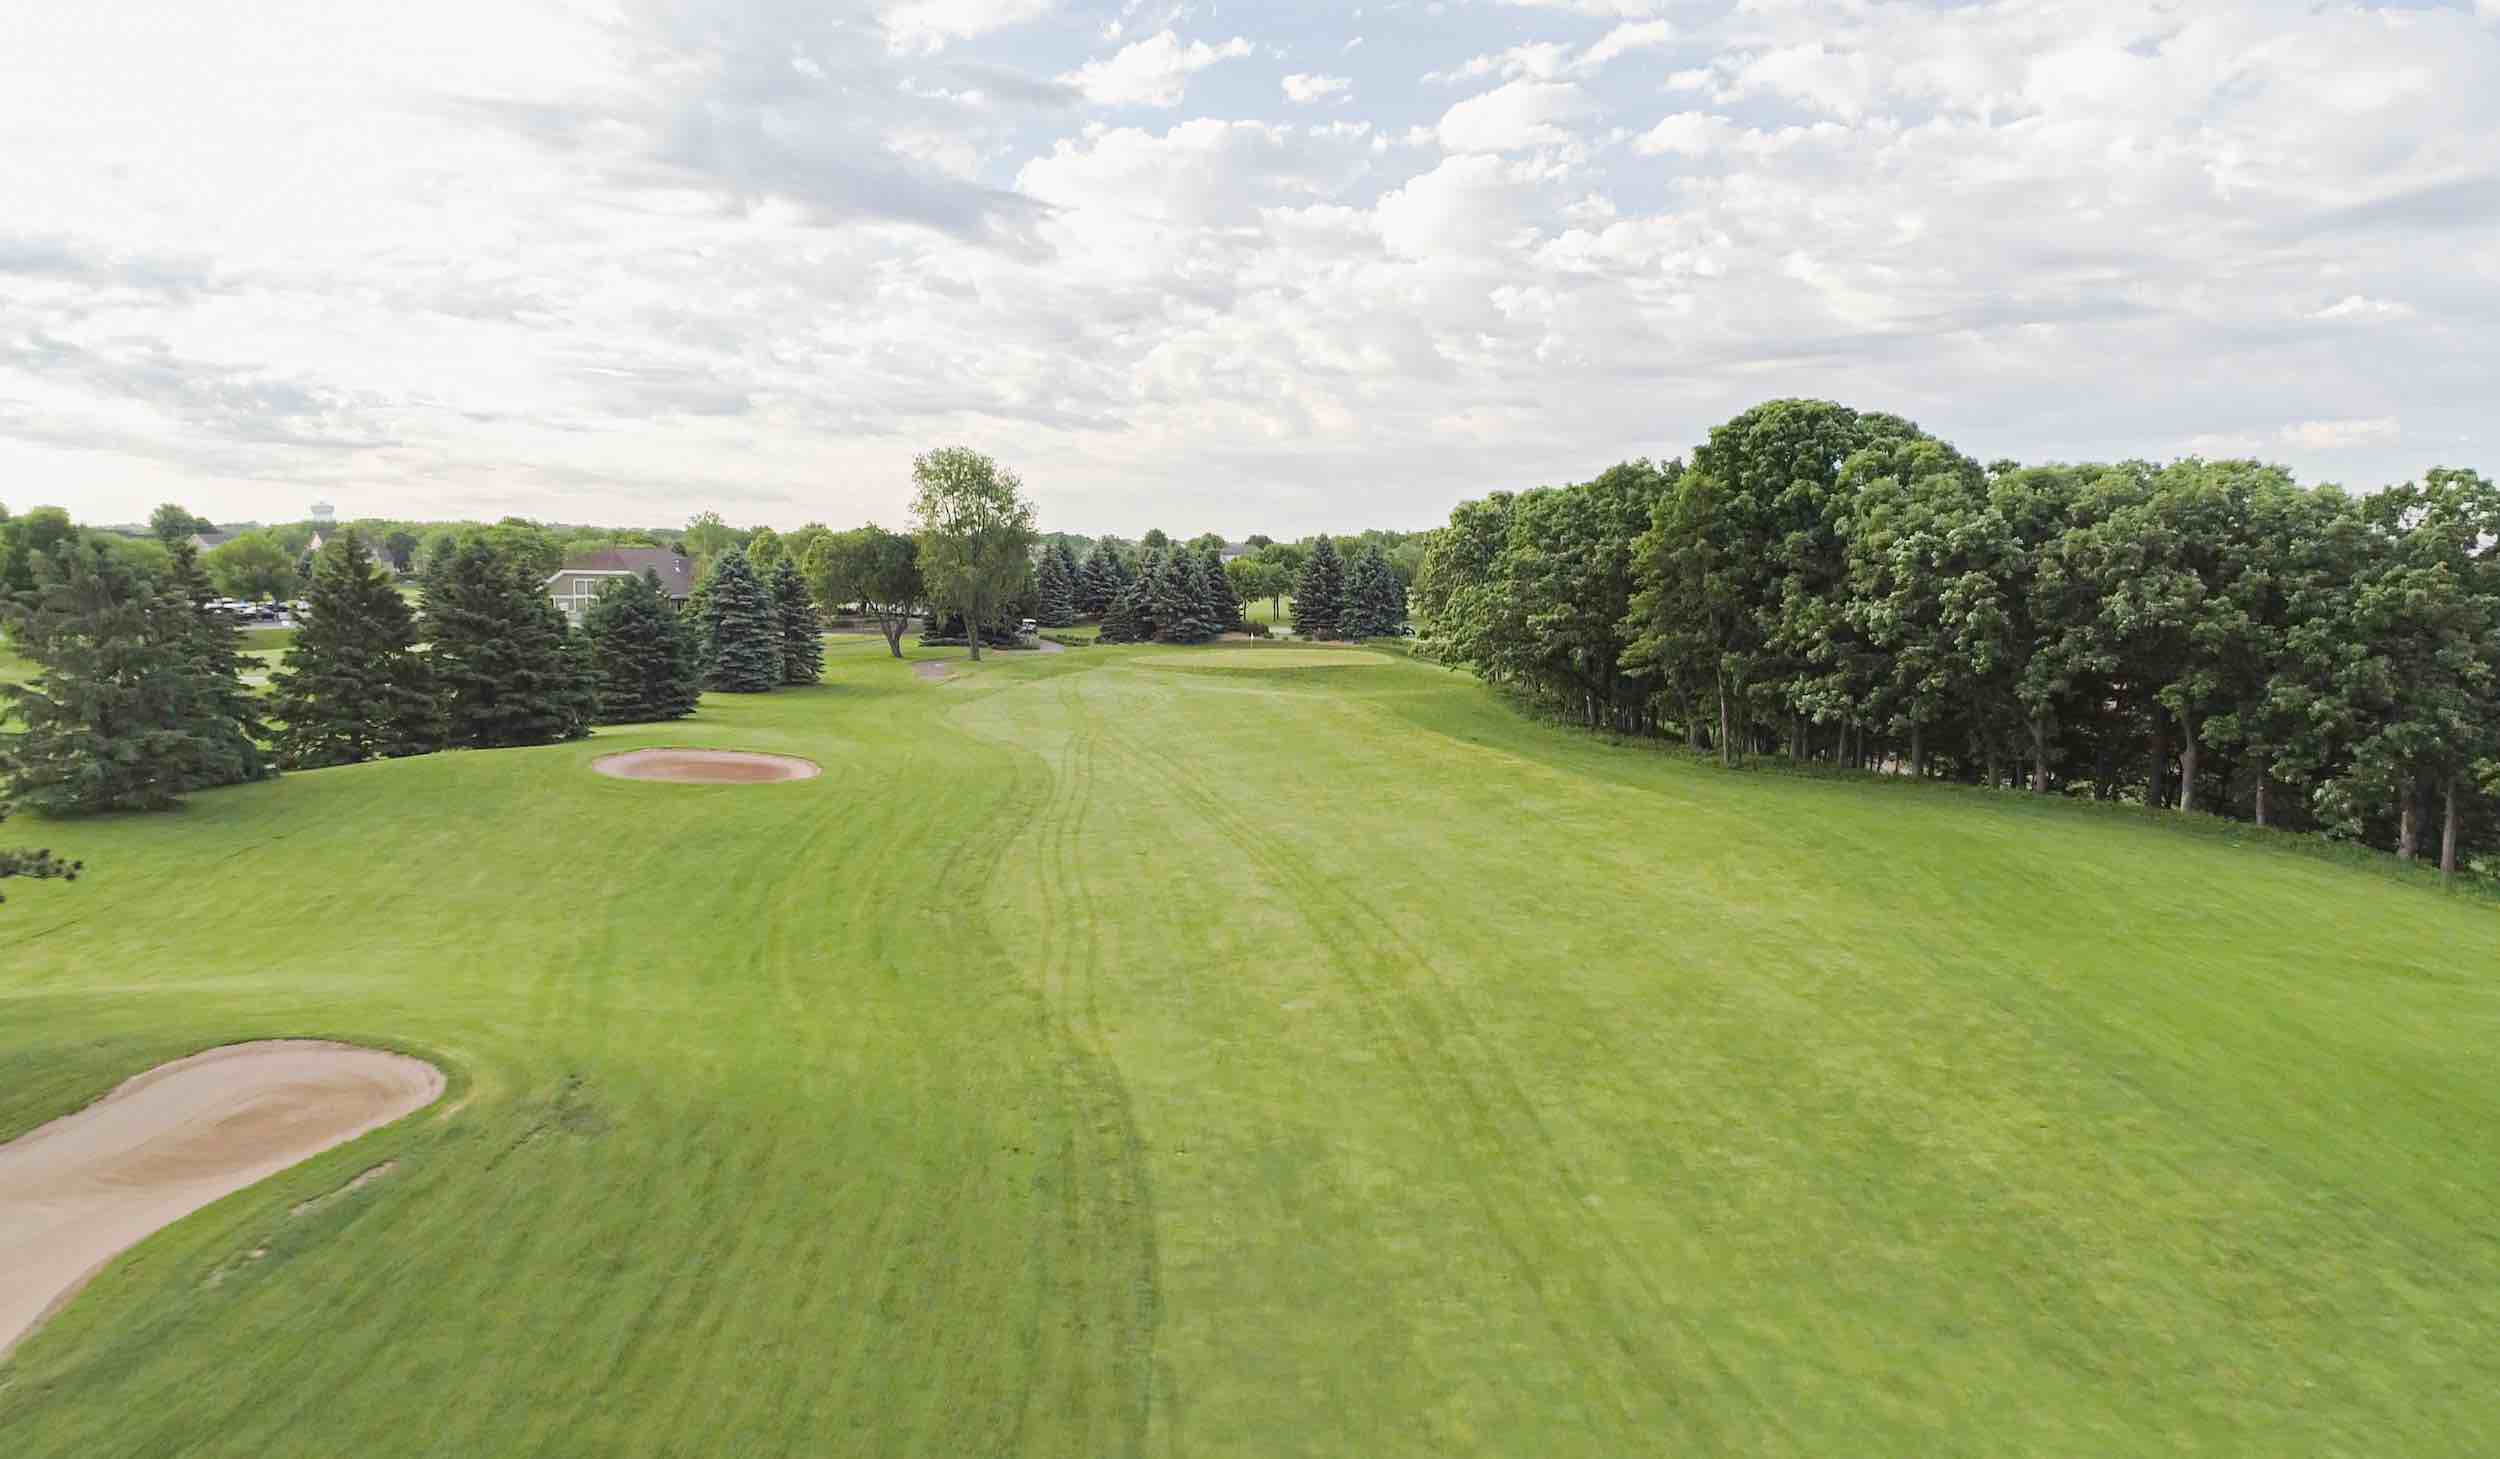
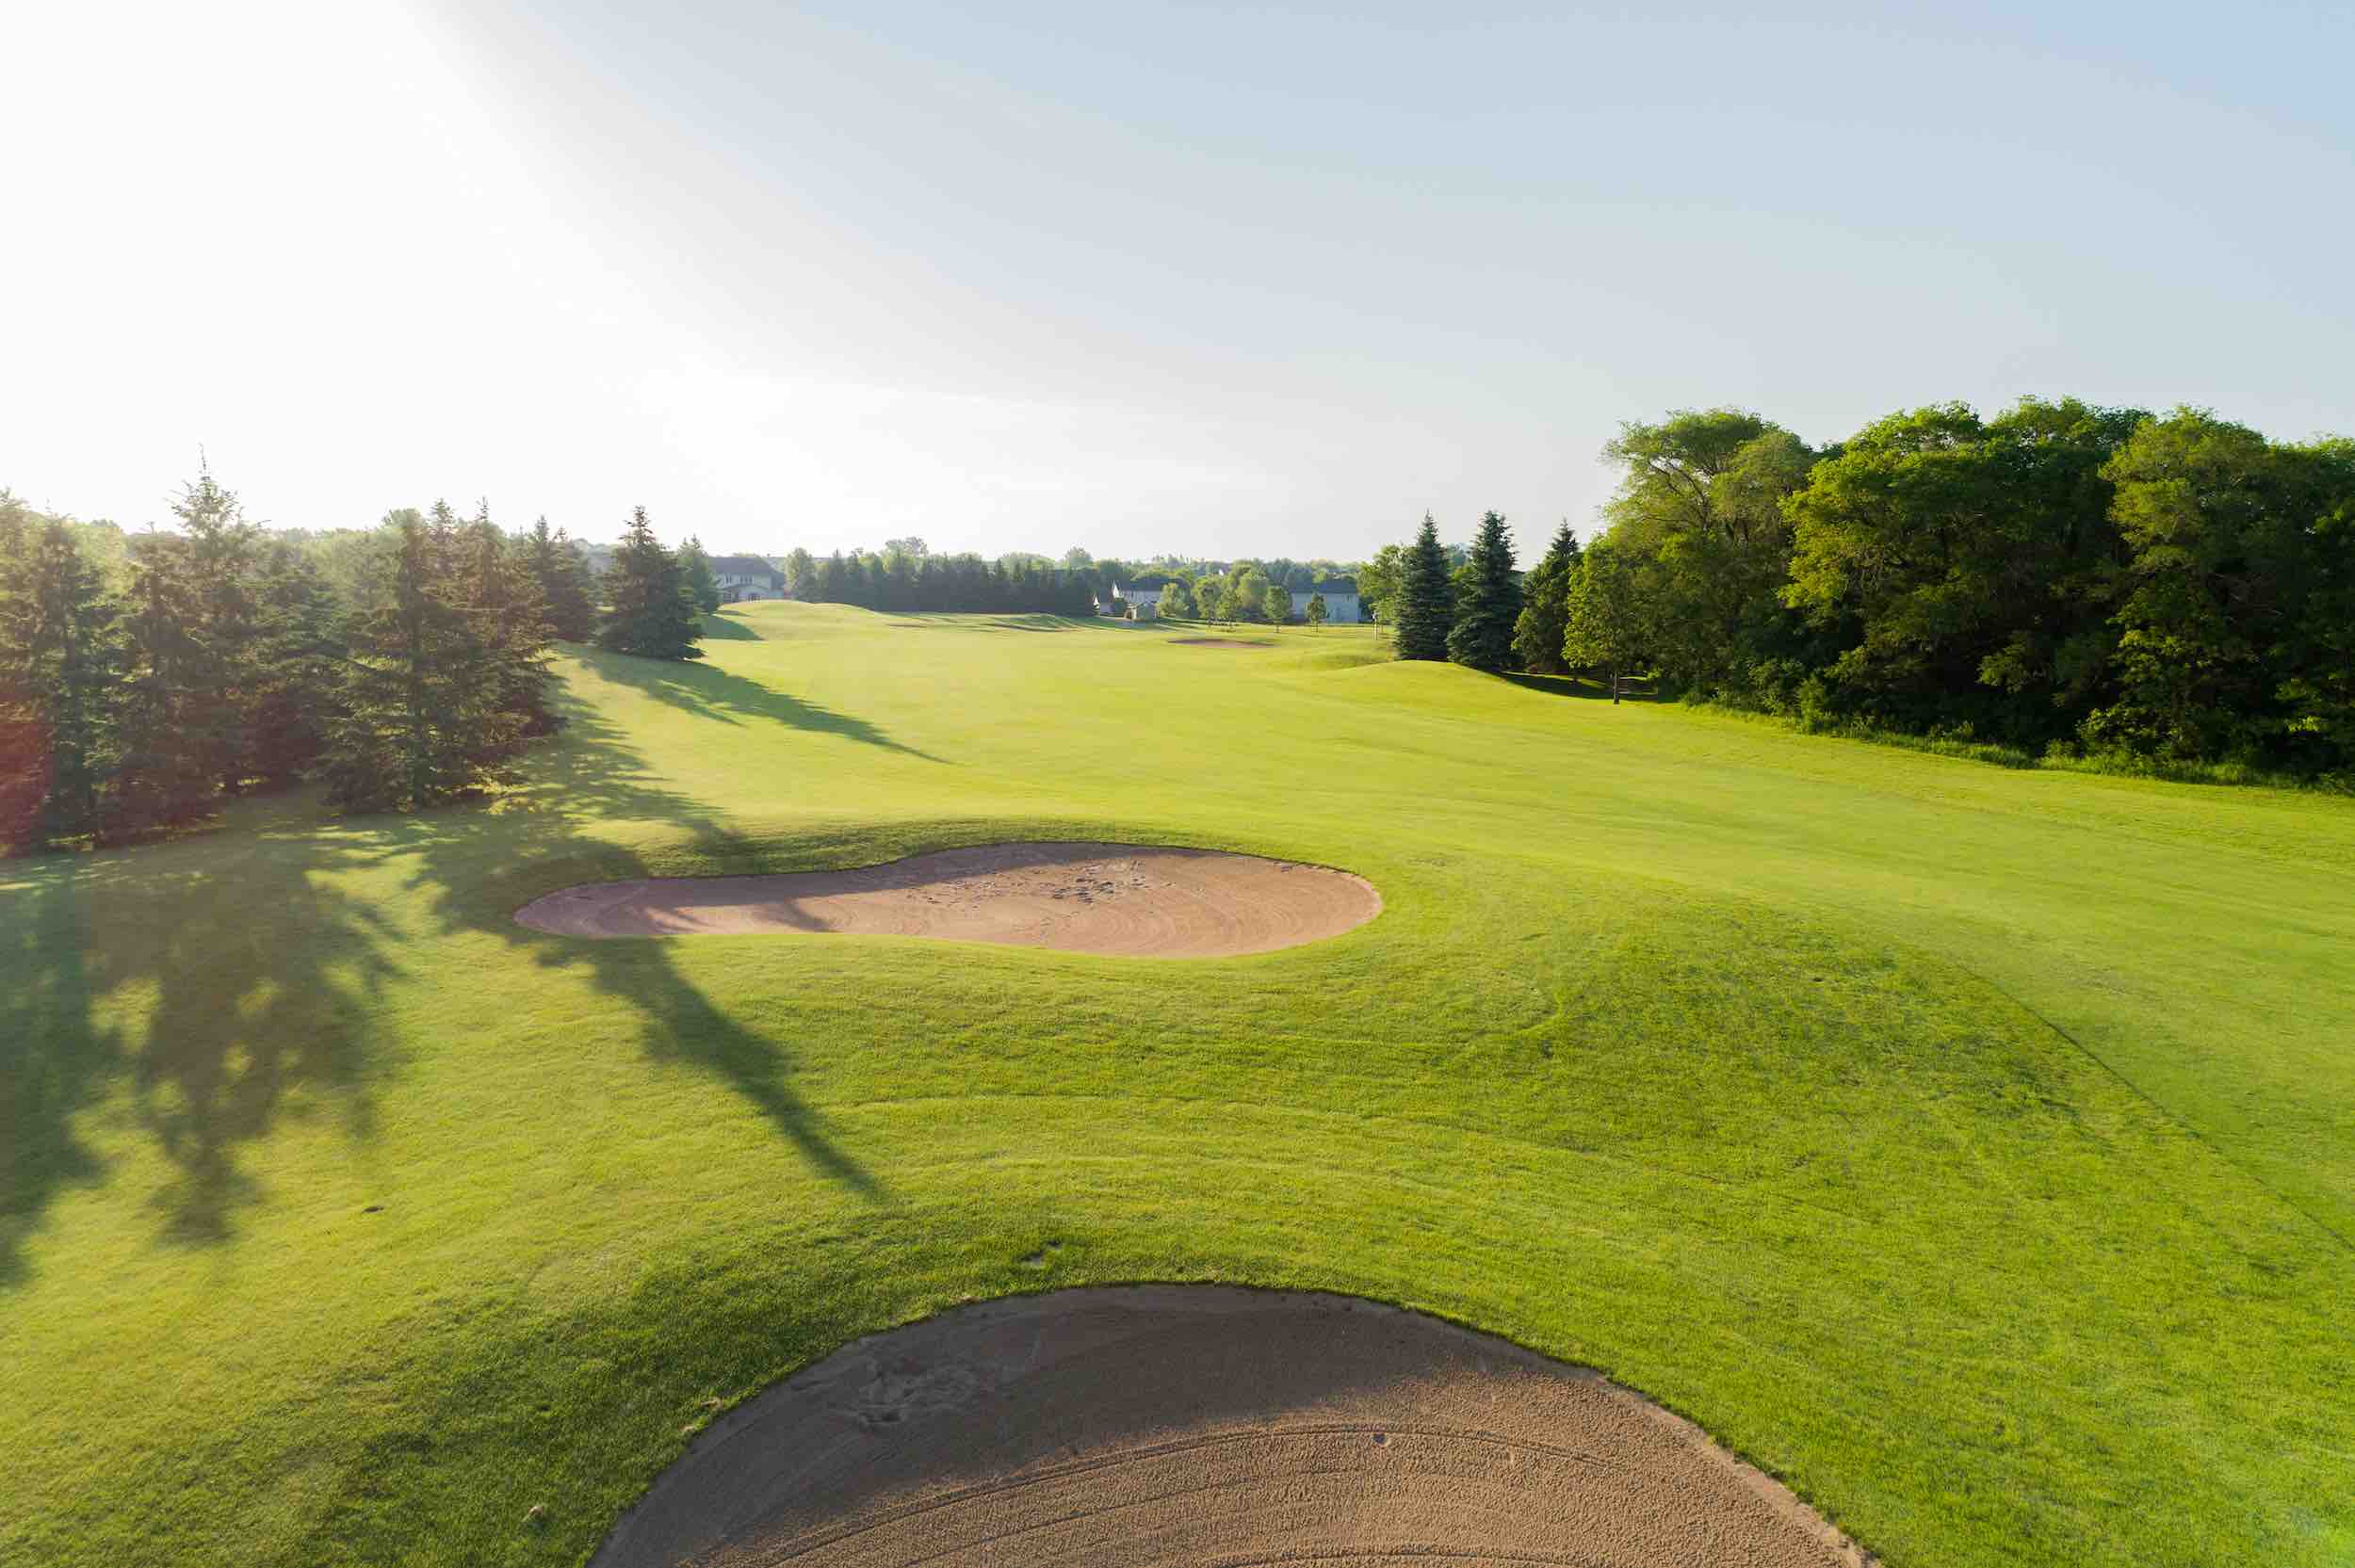
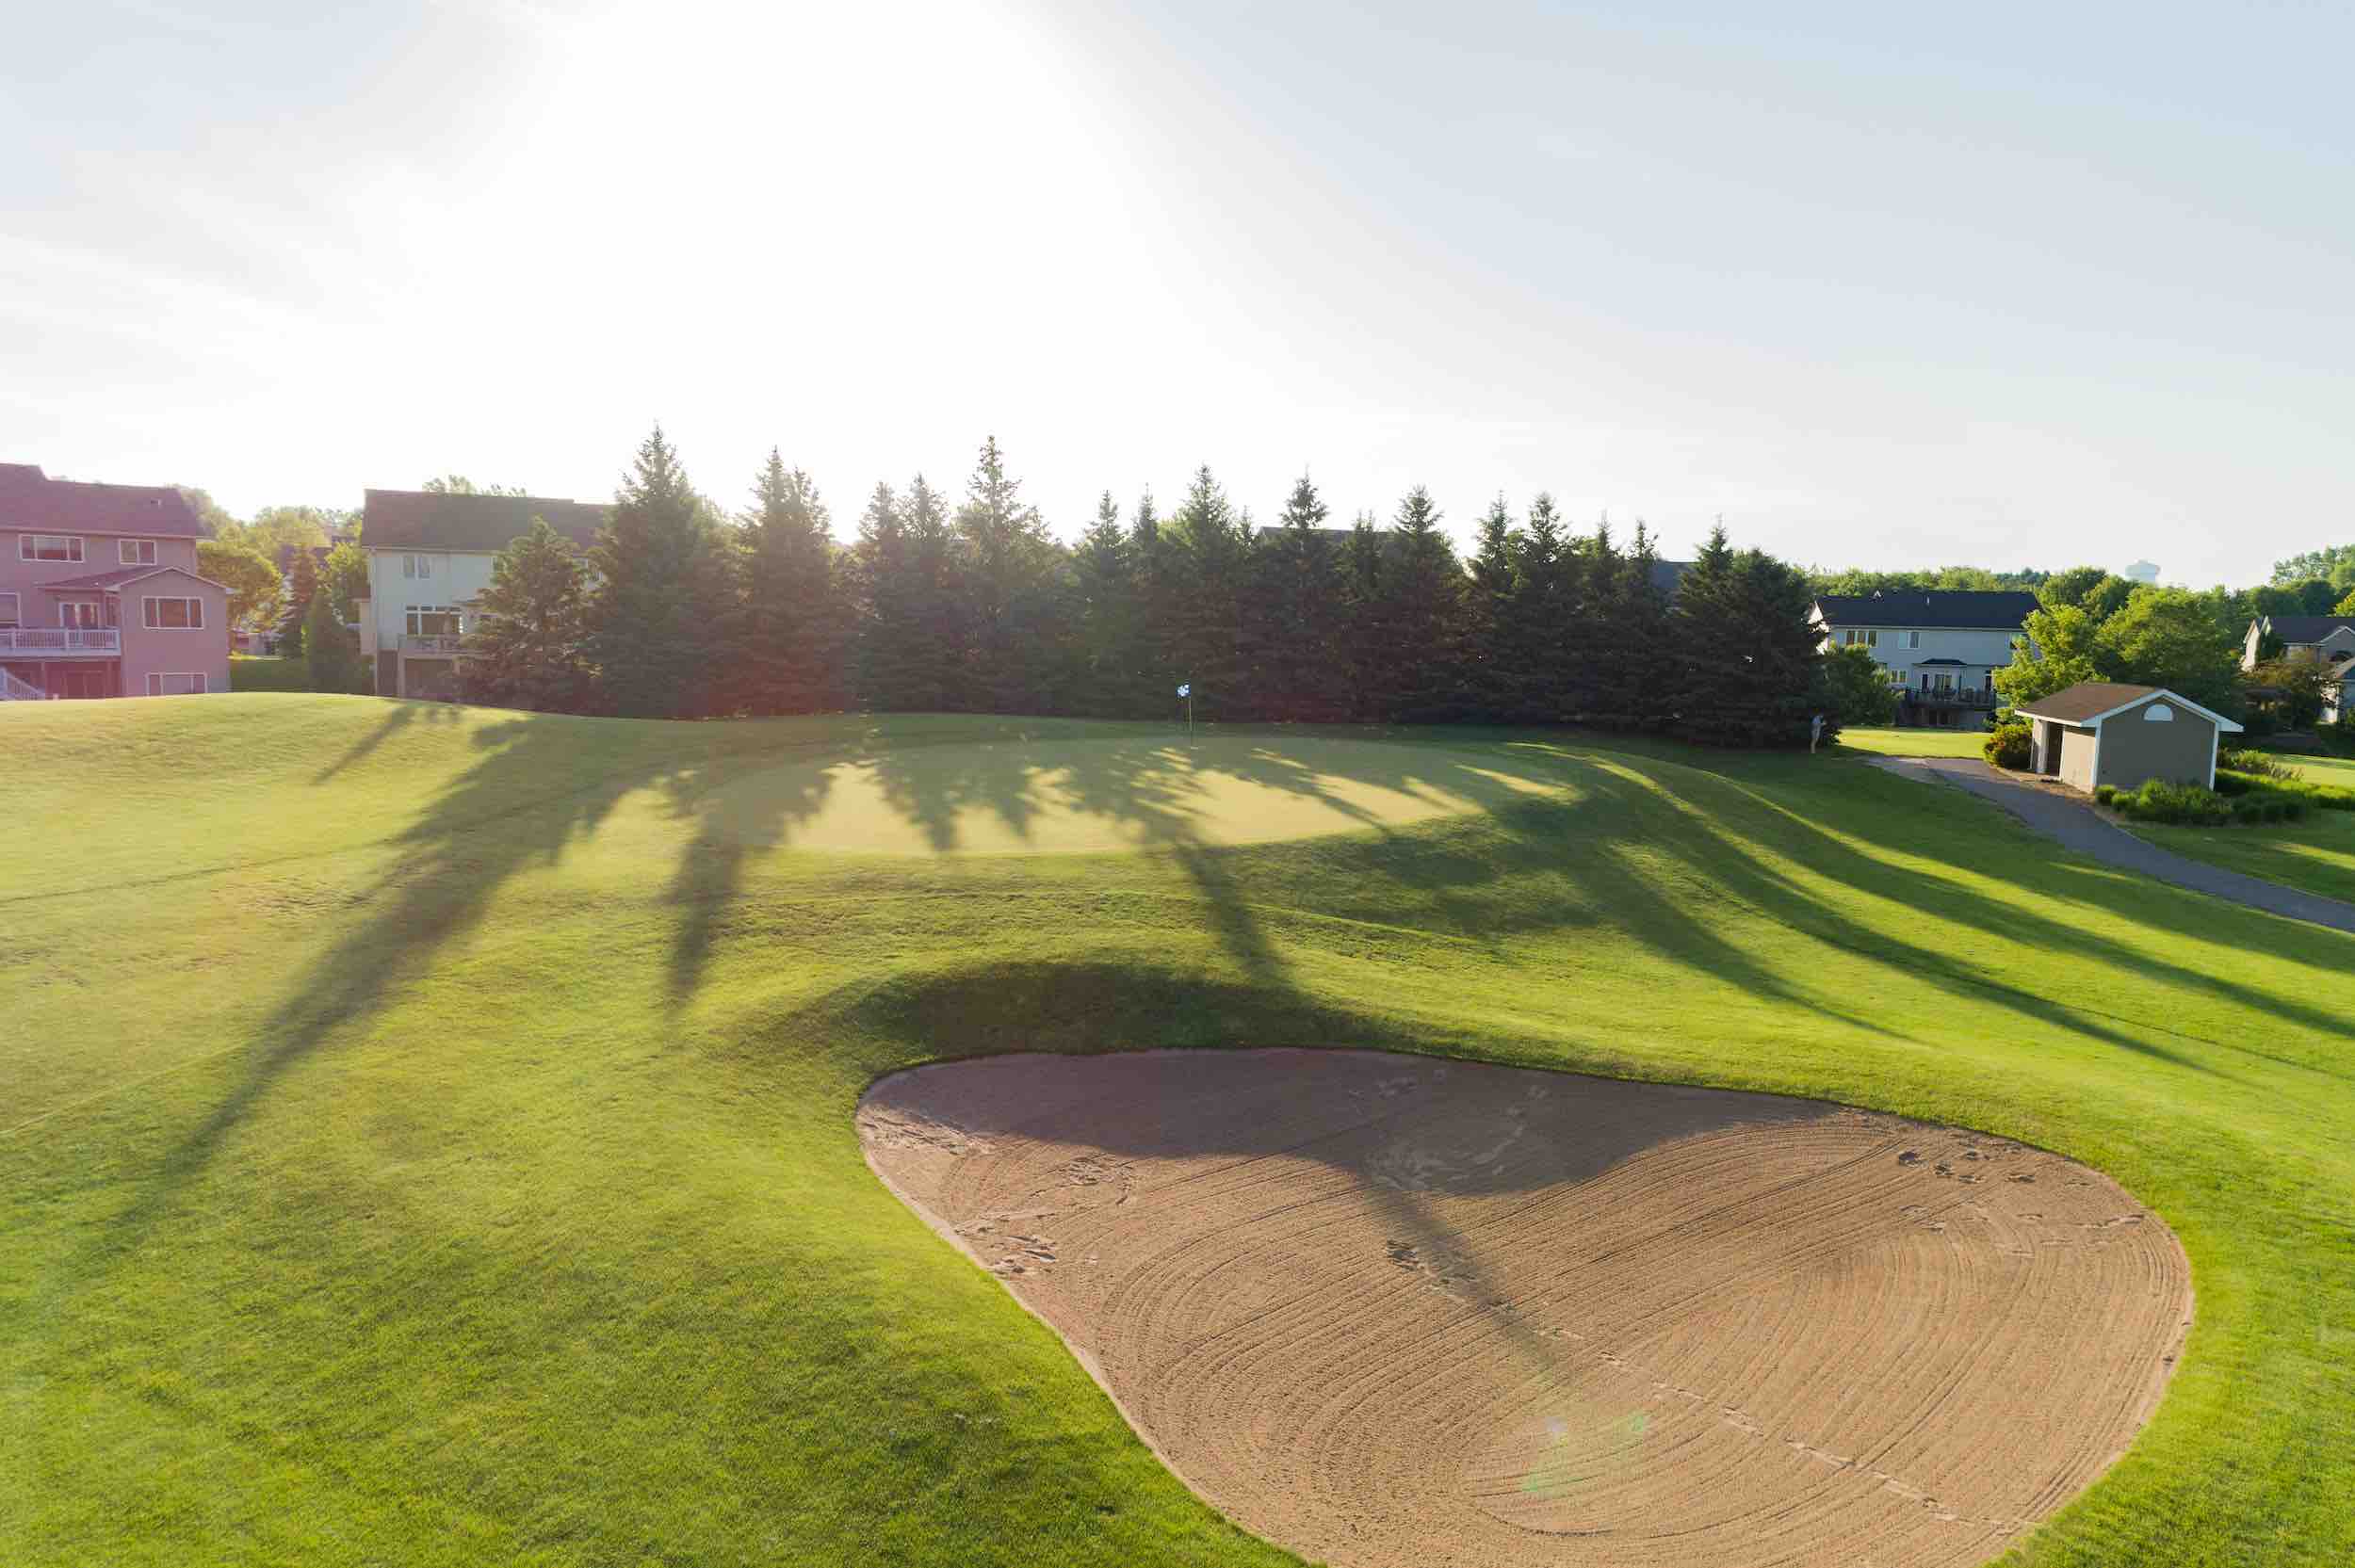
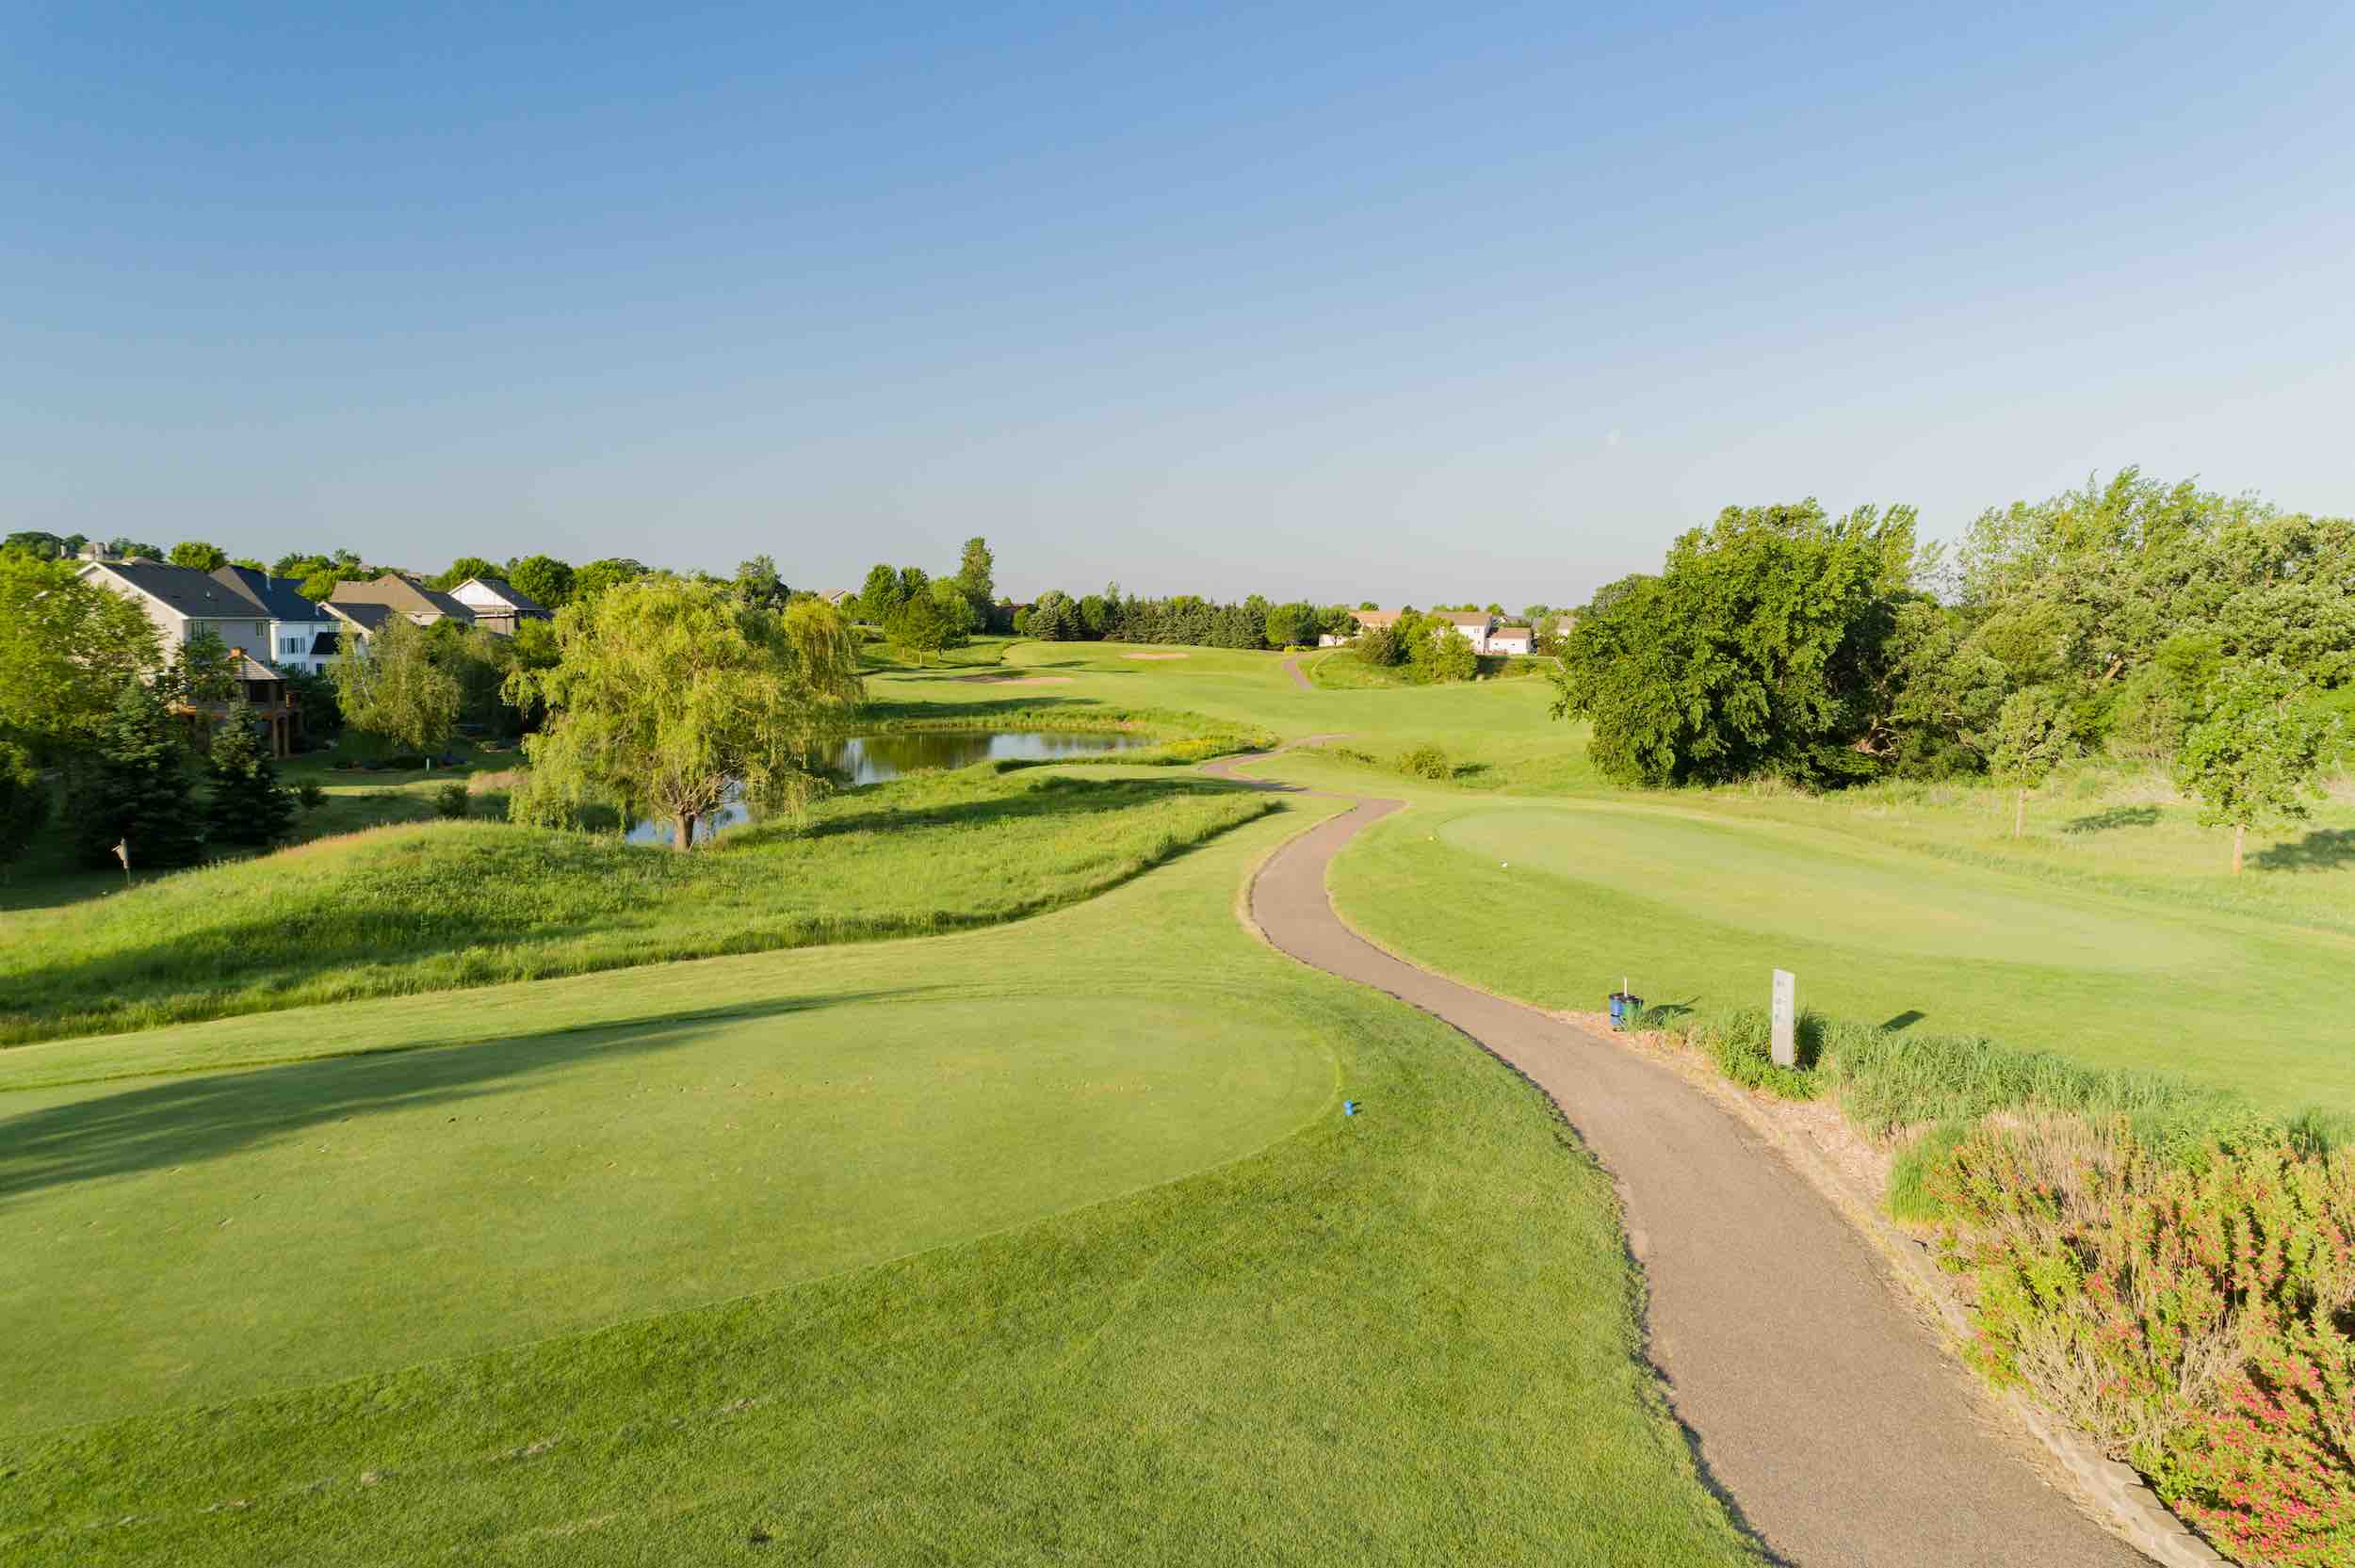
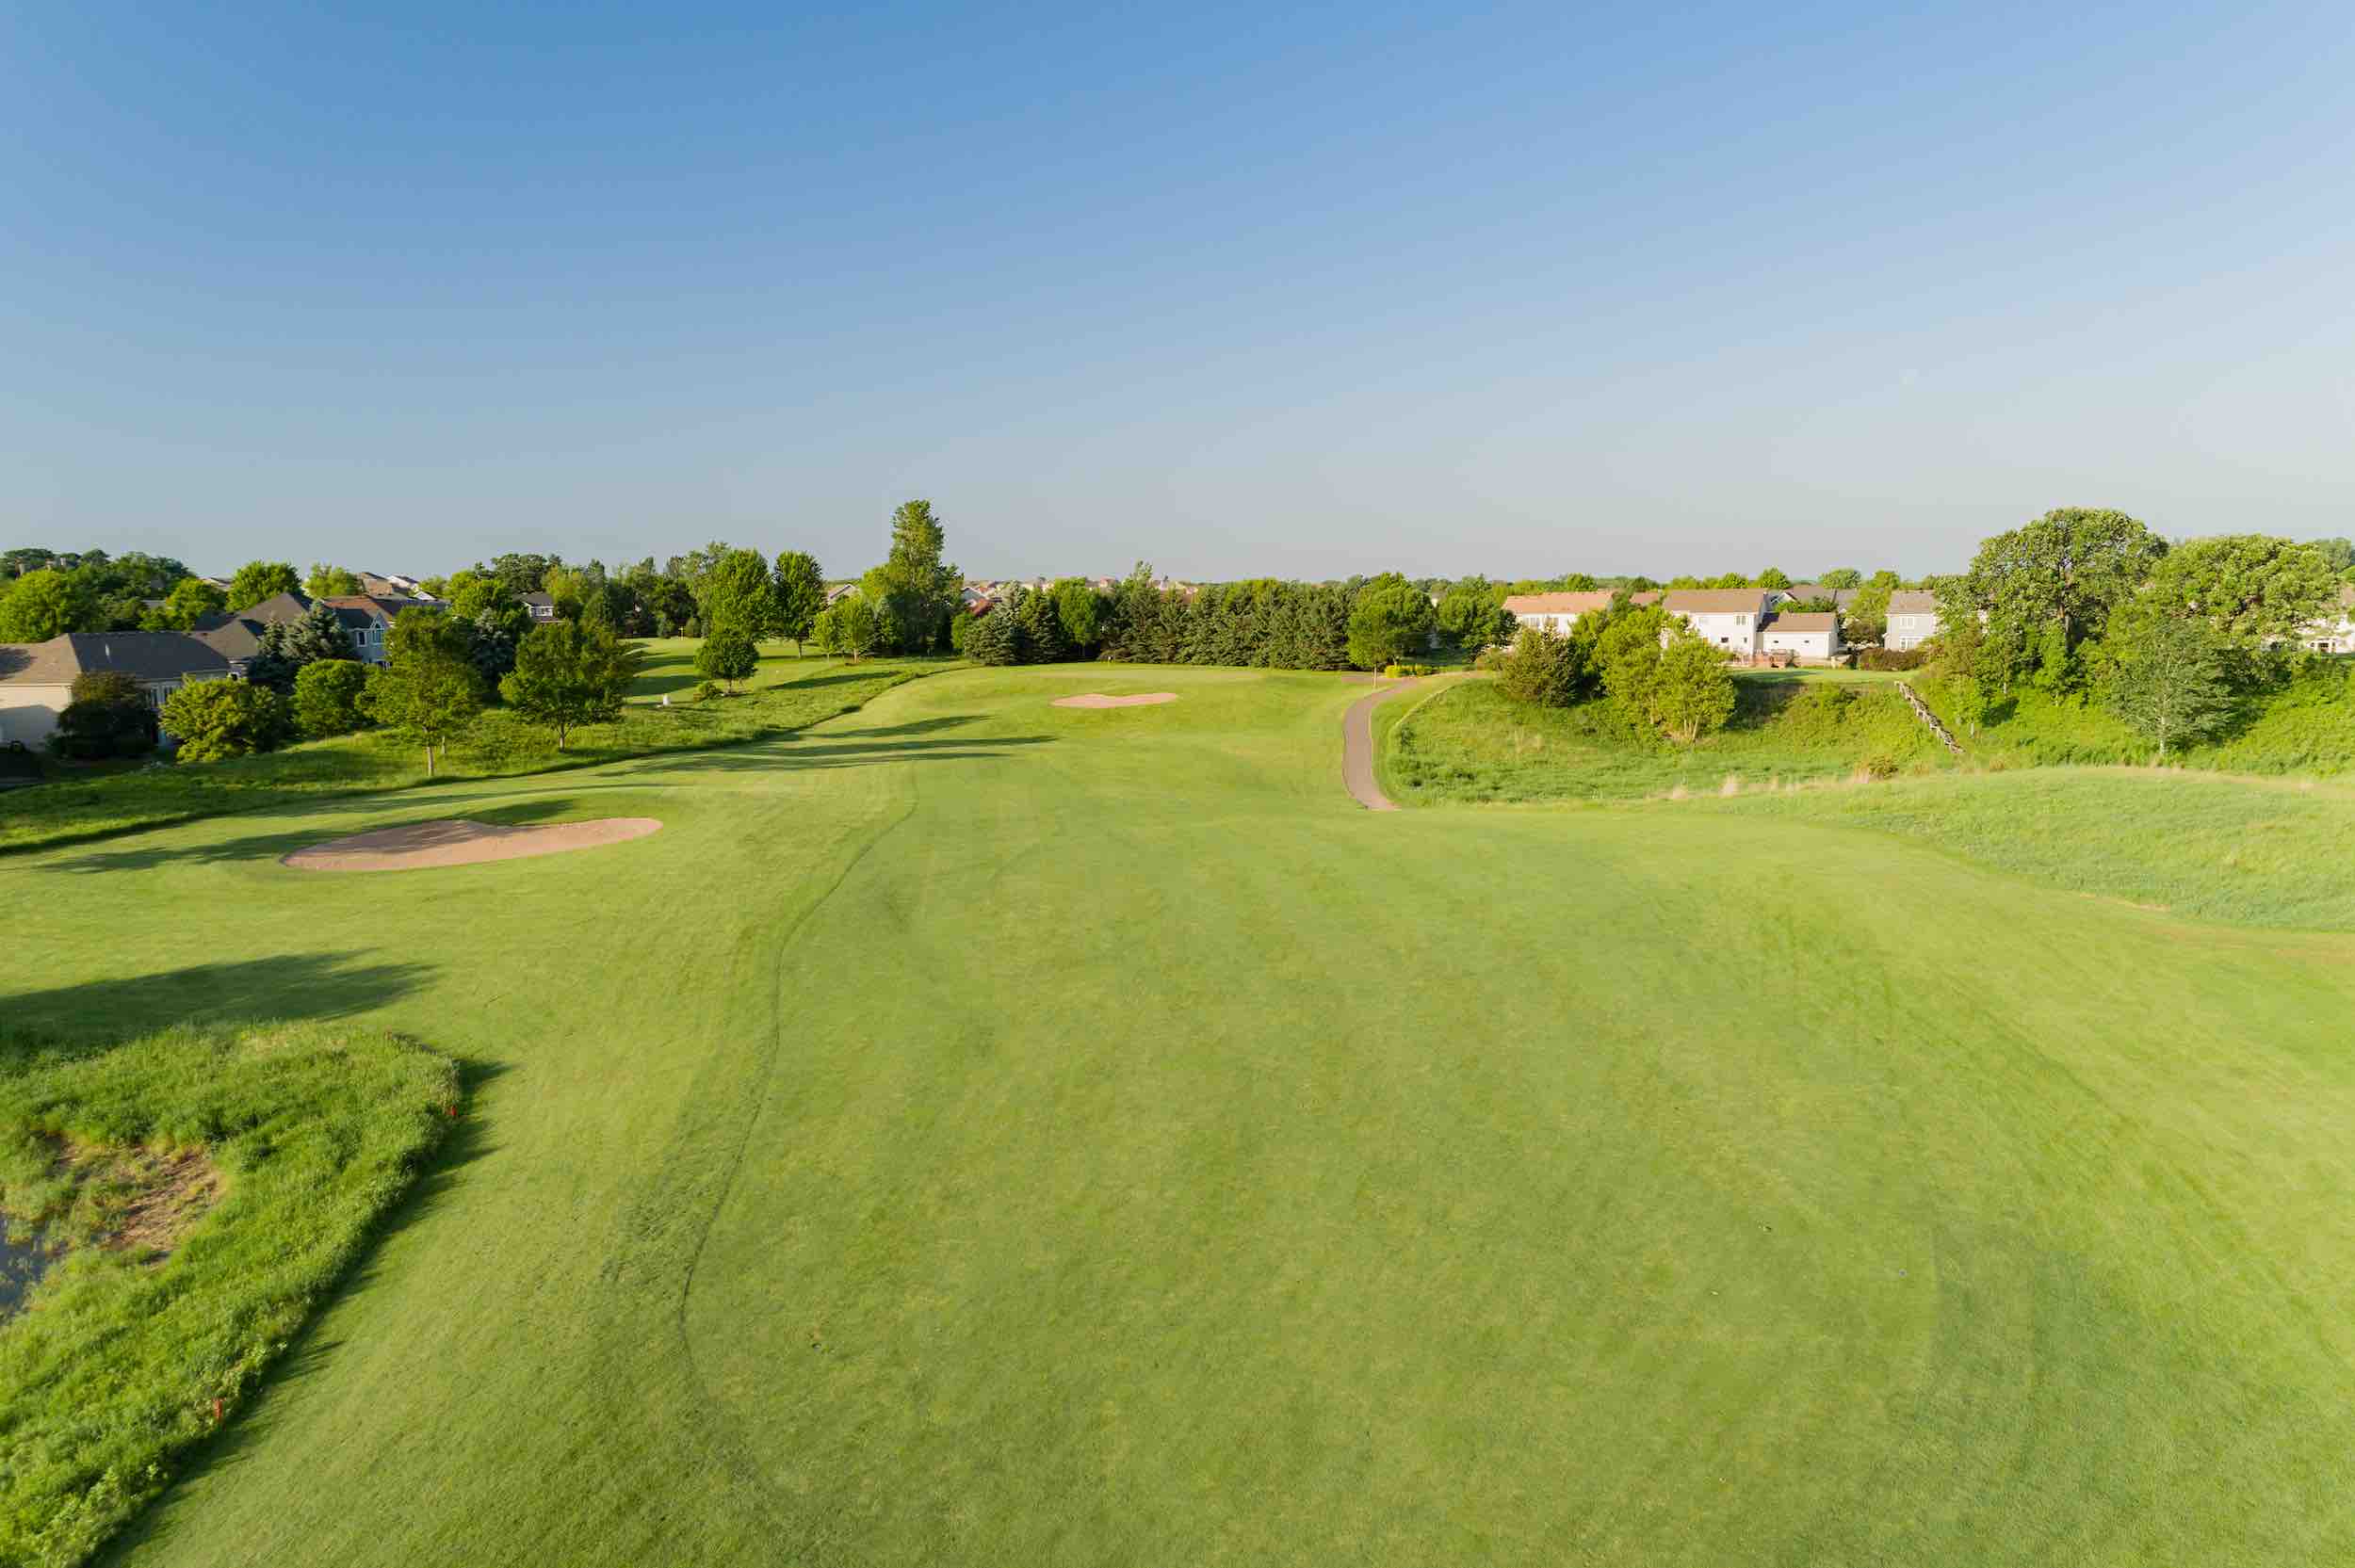
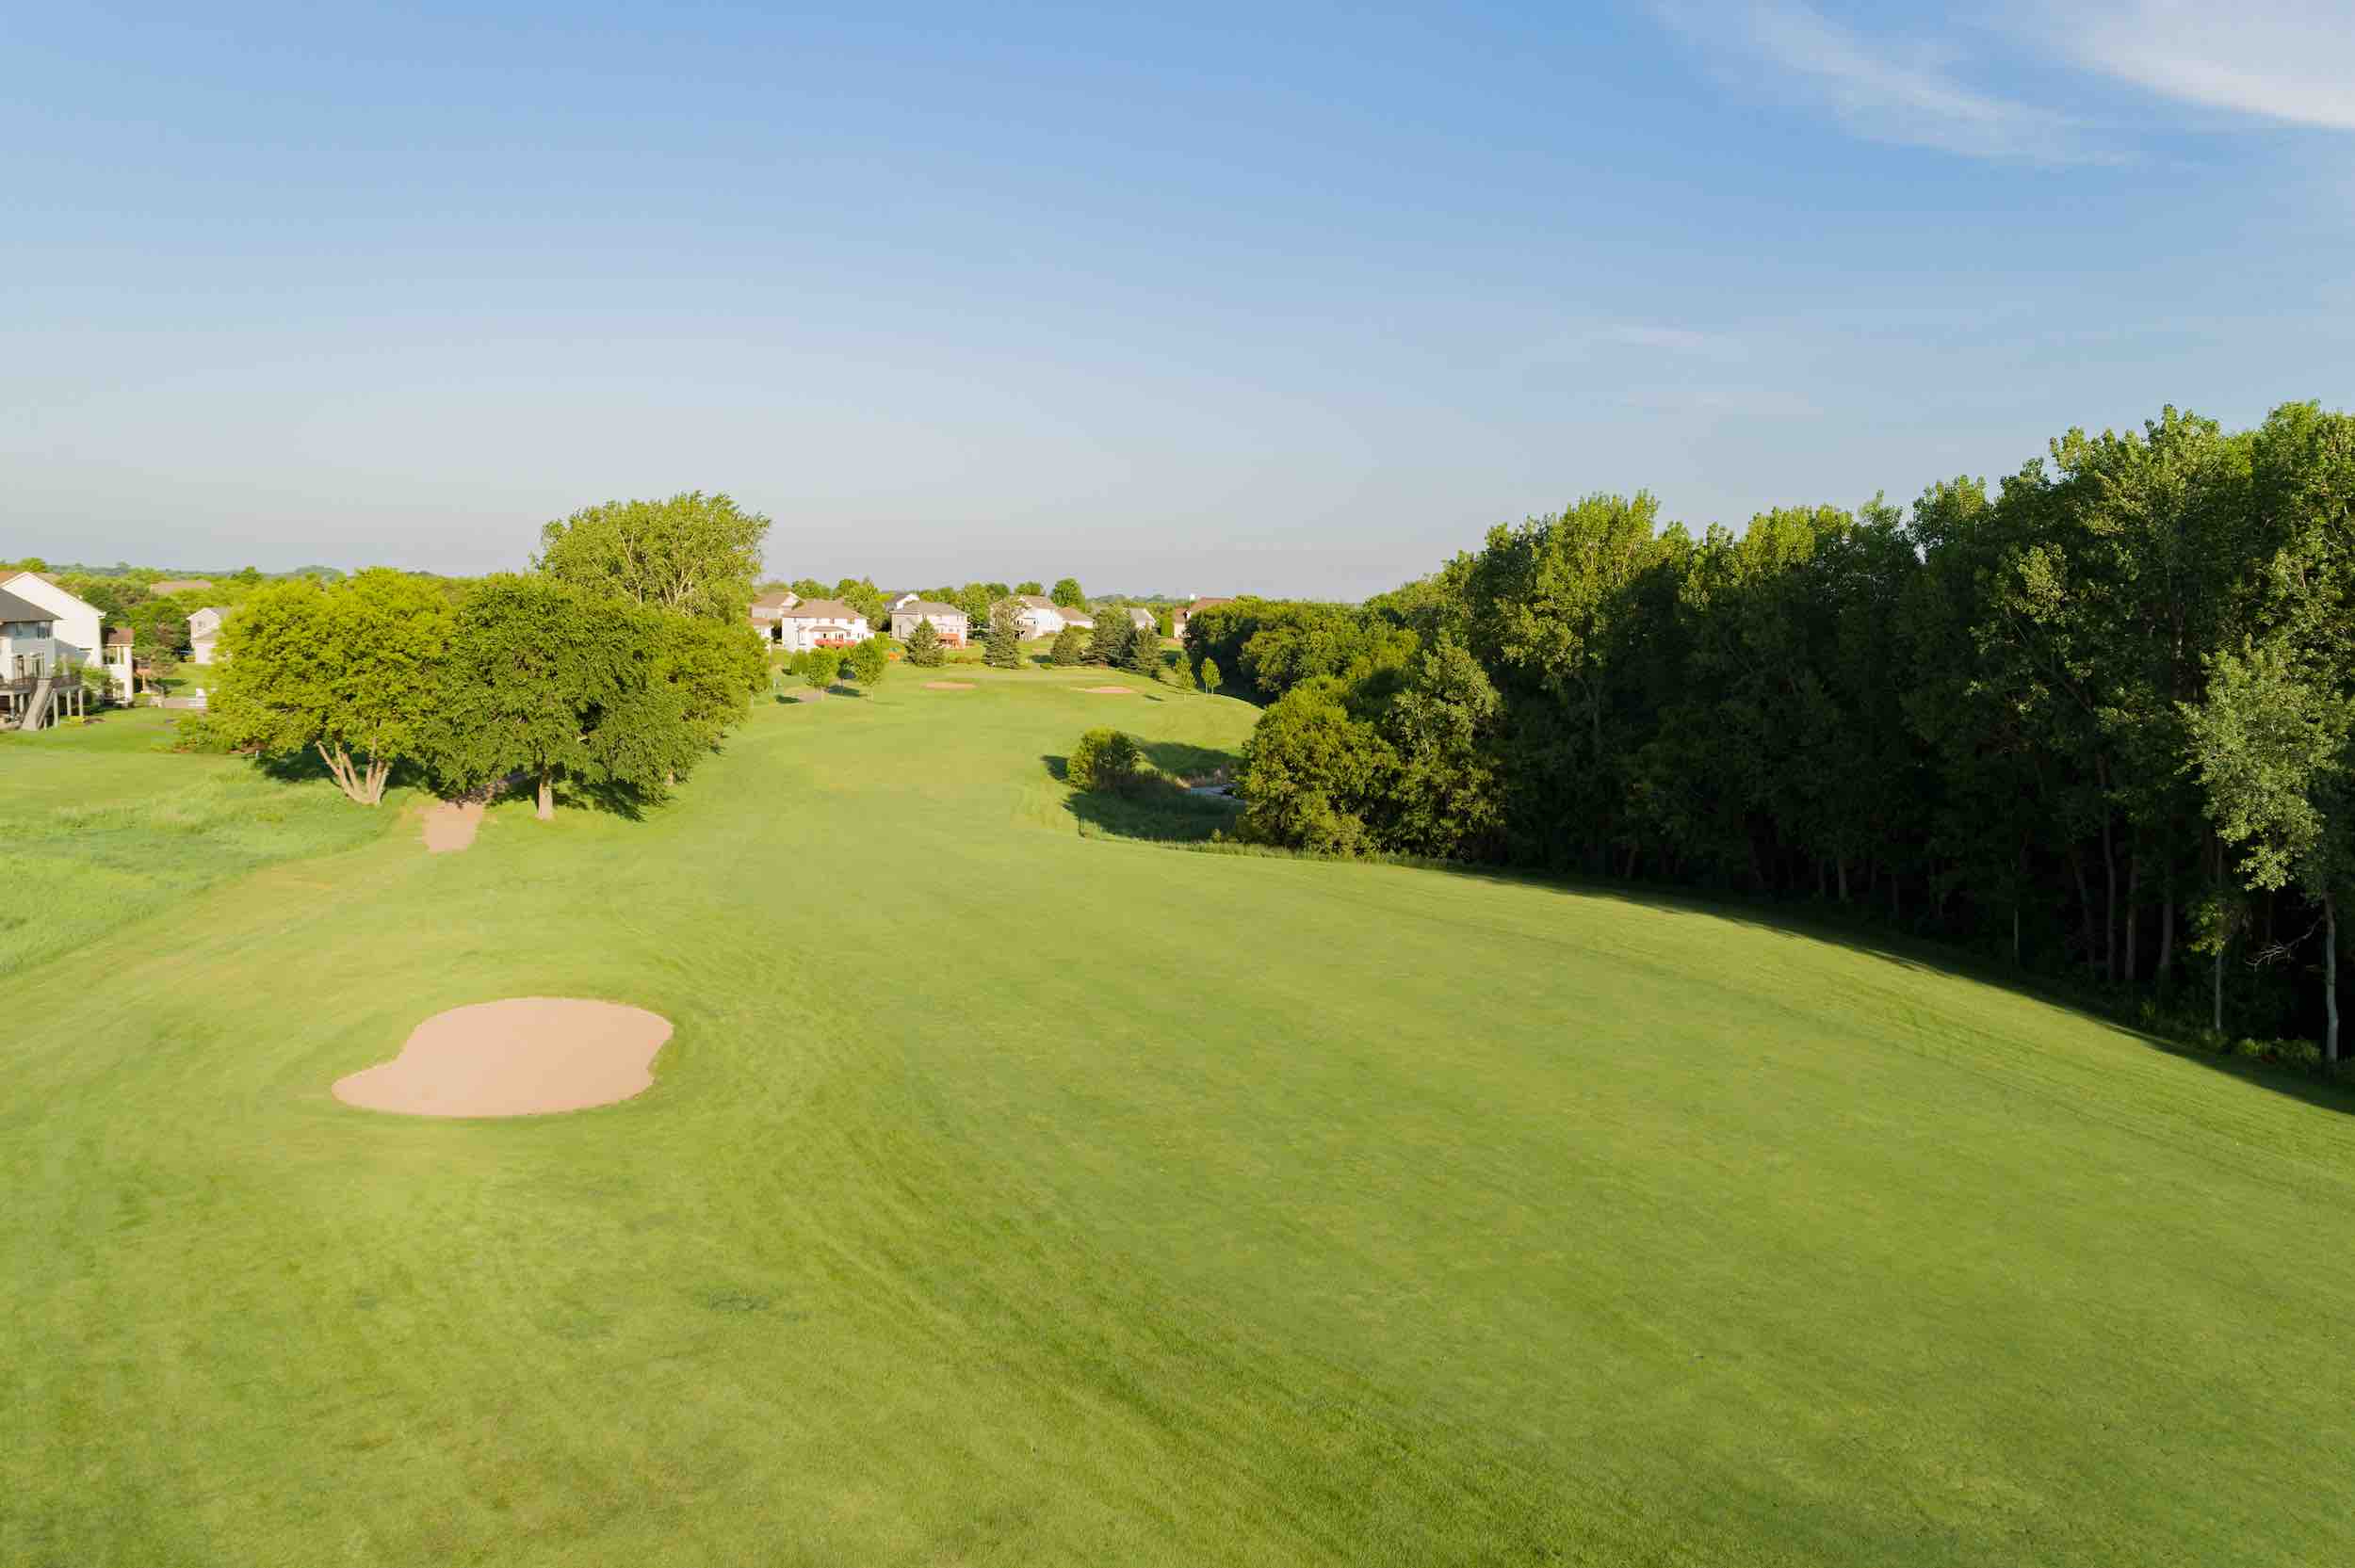
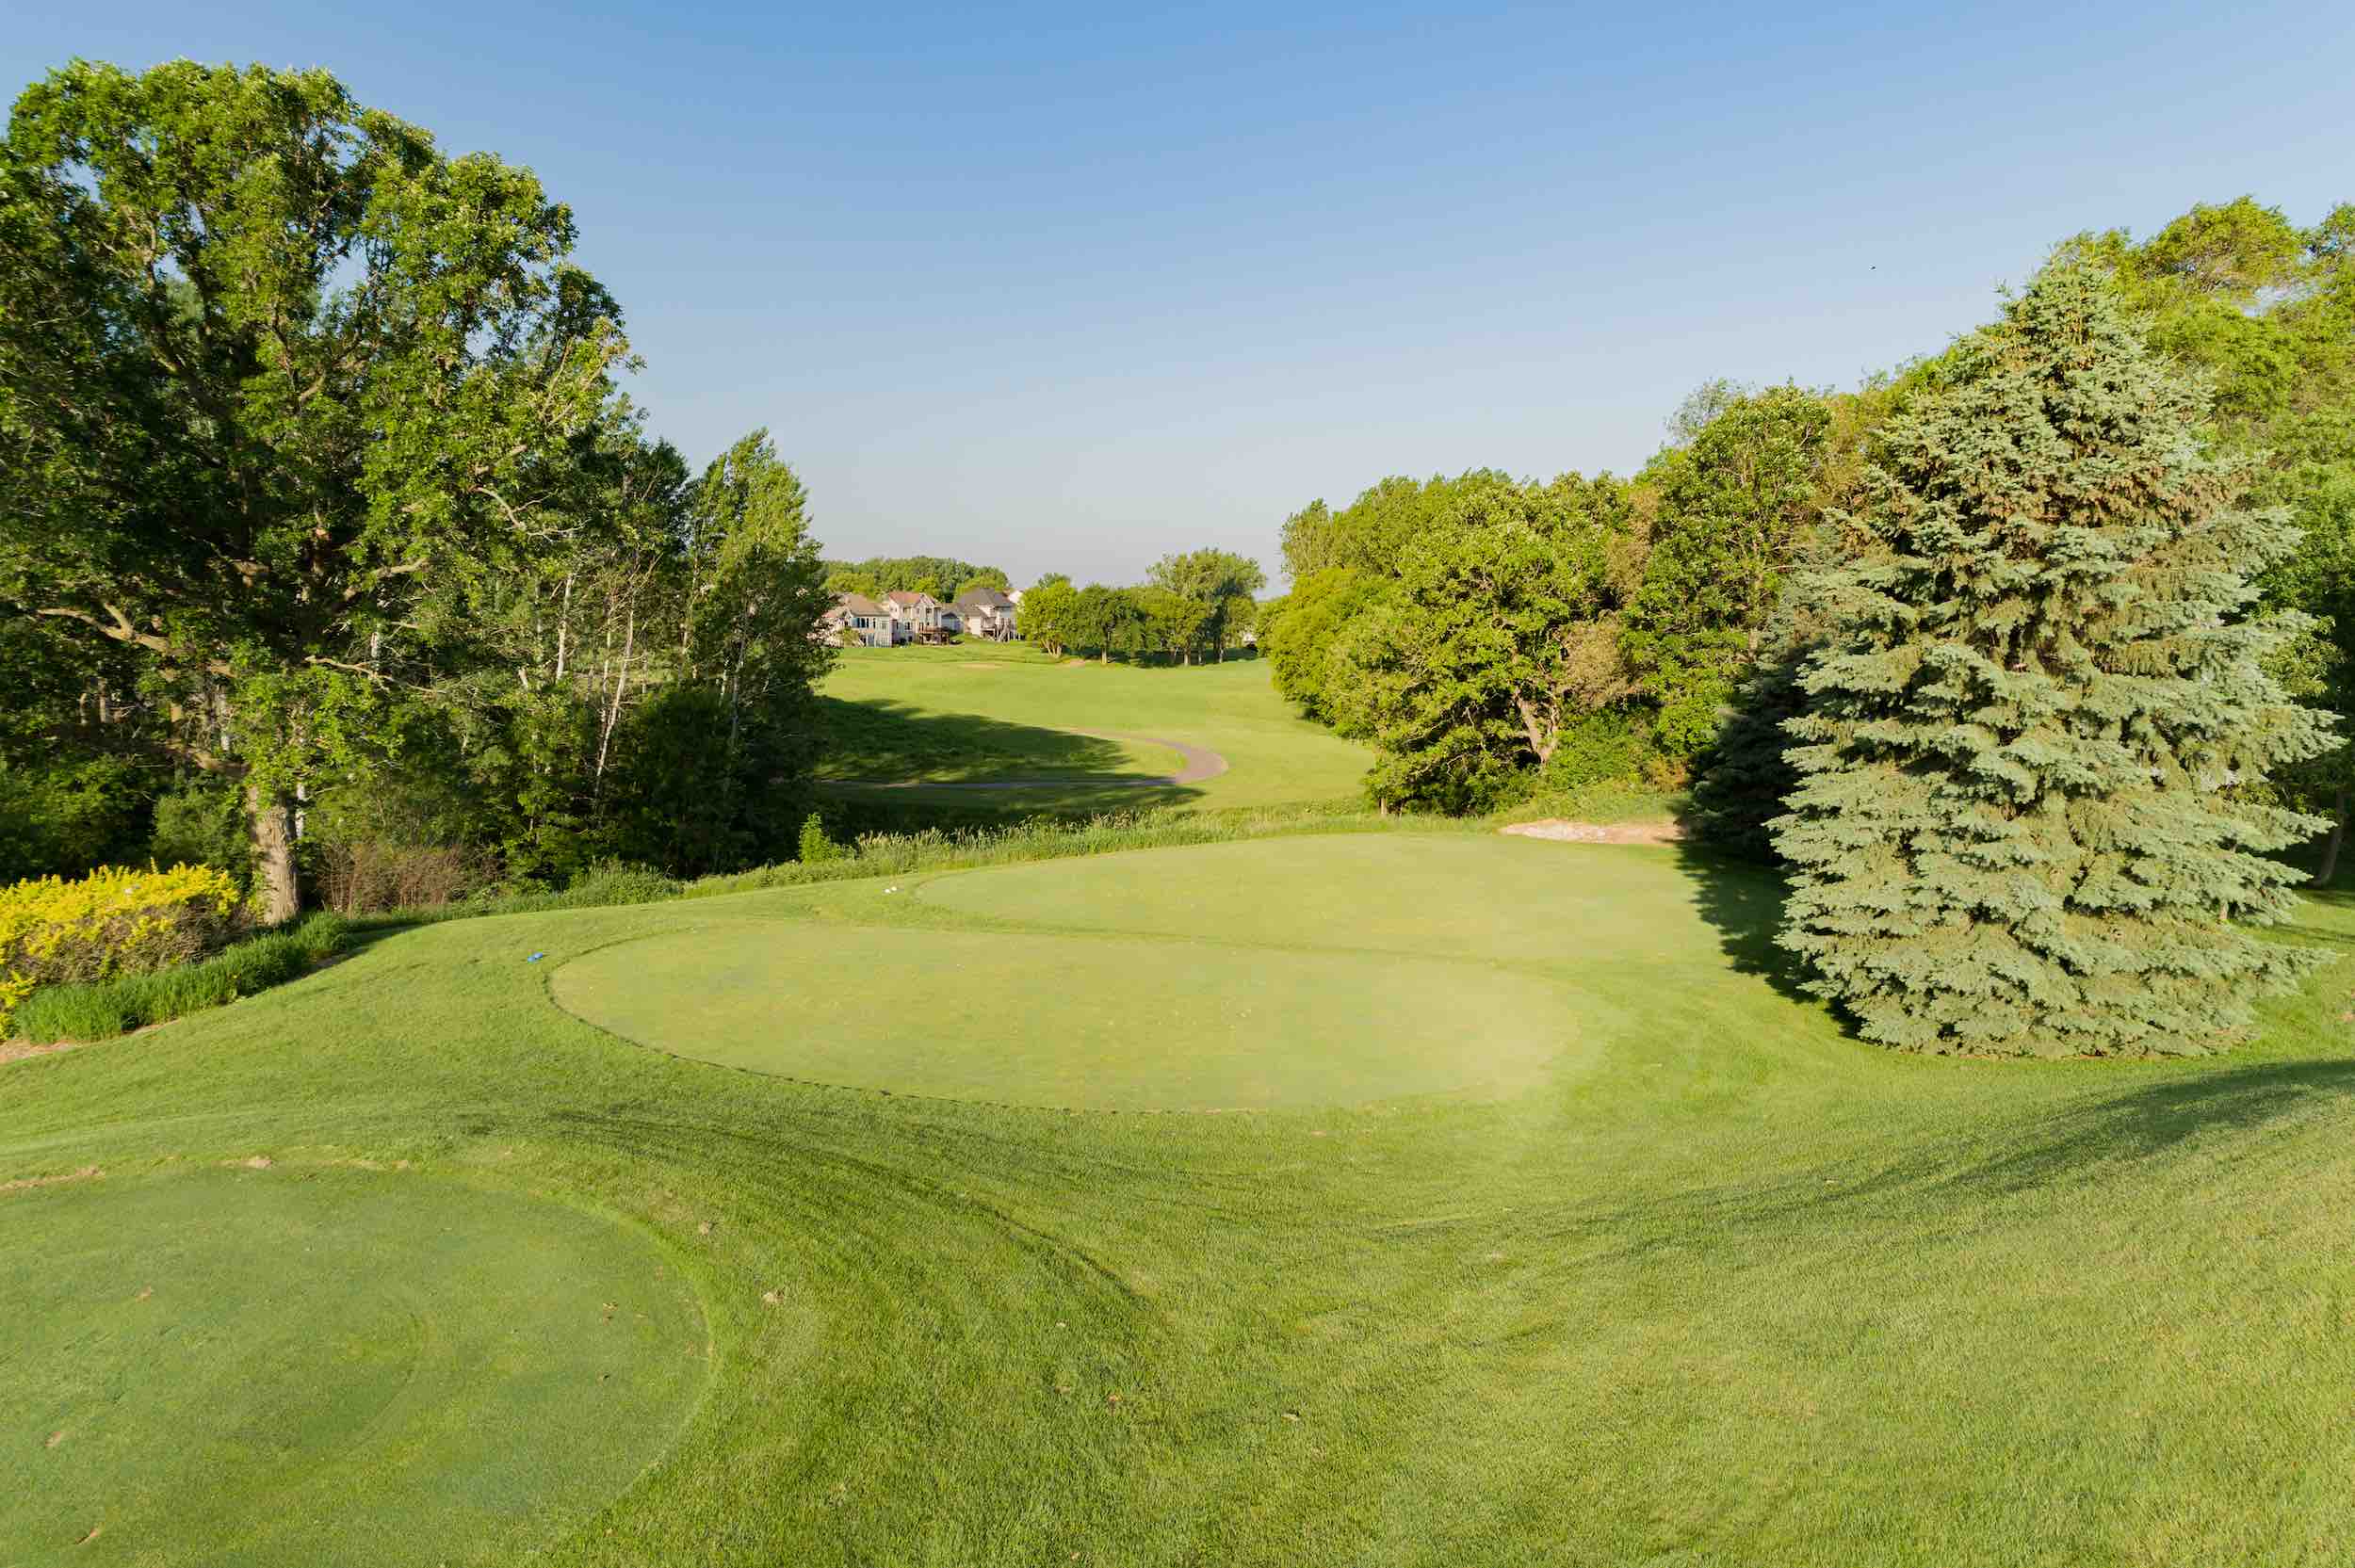
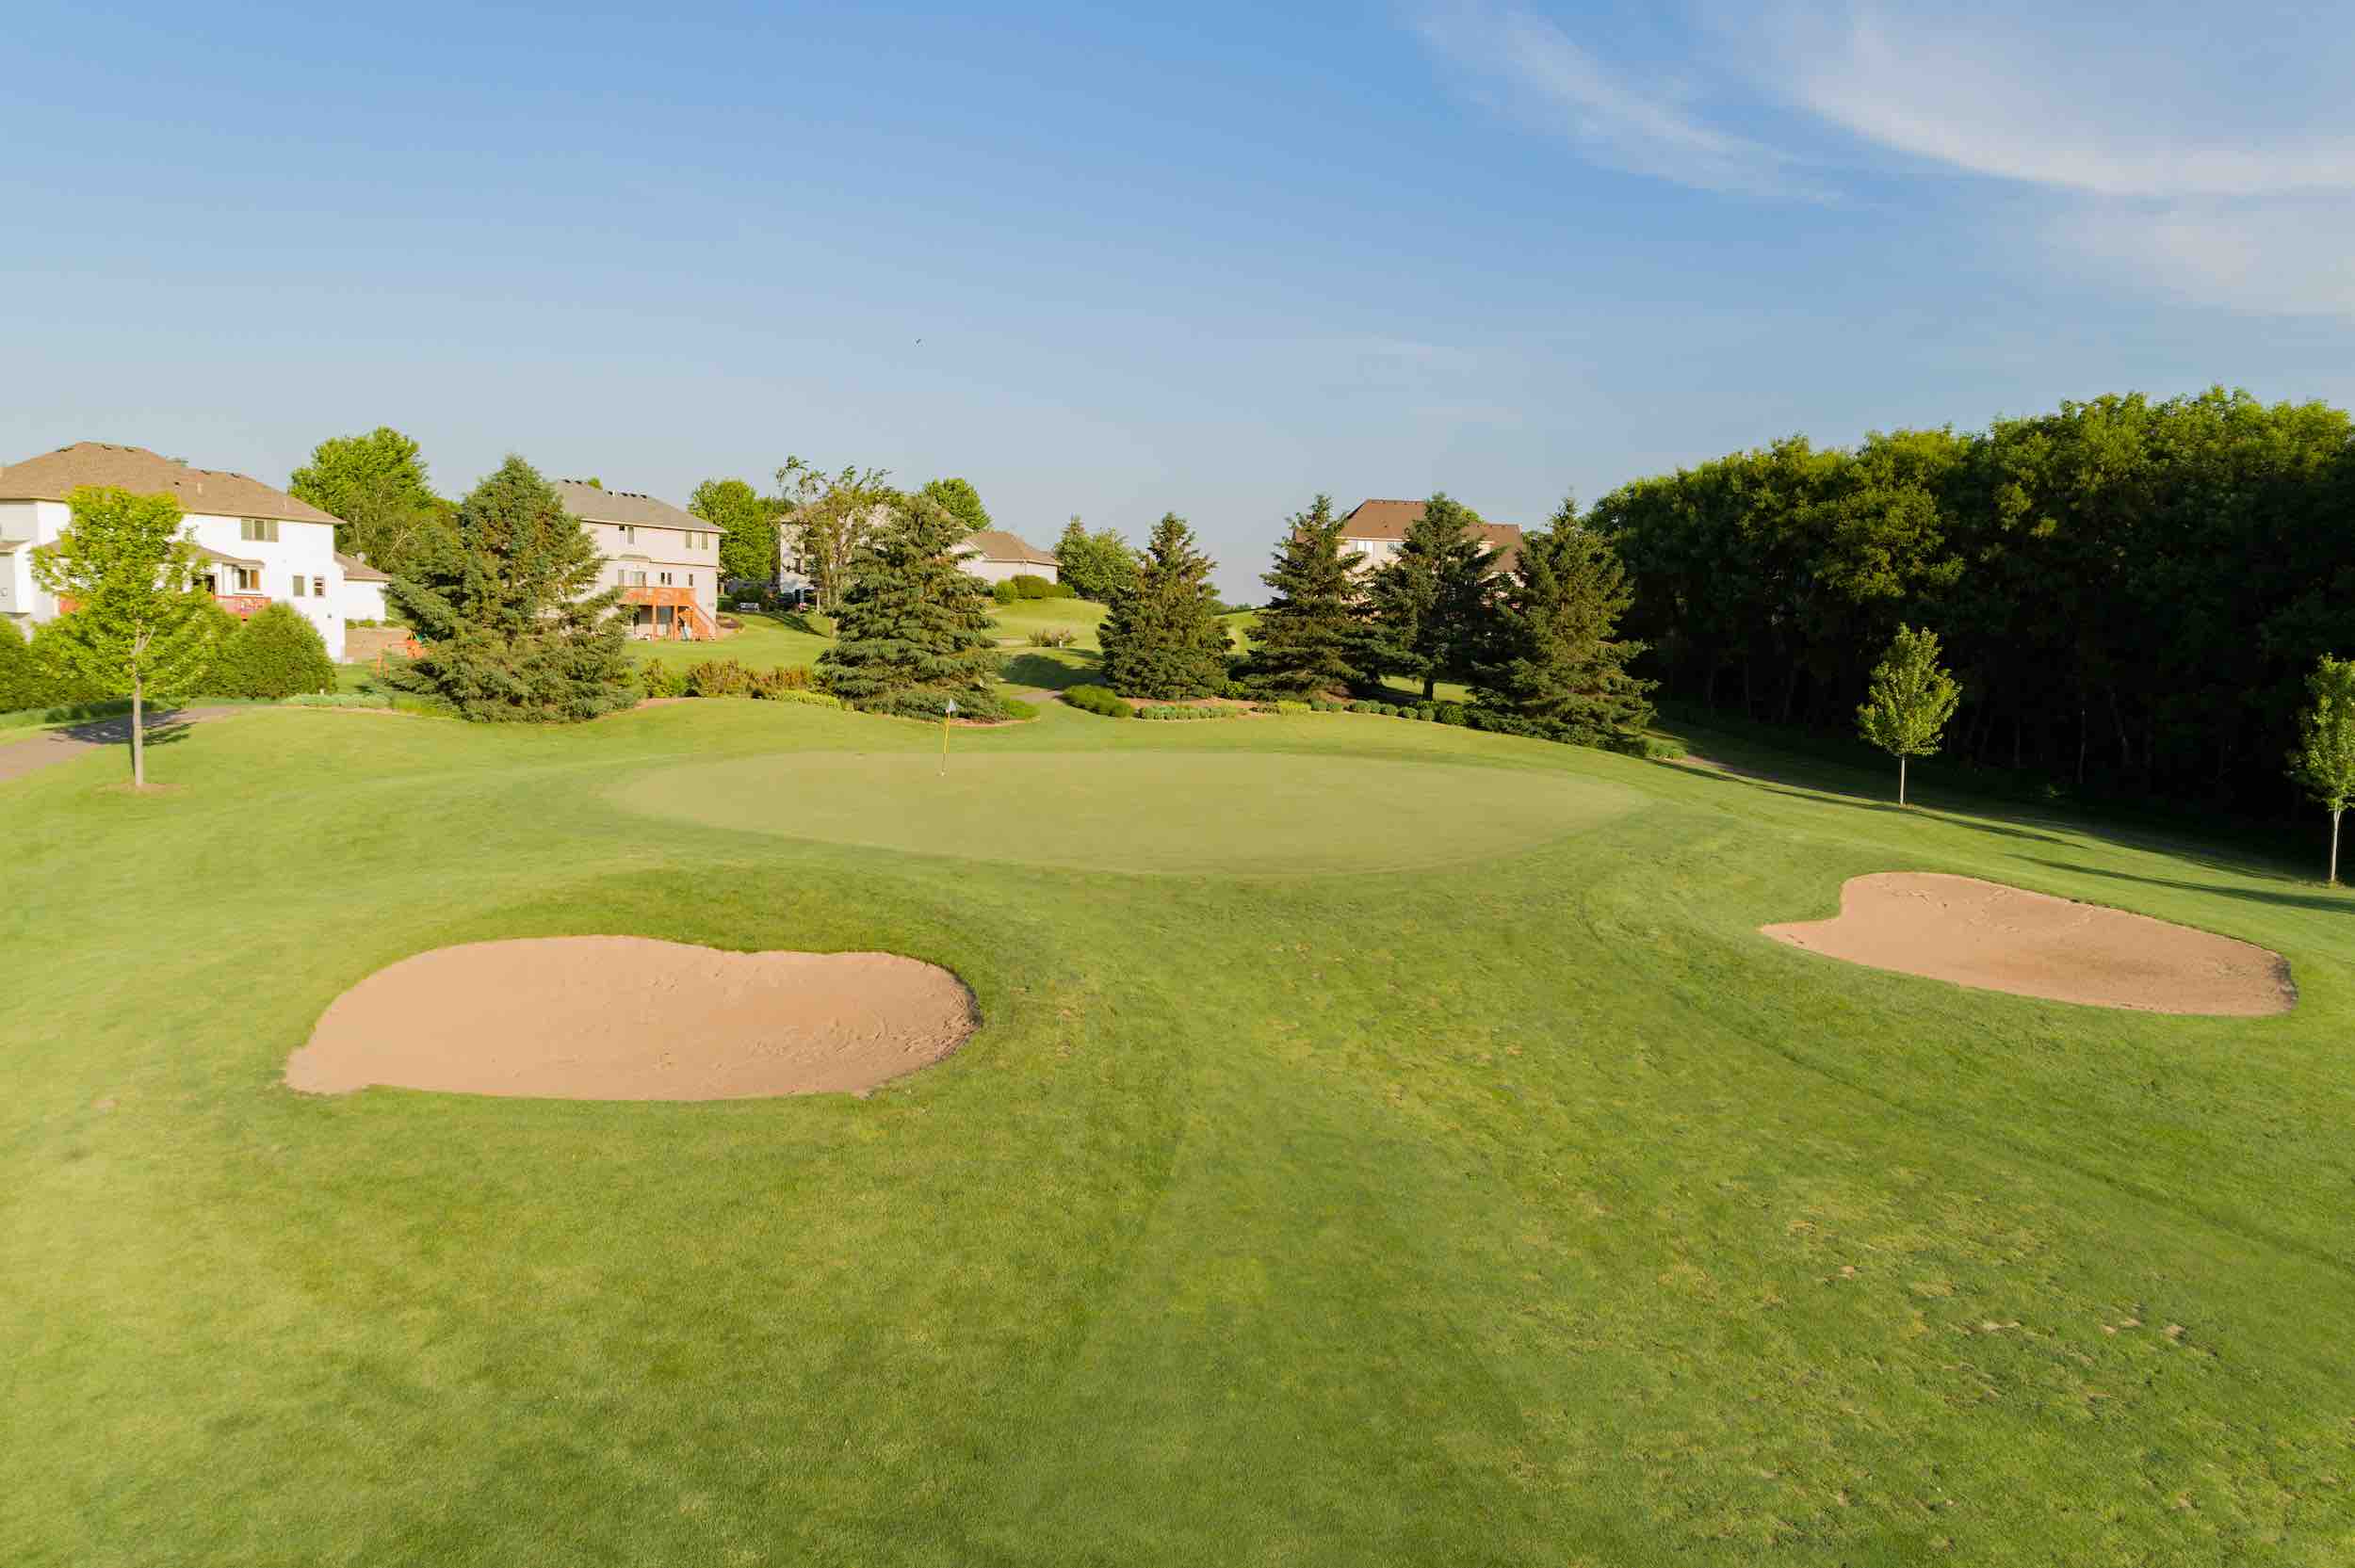
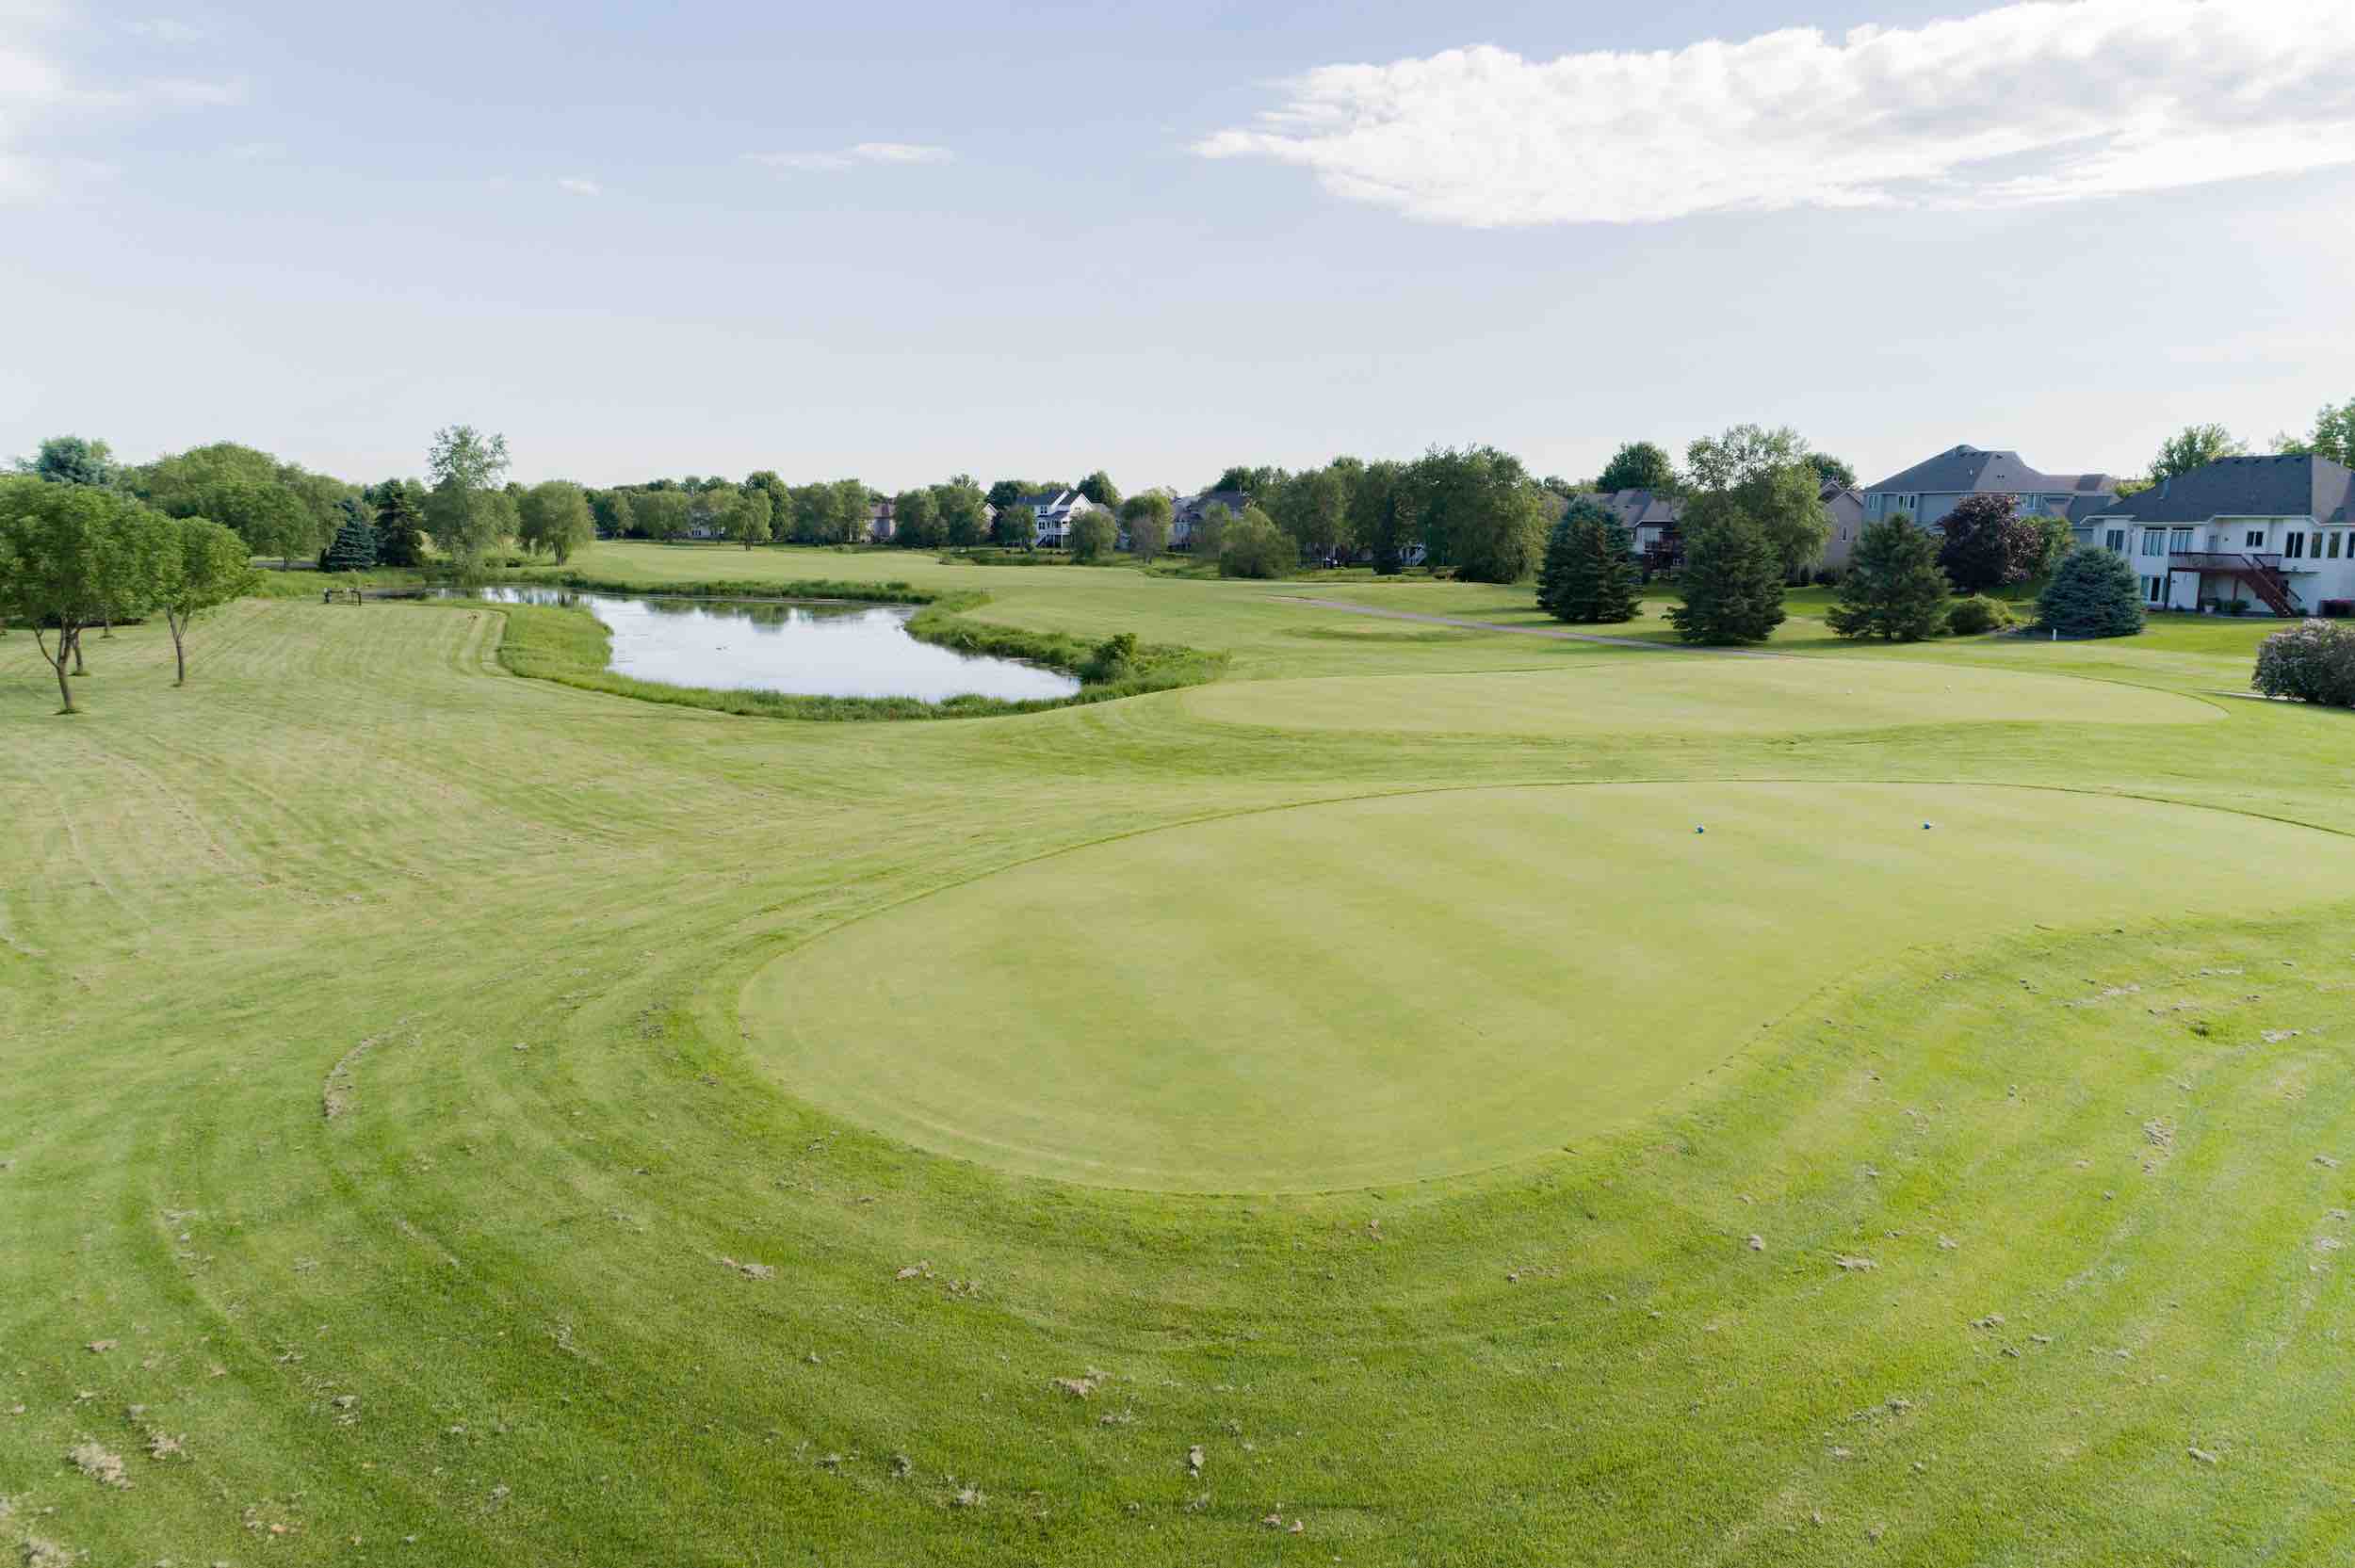
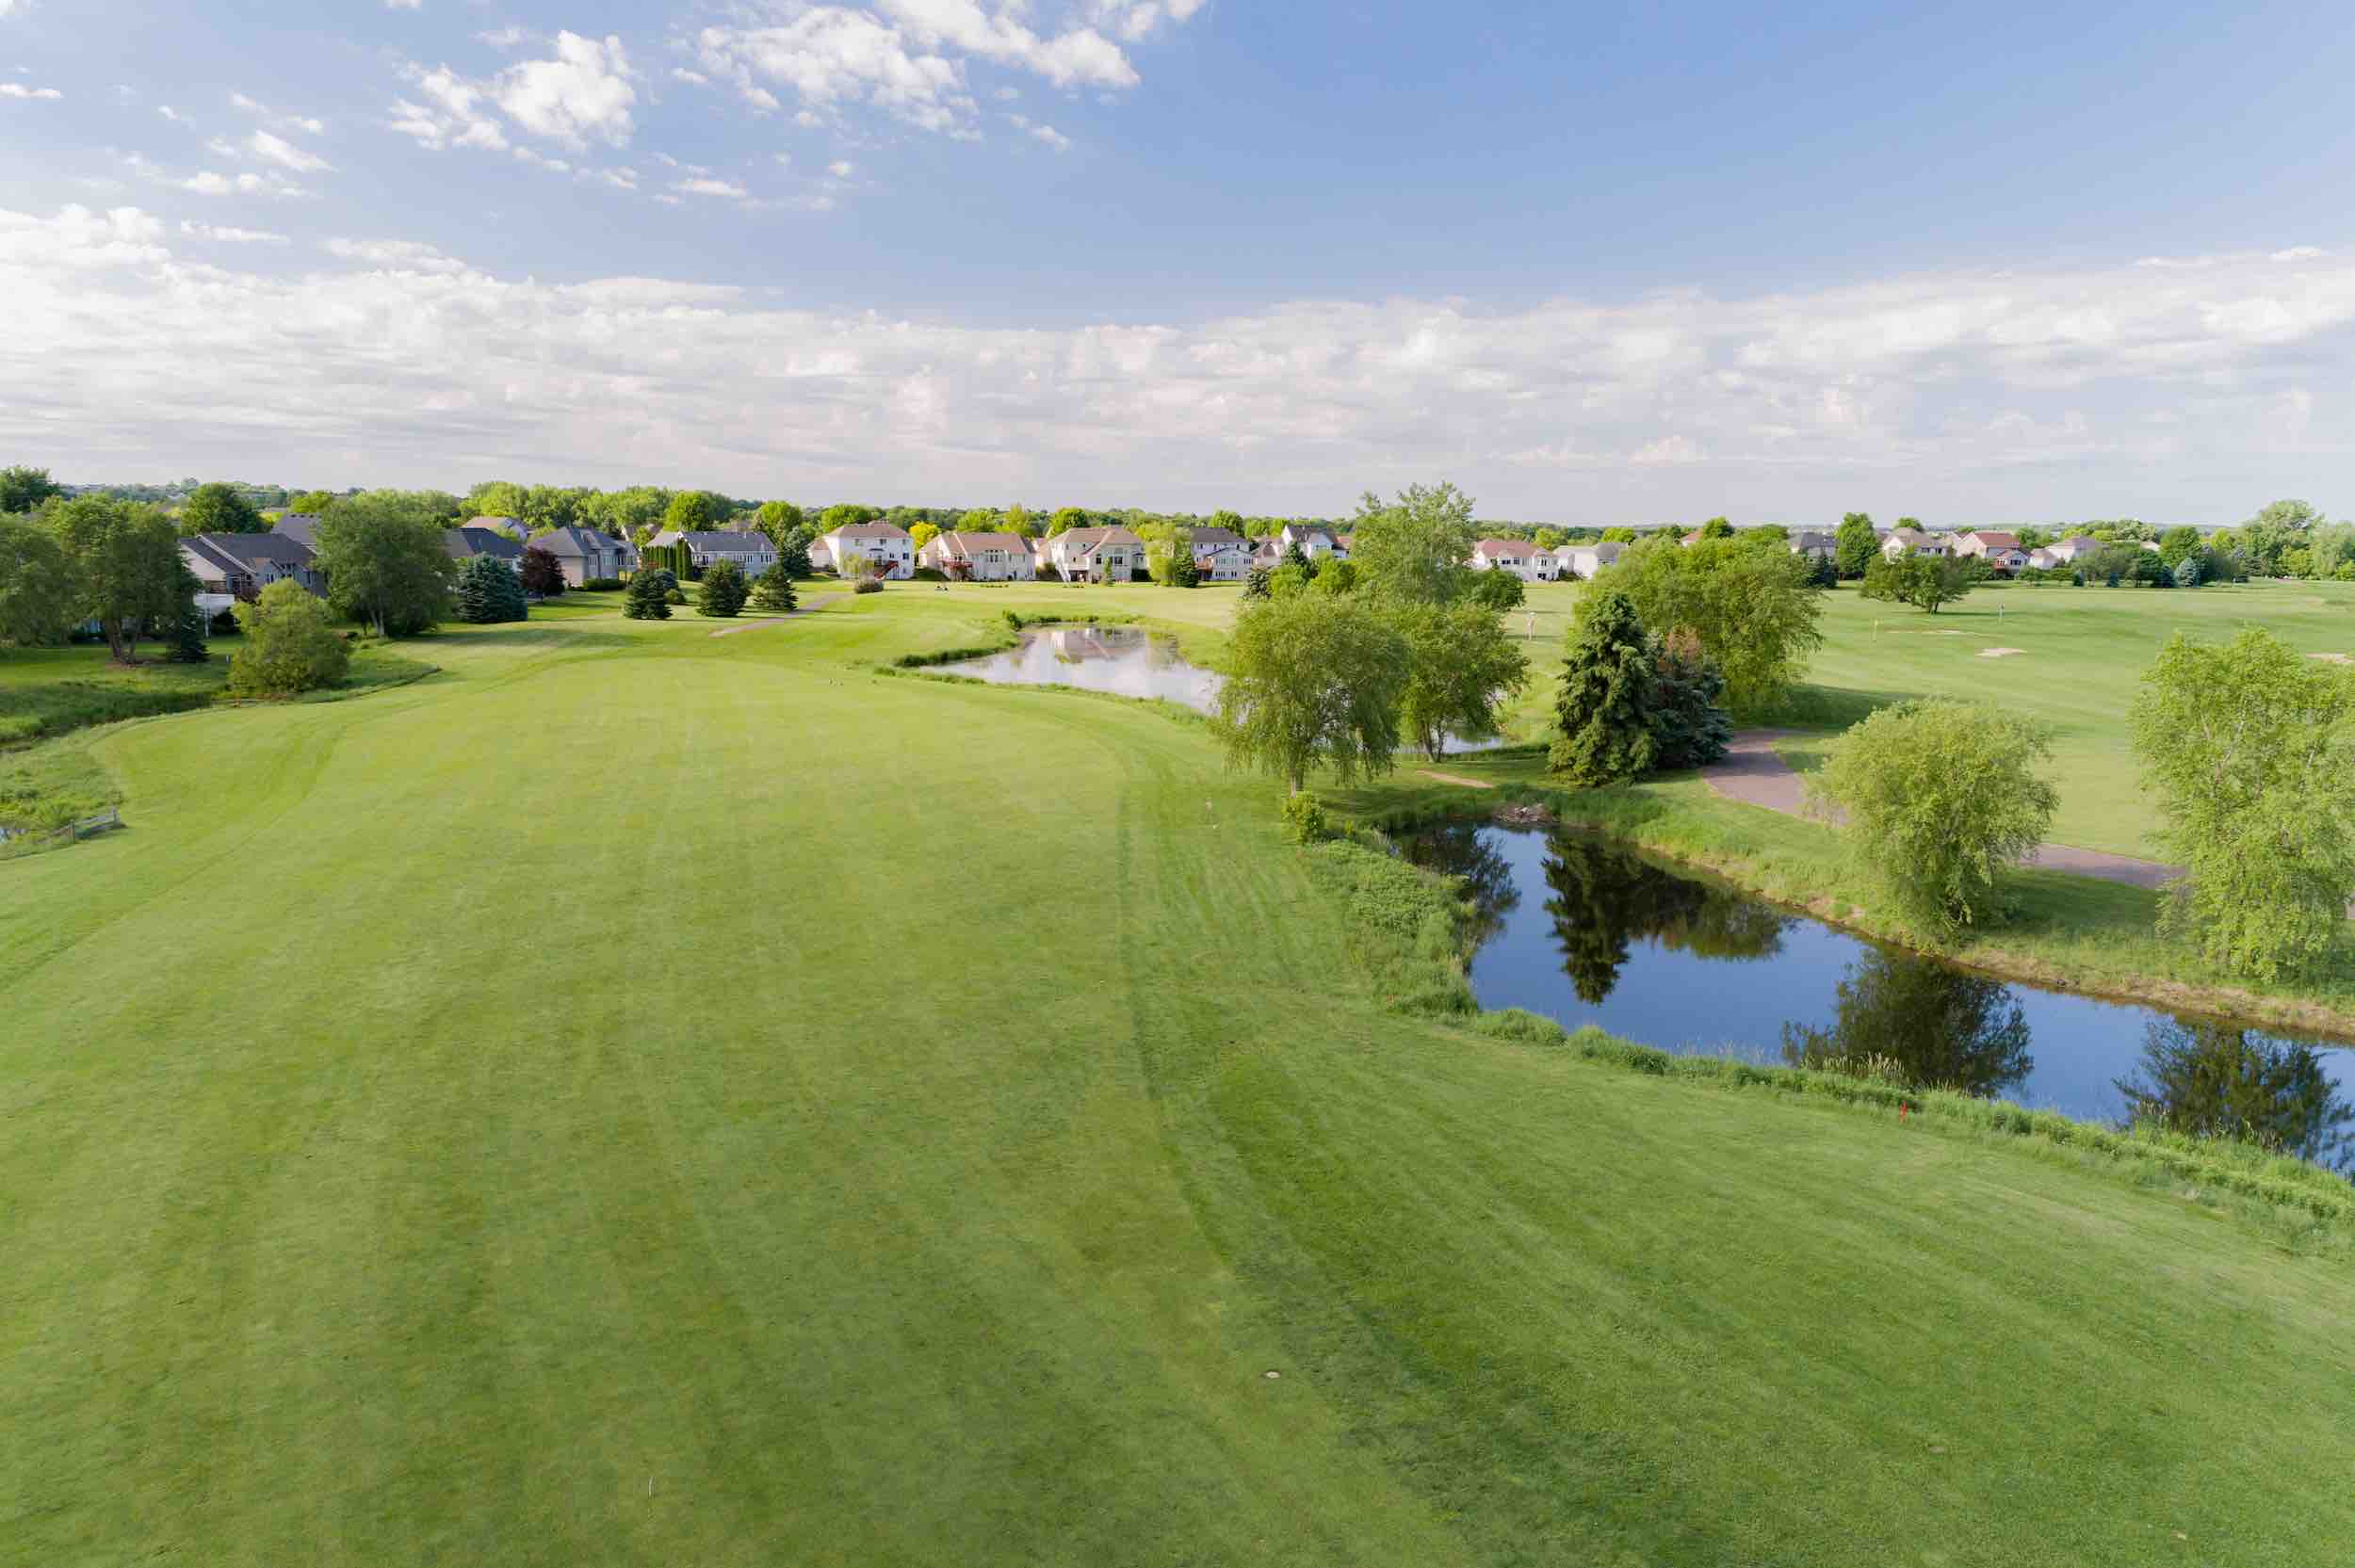
Eagle Valley is truly a unique golf experience. We believe the measure of a great golf course is one that can be played every day and always be interesting and enjoyable. With a combination of challenges unique to each hole, Eagle Valley will test all of your golf skills. Playing conditions are always excellent, we make it our top priority to have unsurpassed golf course quality and conditions every day. Click on the hole numbers to take the course tour and then come see for yourself. We look forward to seeing you soon. |
|||||||||||||||||||||||||||||||||||
|
|||||||||||||||||||||||||||||||||||
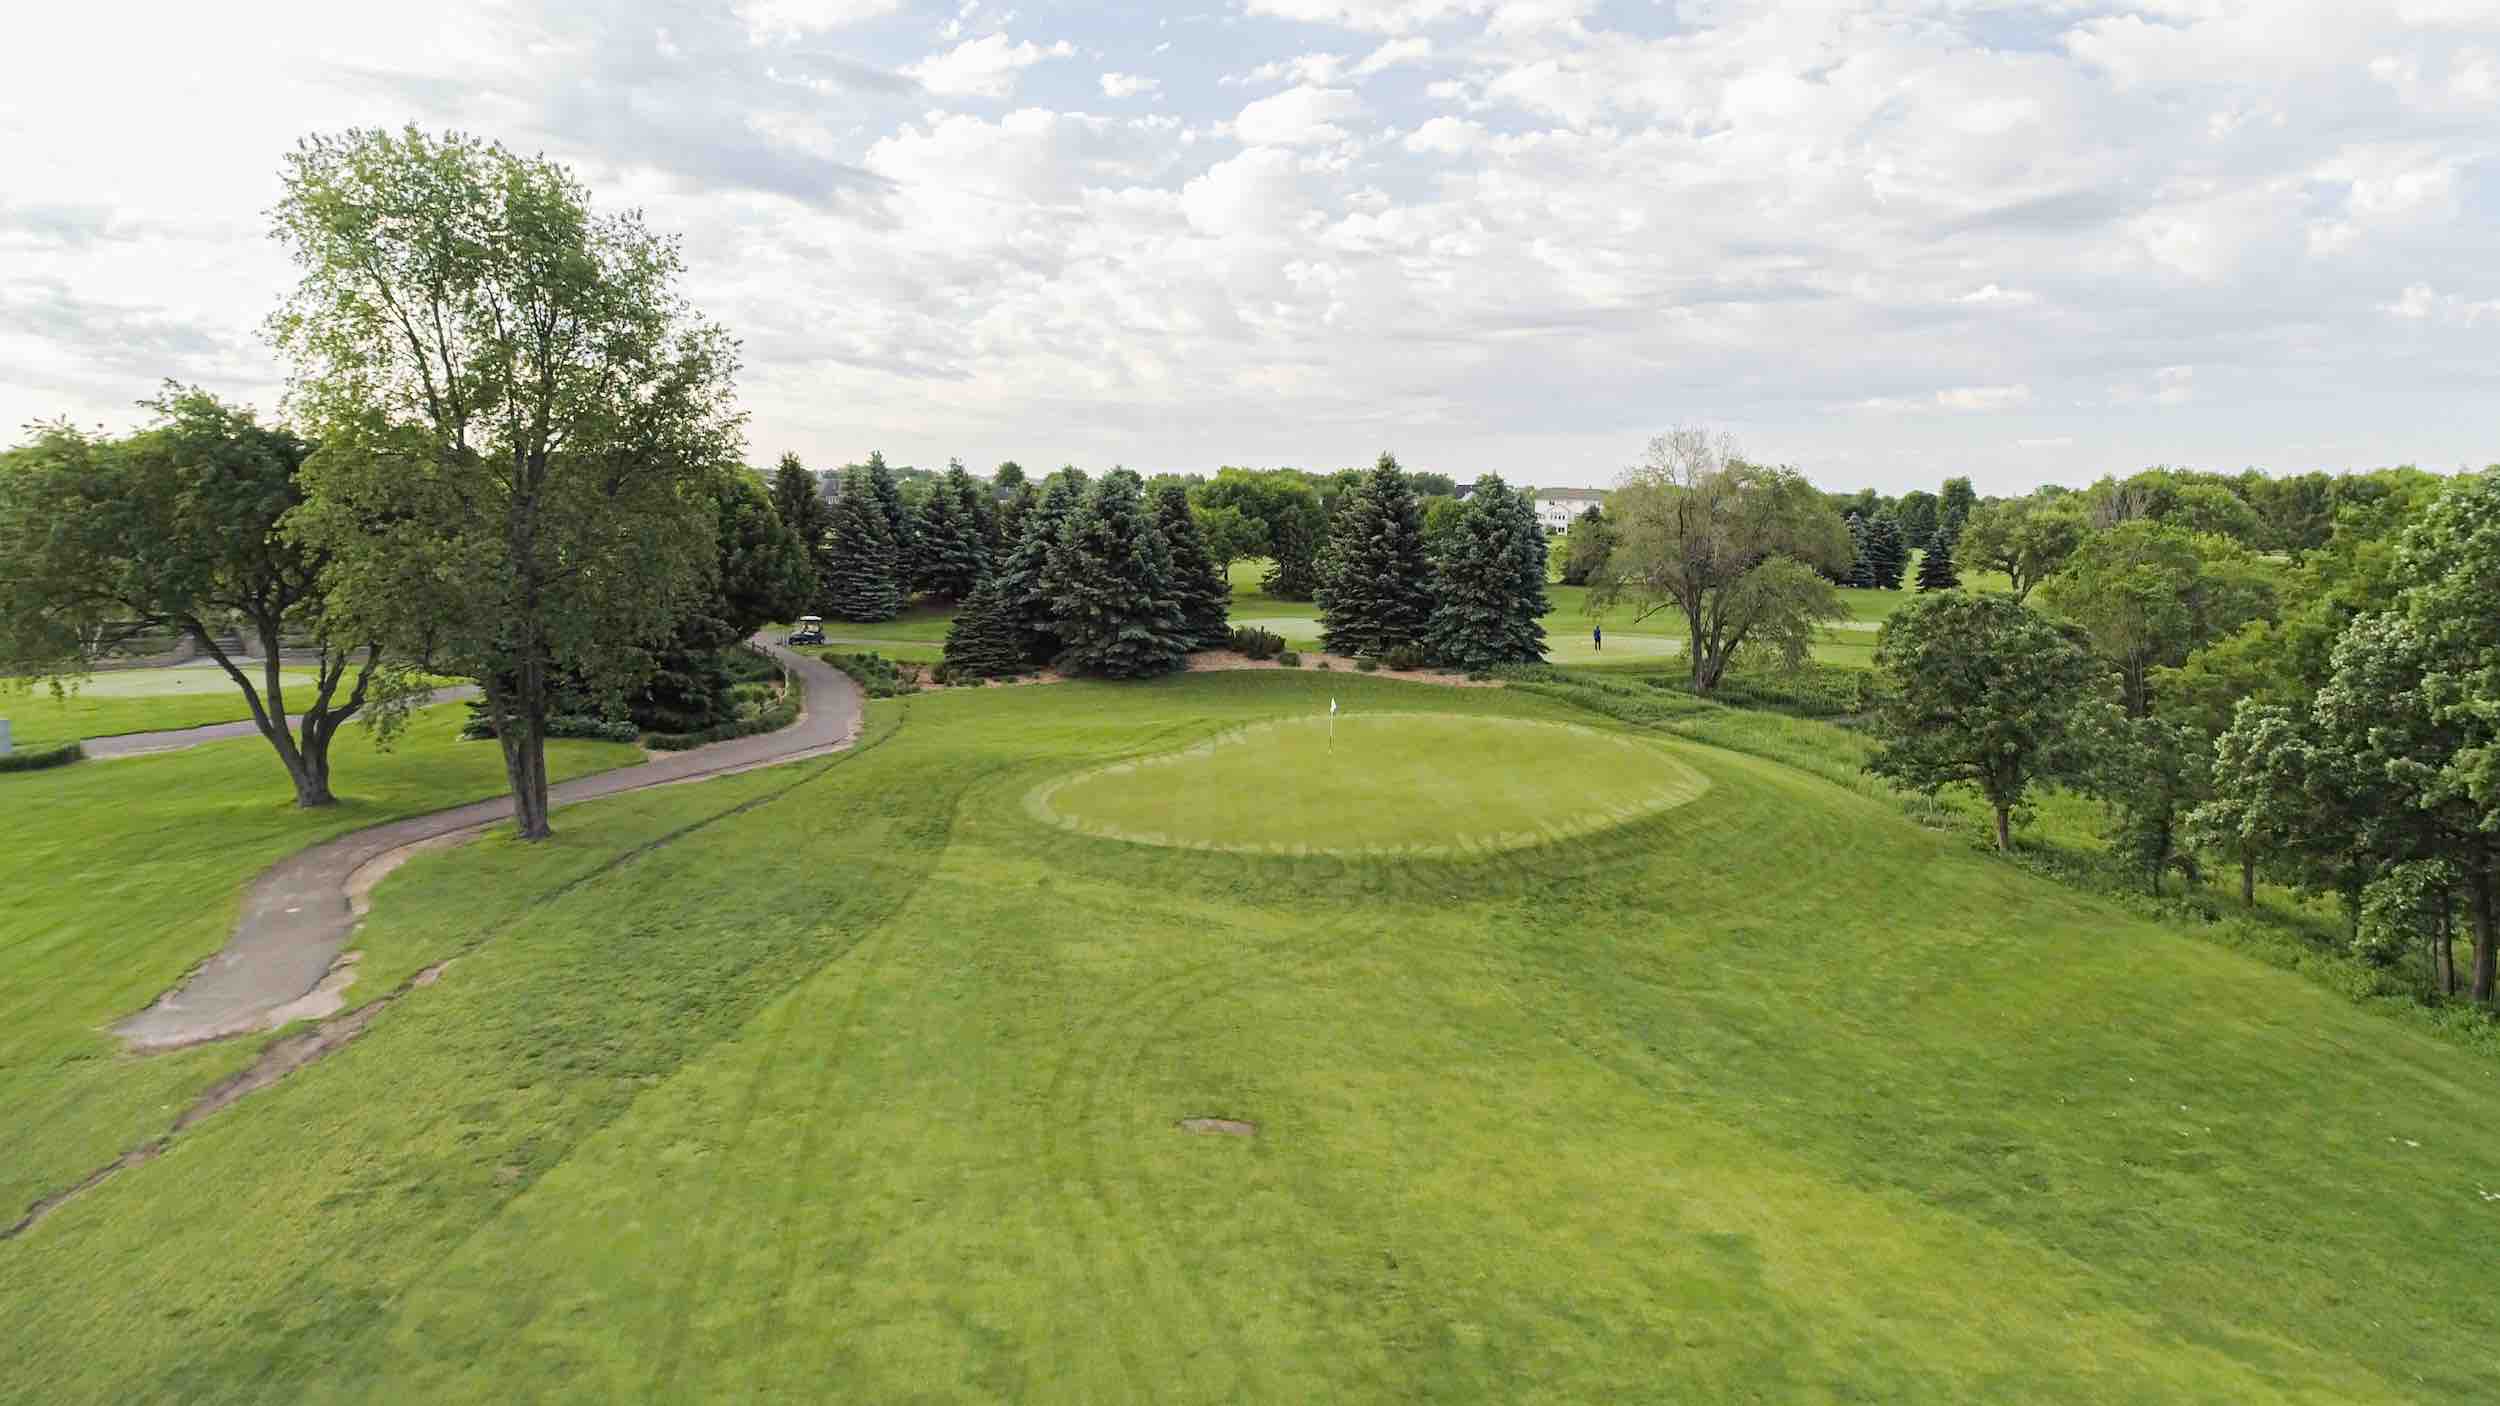
Hole #1
Men’s Handicap 13
Women’s Handicap 9
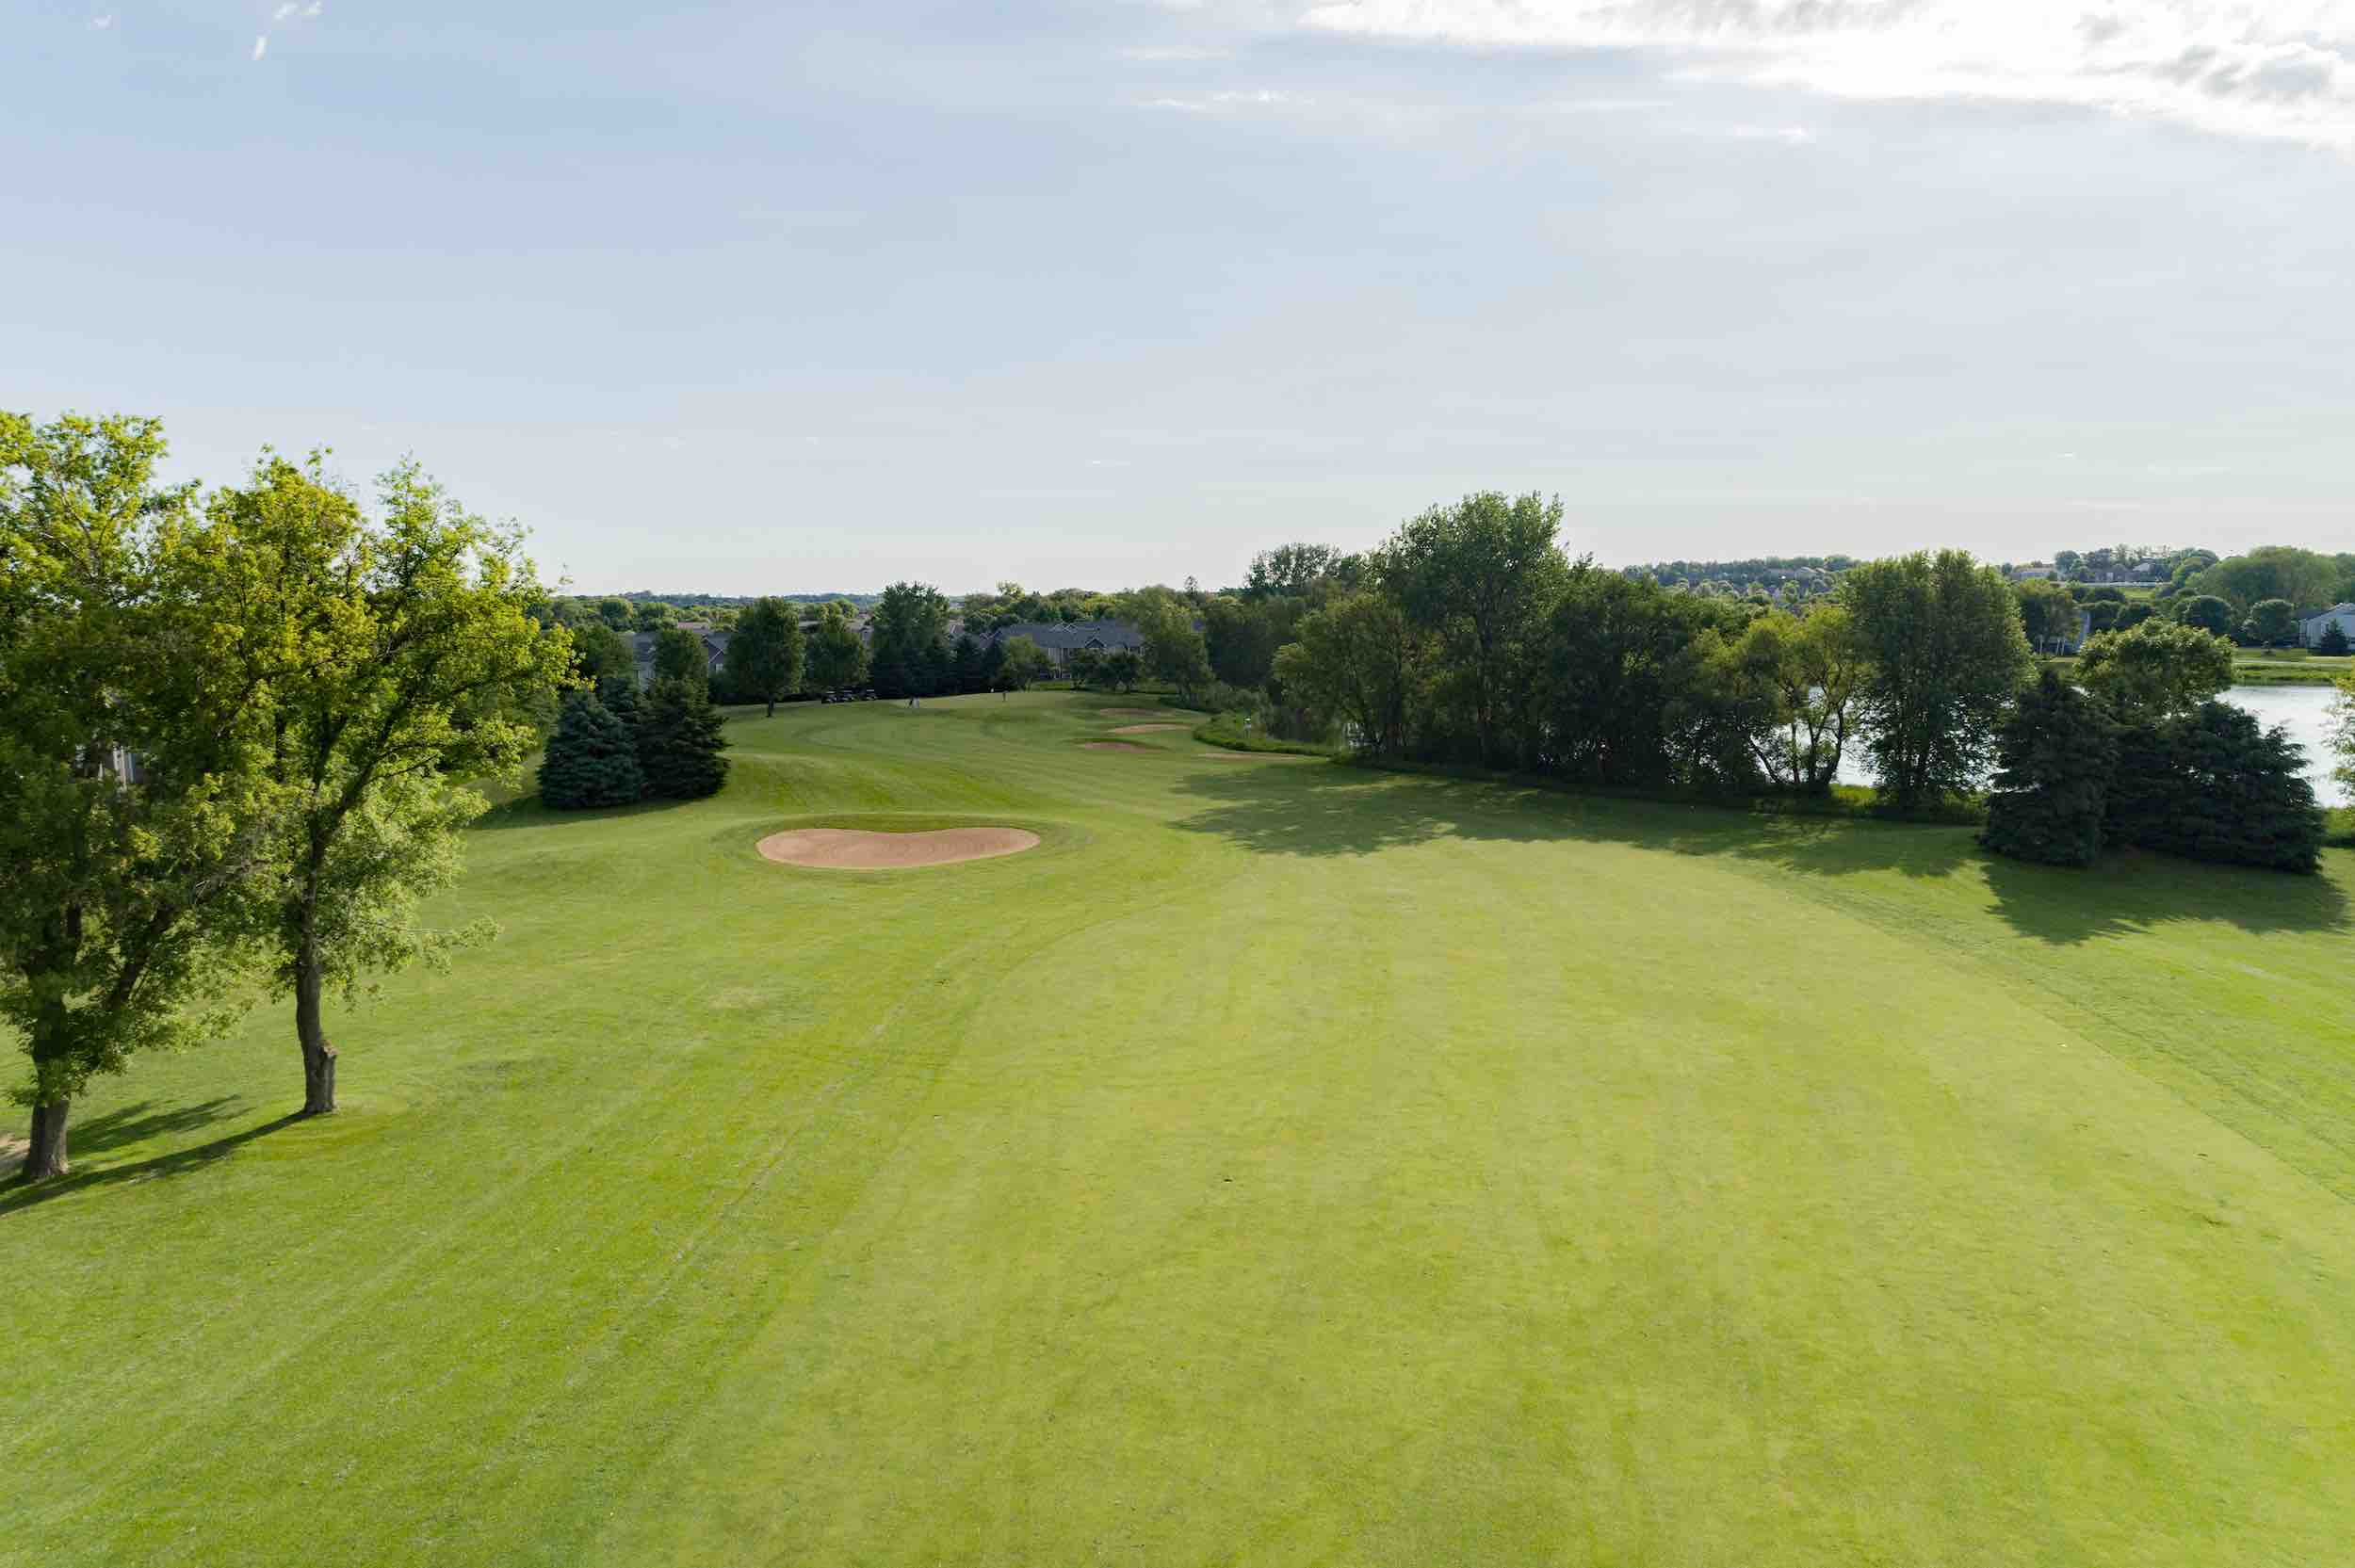
The opening hole at Eagle Valley is the only par 5 on the front nine. There are trees to the right so favor the left side of the fairway on your tee shot.
For your second shot the proper lay-up is about 120 – 130 yards short of the green avoiding the bunker on the left and the water on the right that will come into play at 100 yards.
The safe shot to the green is to favor the left side as it narrows and slopes away on the right.
| Hole 1 | Par 5 |
| Black | 537 |
| Blue | 521 |
| White | 503 |
| Gold | 495 |
| Red | 456 |


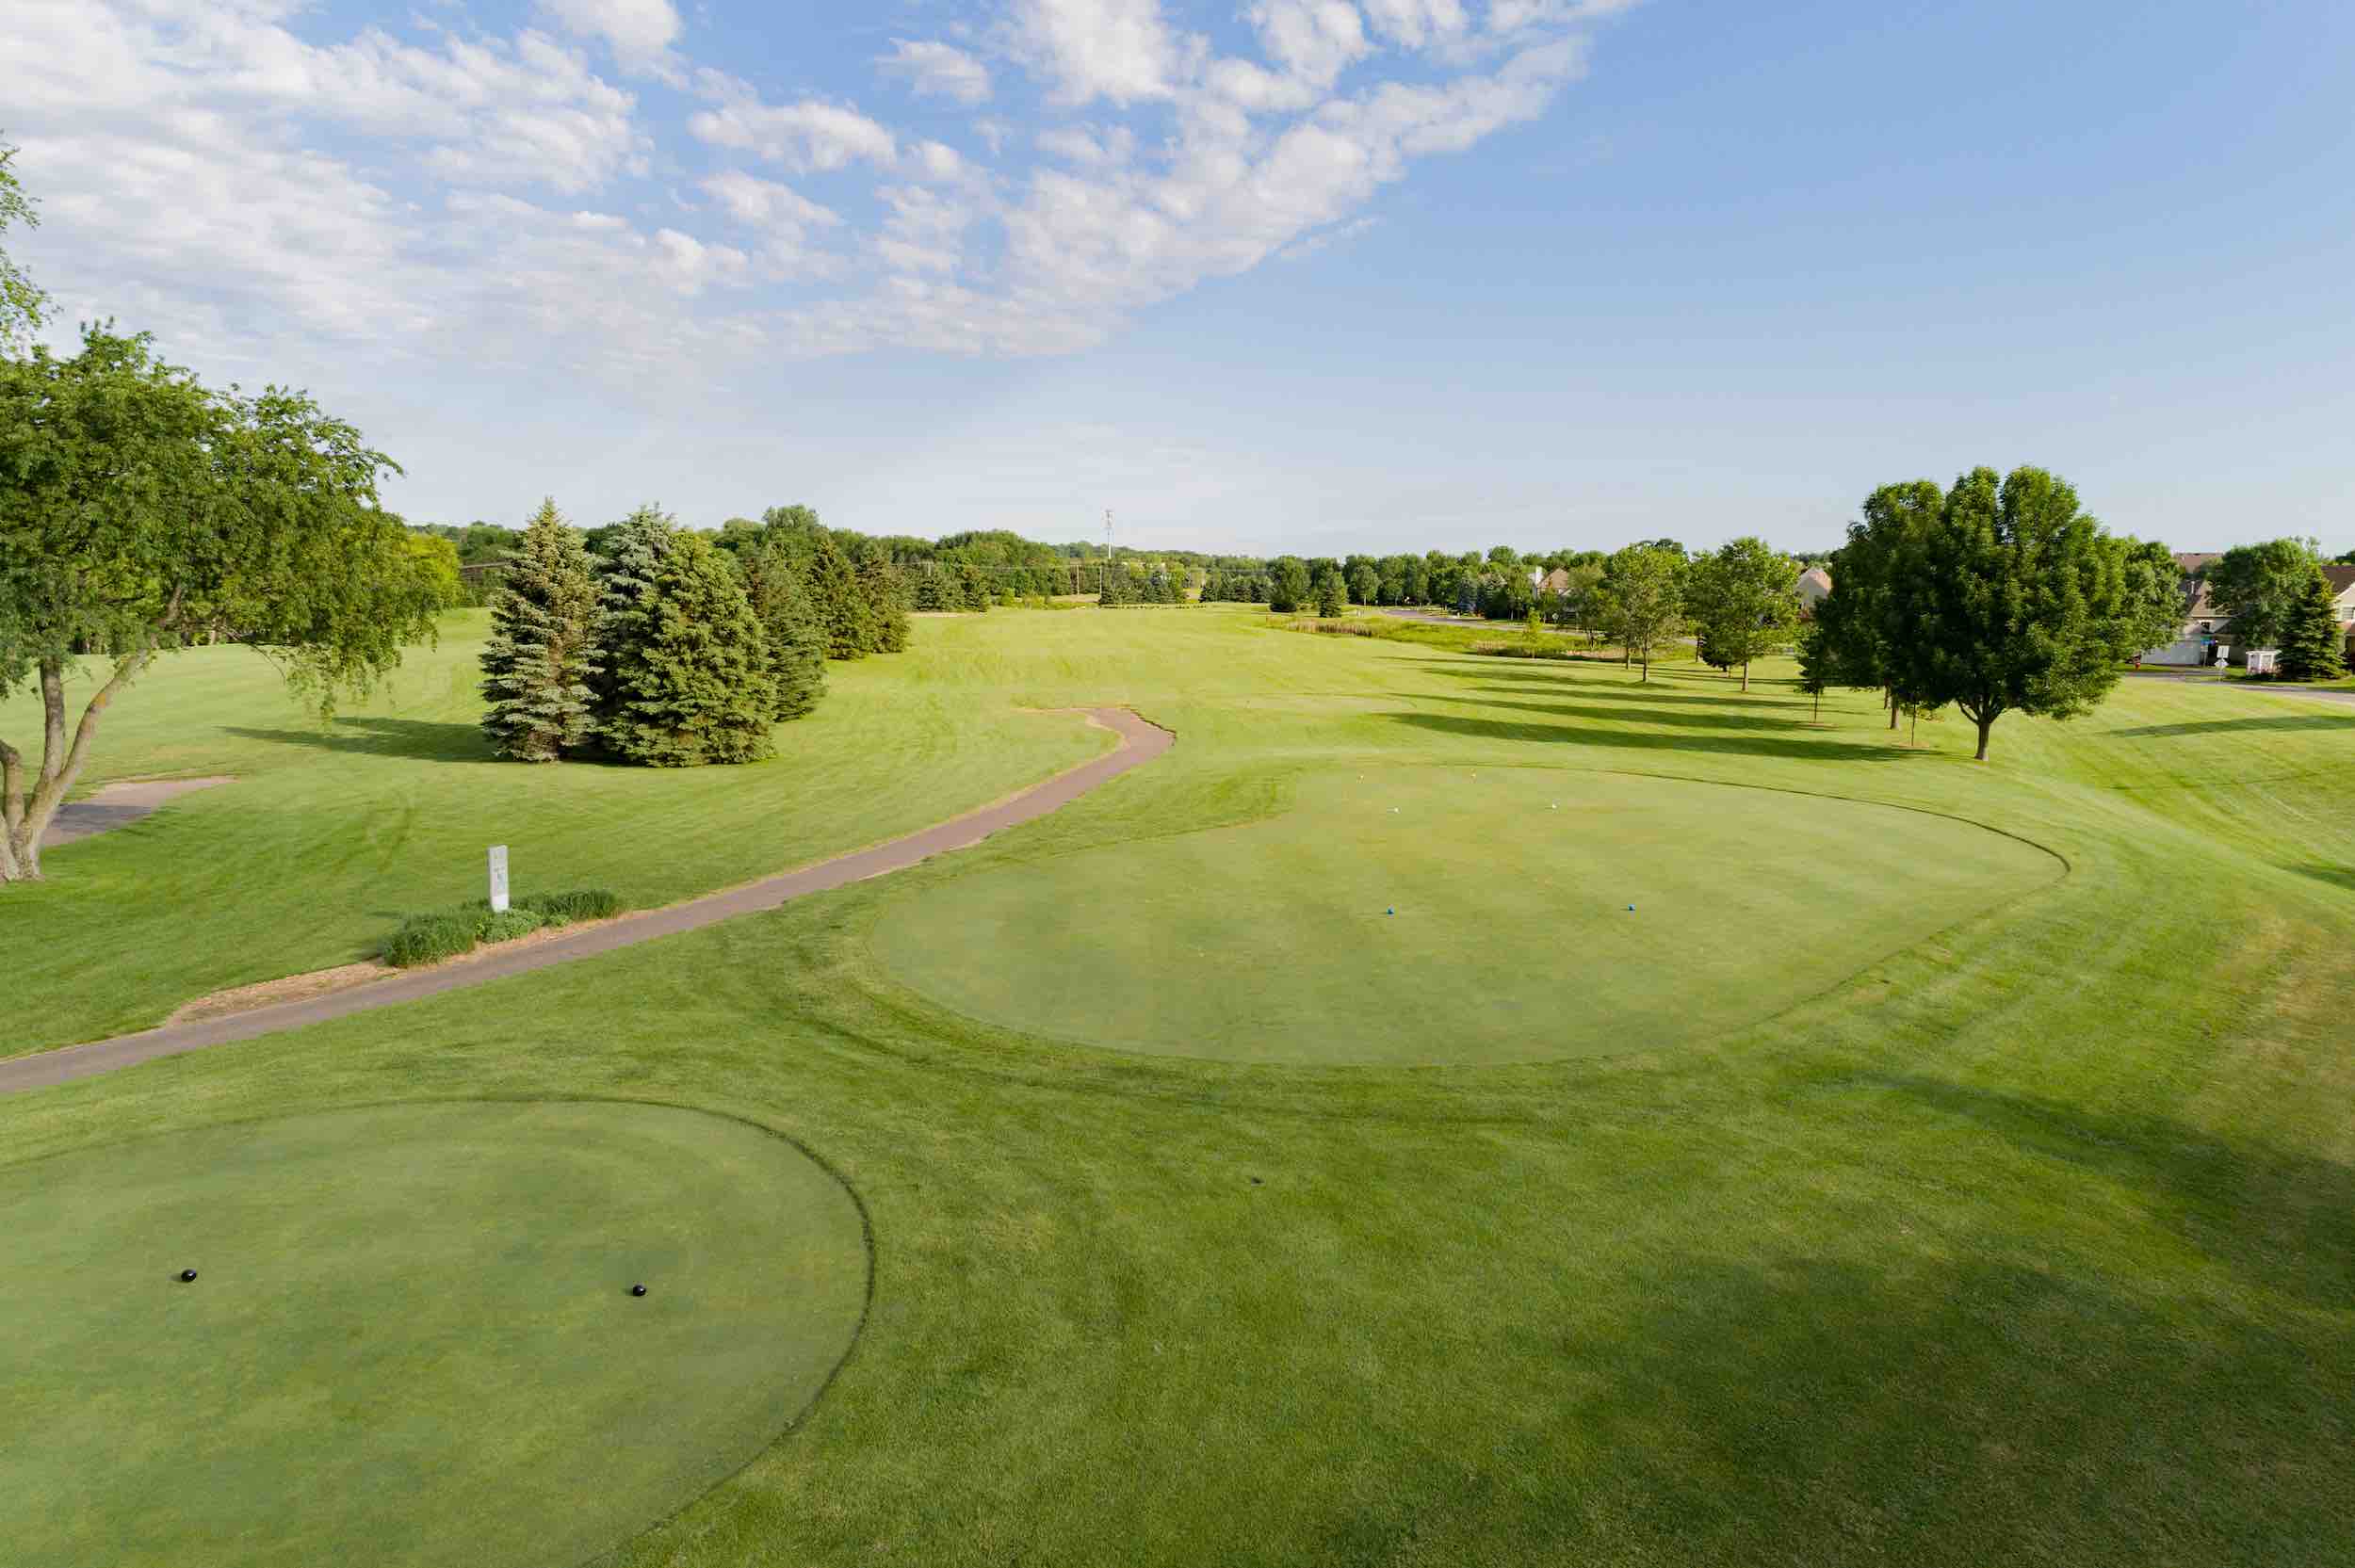
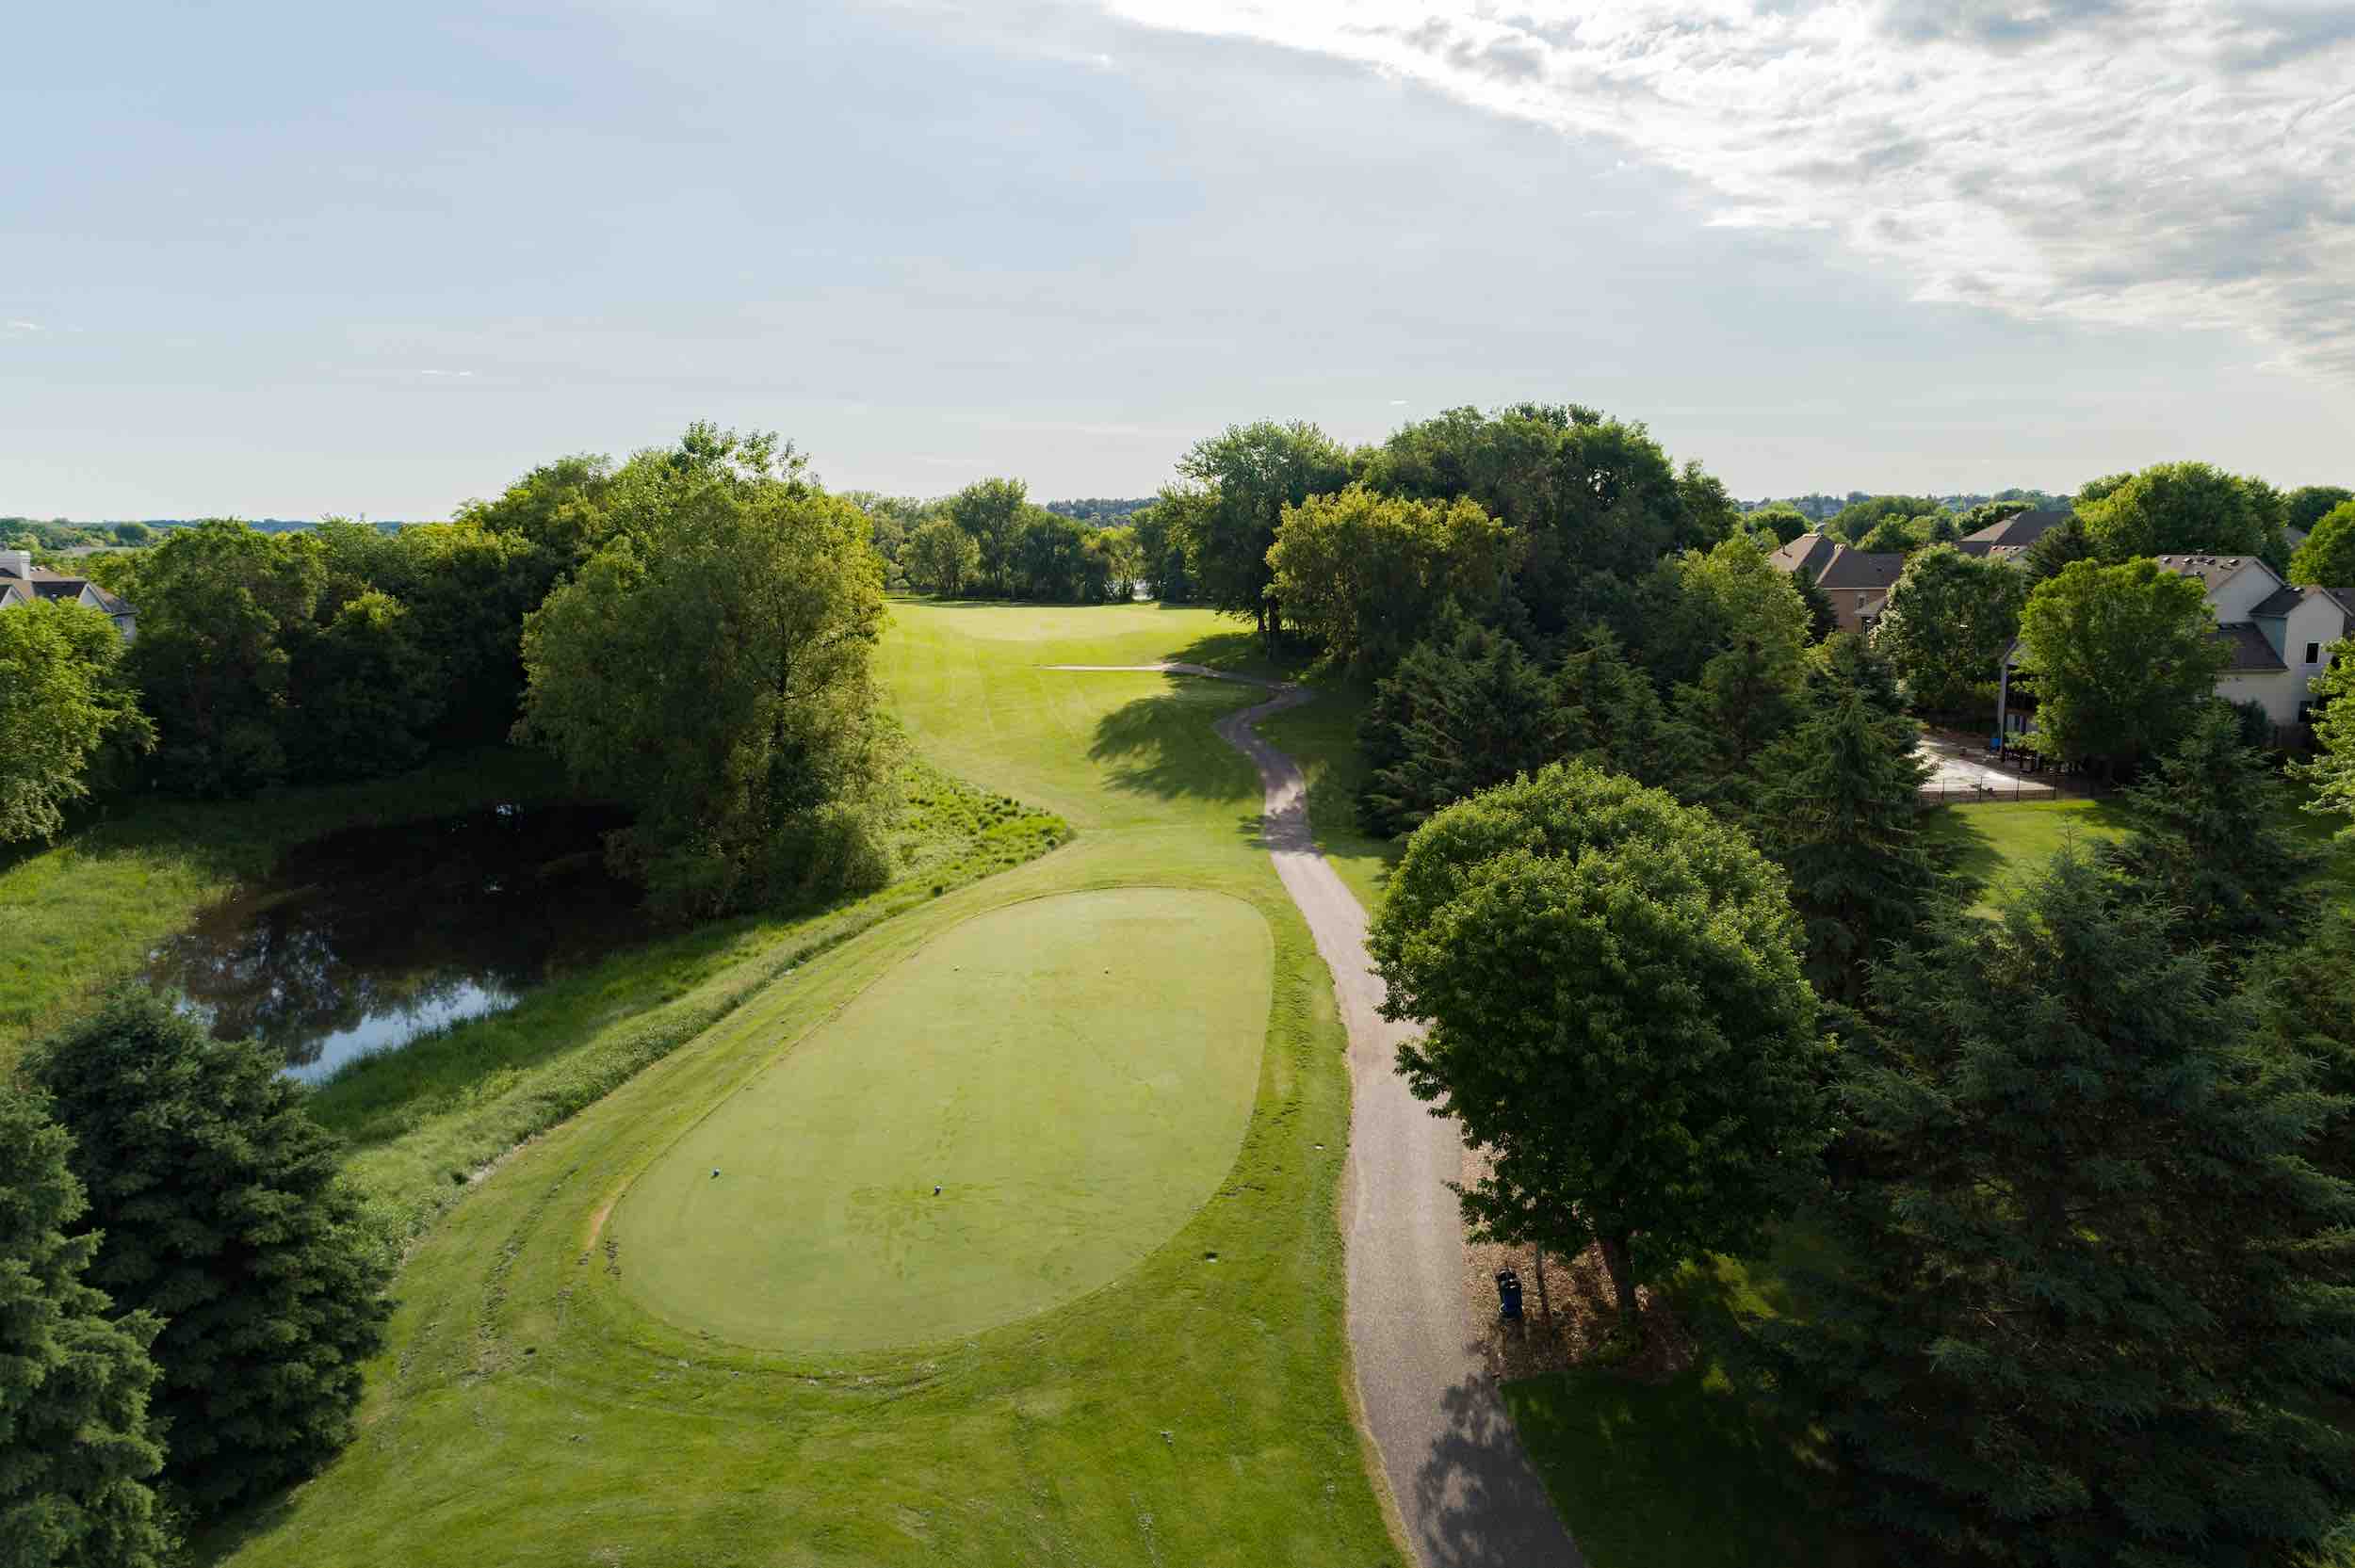
Hole #2
Men’s Handicap 5
Women’s Handicap 11
The second hole is a down-hill, slight dog-leg right par 4. Favor the left hand side of the fairway on your tee shot because there is water that can come in to play on the right hand side that is not visible from the tee.
Your second shot will be downhill to a large green that is receptive to most shots.
| Hole 2 | Par 4 |
|
Black
|
435
|
|
Blue
|
418
|
|
White
|
400
|
| Gold | 340 |
|
Red
|
337
|


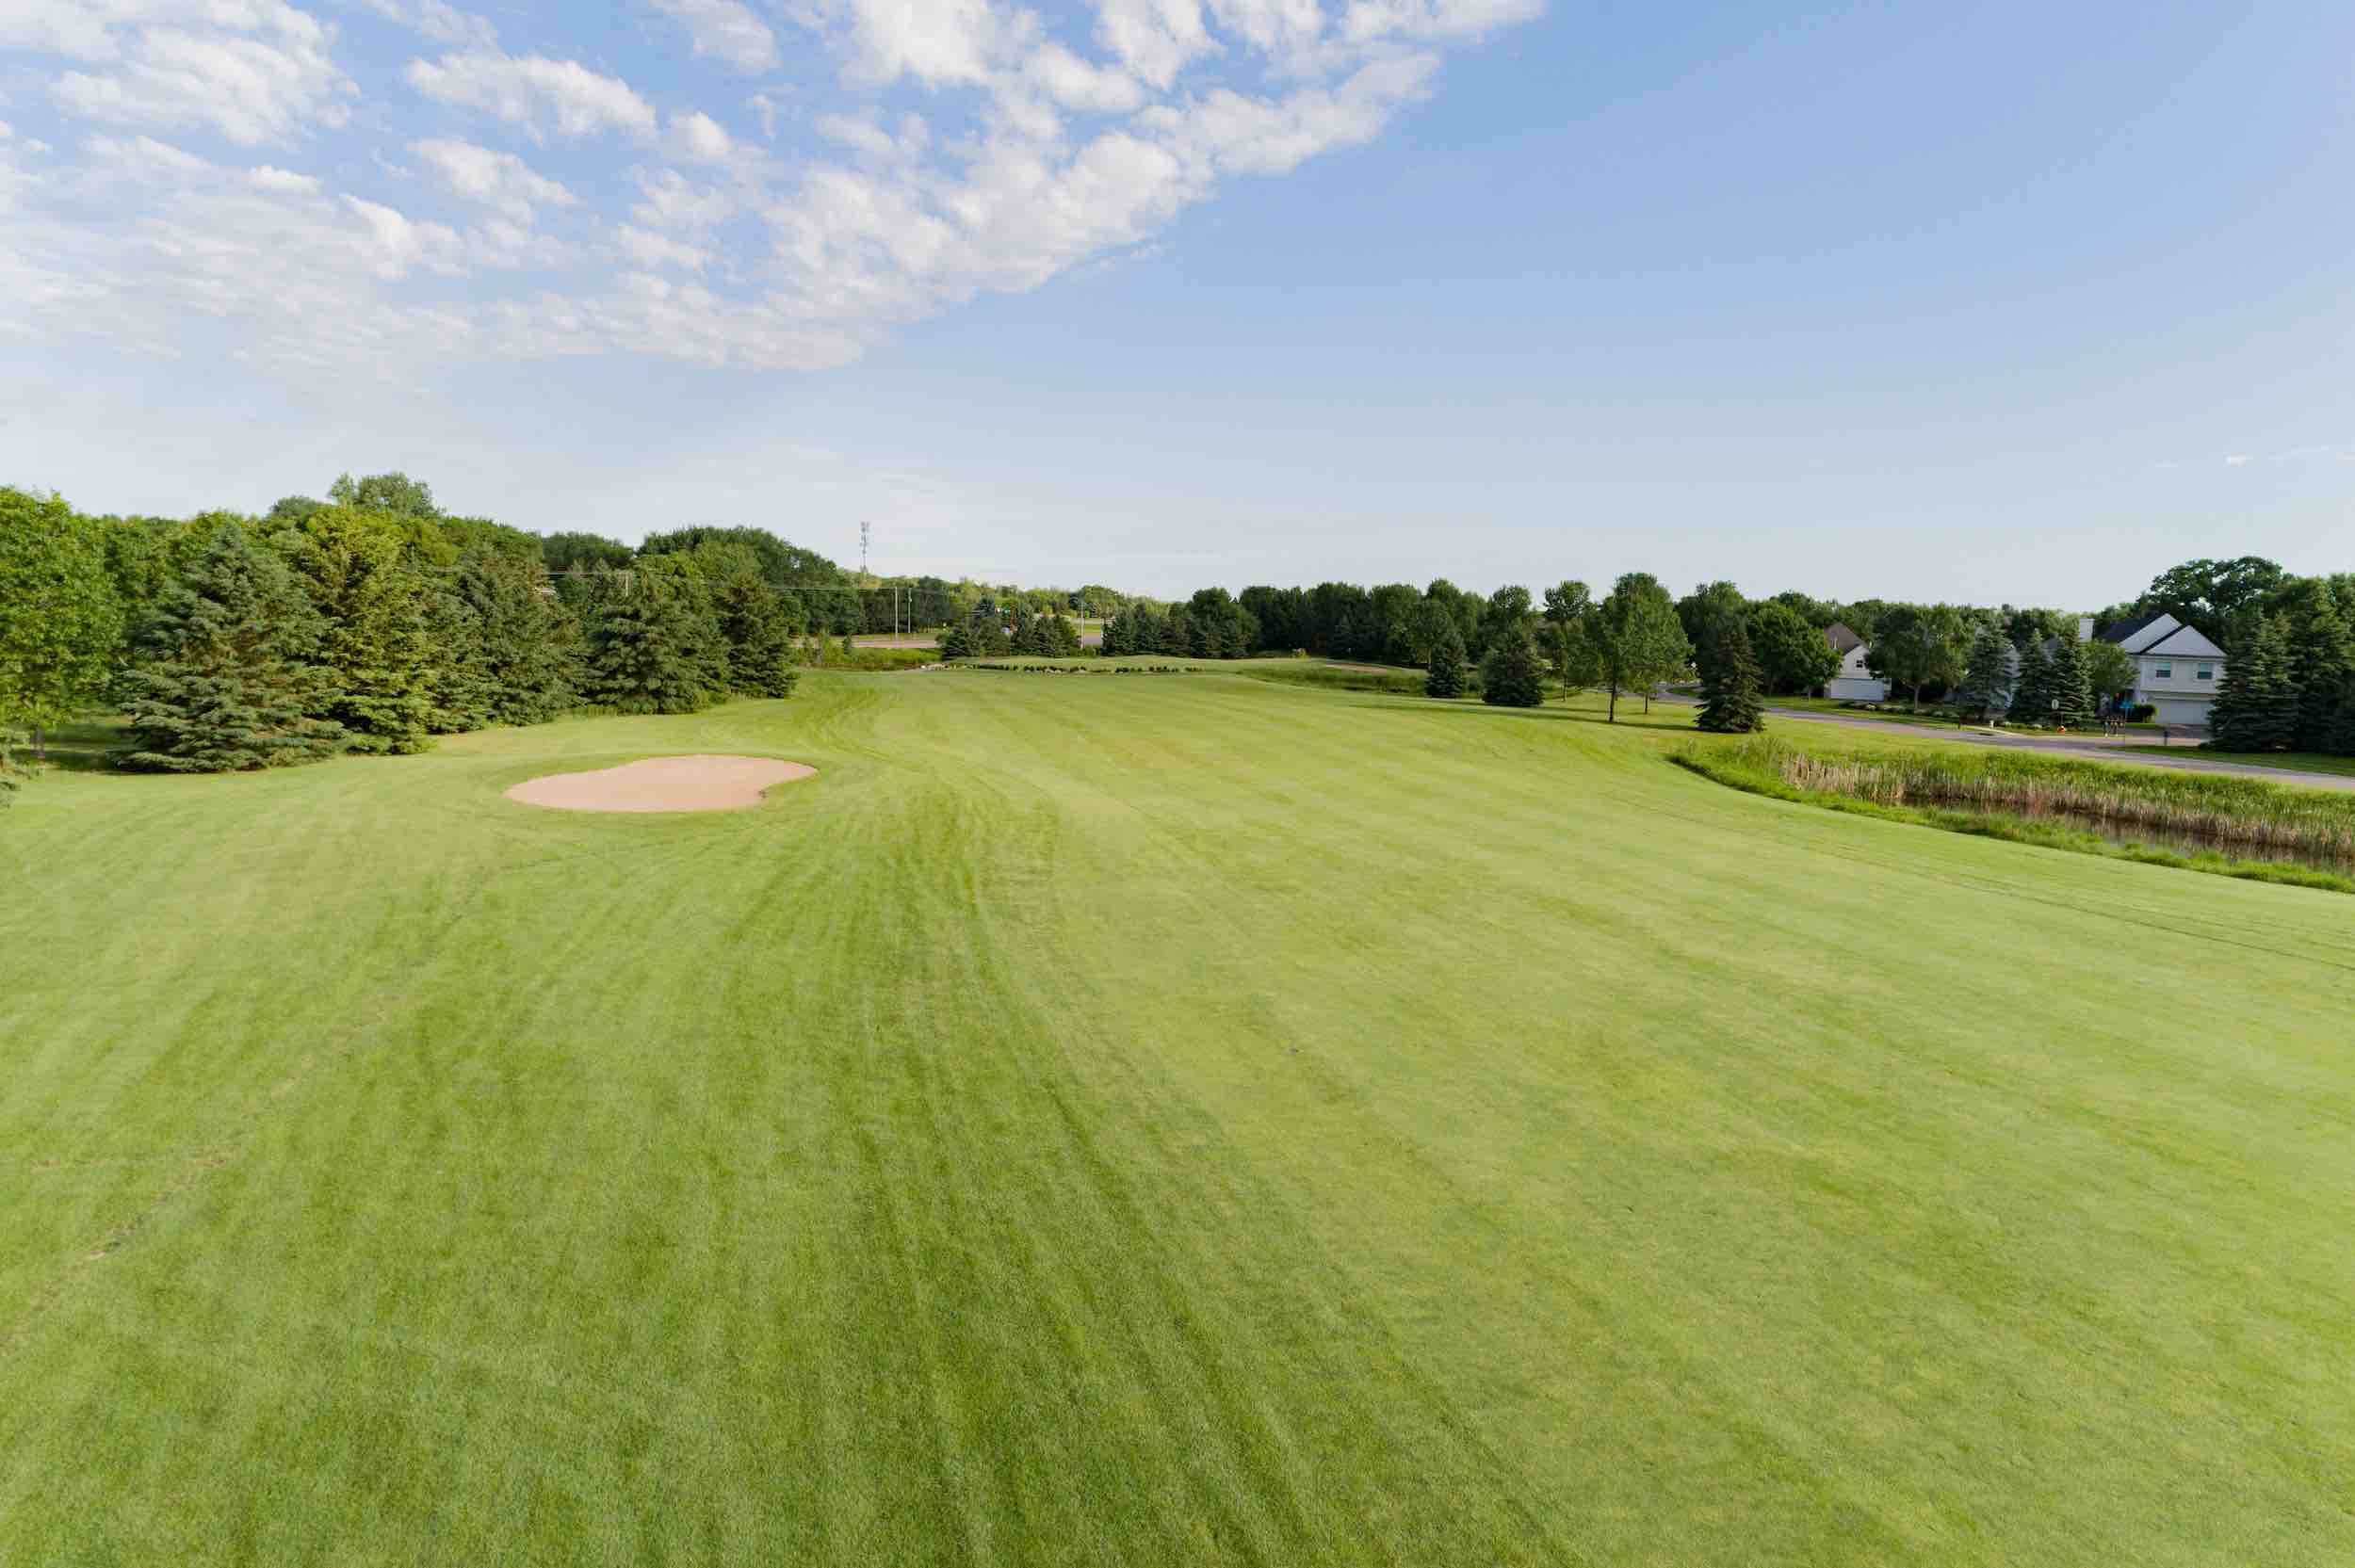
Hole #3
Men’s Handicap 9
Women’s Handicap 7
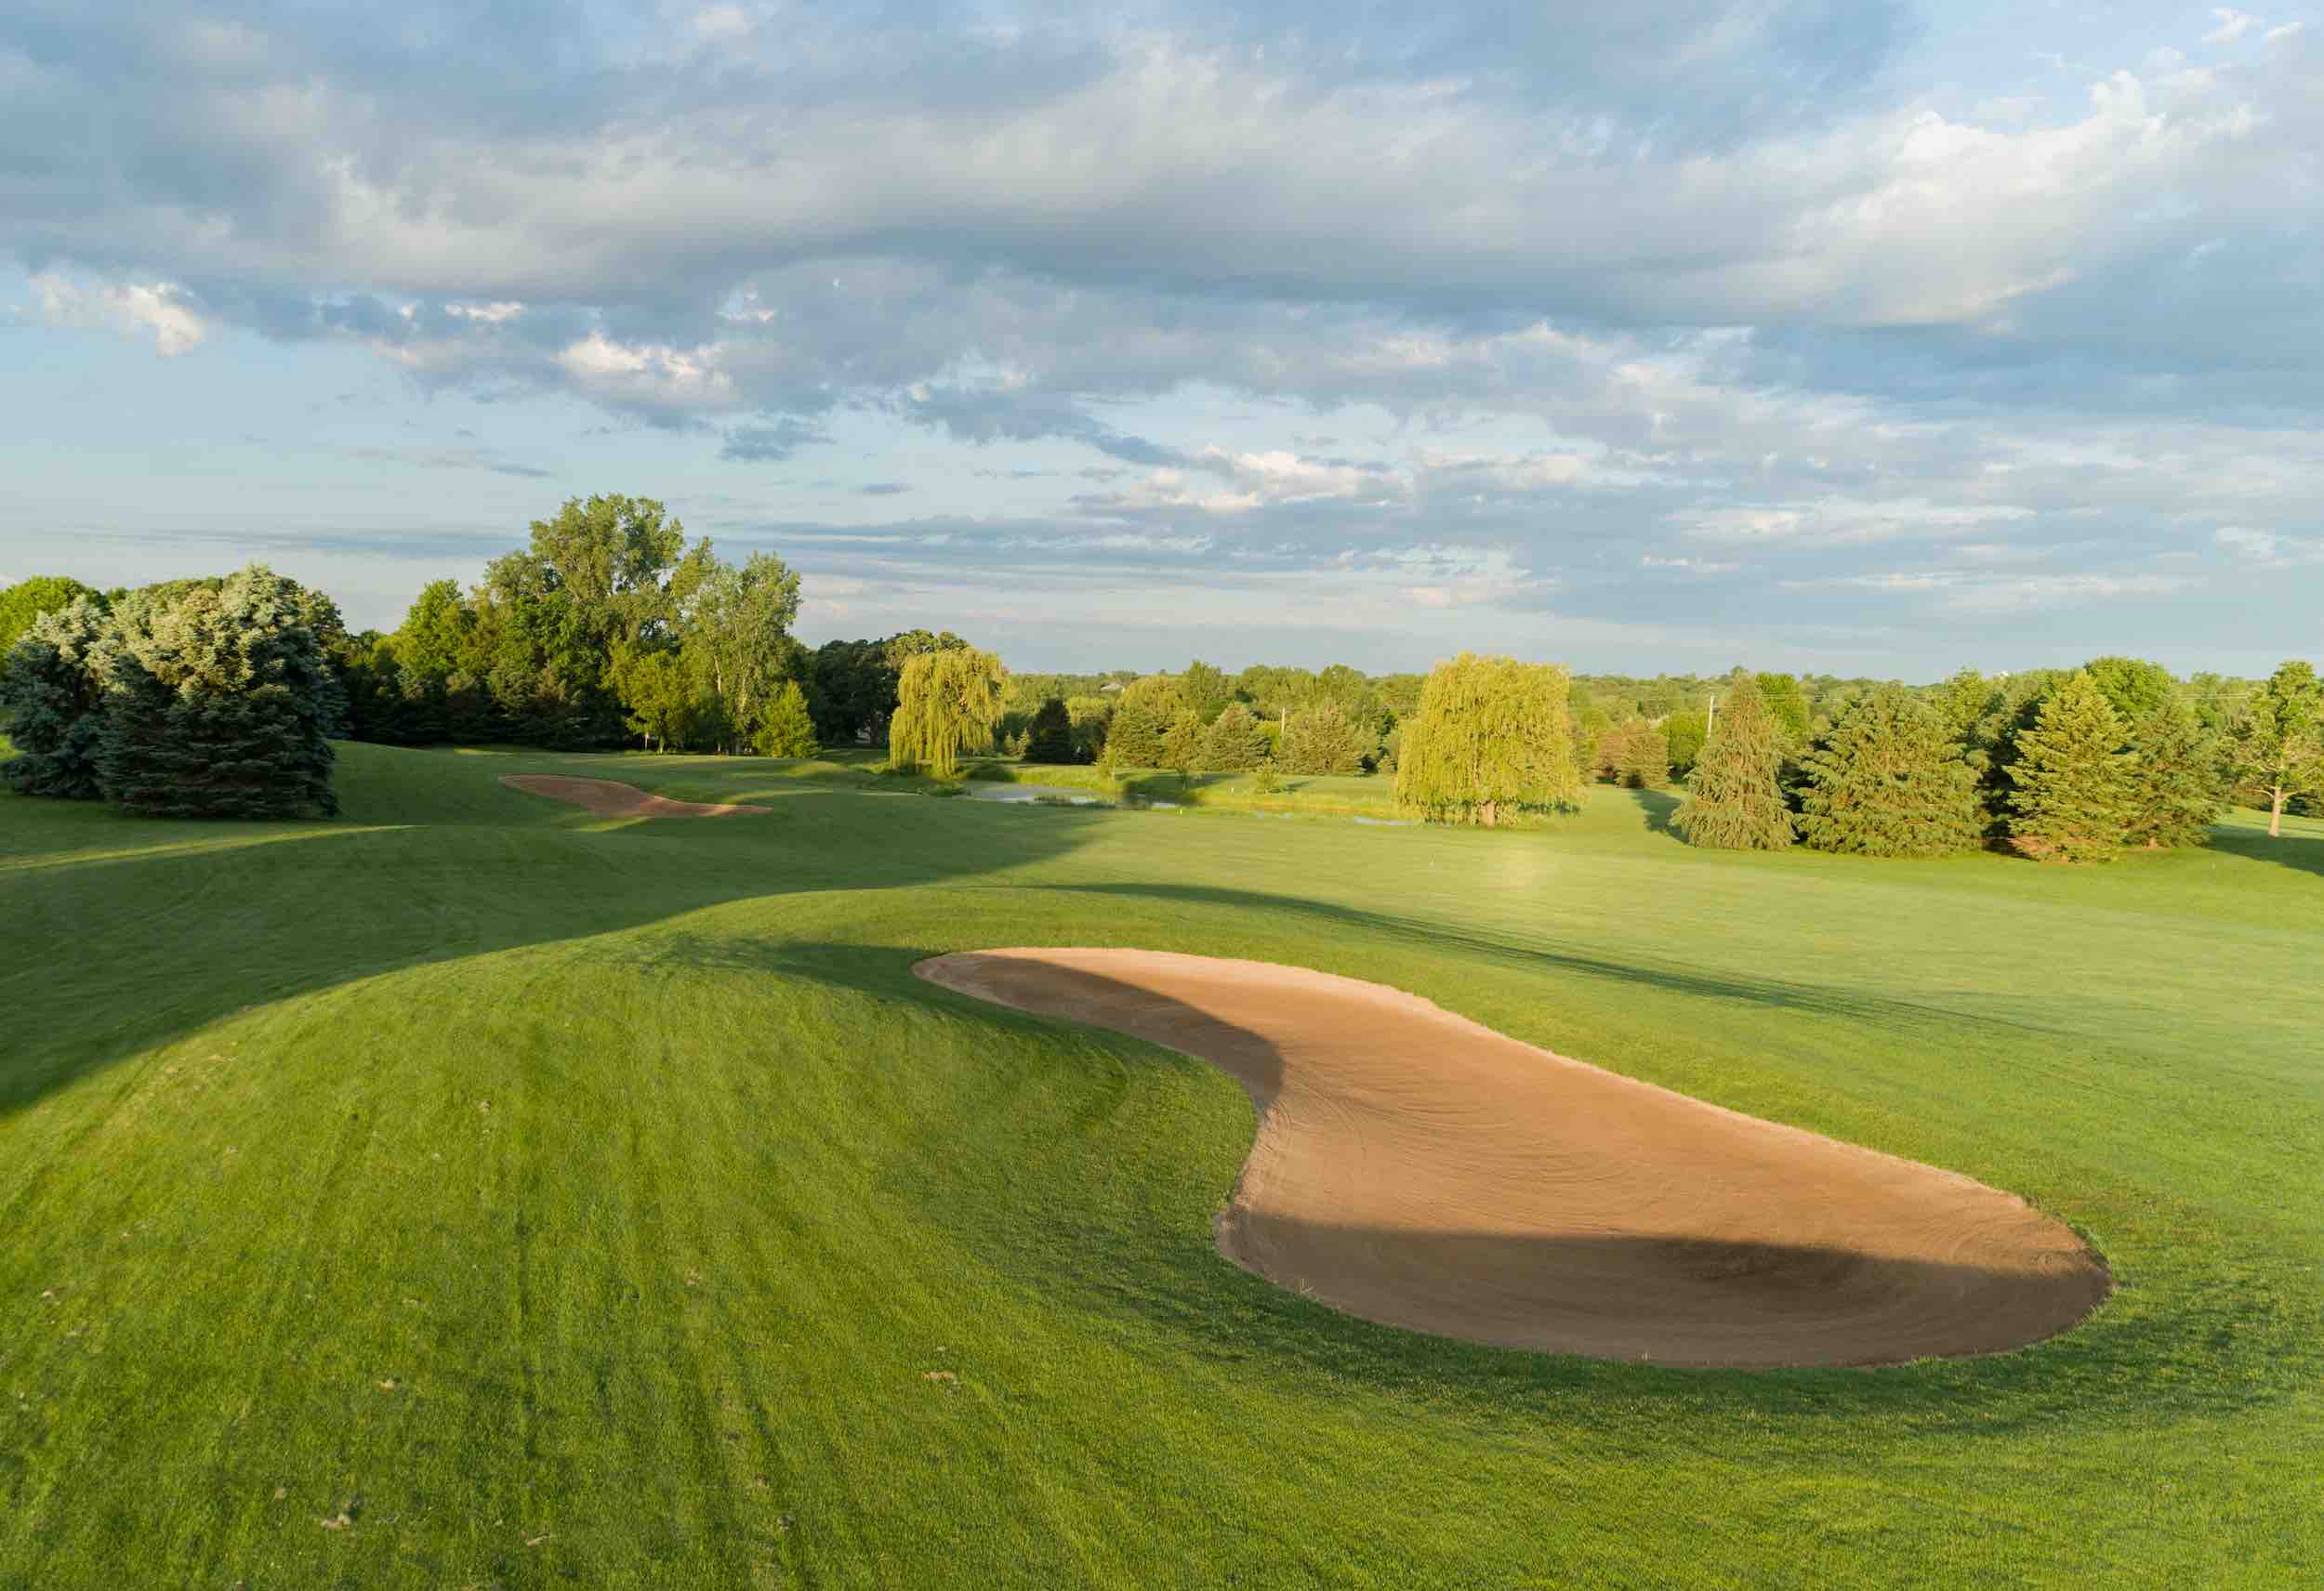
The third hole at Eagle Valley is a par 4 dog-leg left. There are bunkers on the left and water to the right of the fairway so accuracy rather than distance off the tee is the key to a good score on this hole.
Your approach shot is uphill to a narrow green that, depending on the pin placement, may require a conservative shot to the center of the green.
| Hole 3 | Par 4 |
| Black | 384 |
| Blue | 365 |
| White | 352 |
| Gold | 346 |
| Red | 298 |

Hole #4
Men’s Handicap 1
Women’s Handicap 3
The number 1 handicap hole is a straight, downhill par 4. There is water to the left so make sure to favor the right side of the fairway off the tee.
On your approach there are trees behind the green so short is better than long. This green is not receptive to long irons, landing short and running up may be required of shorter drives.
| Hole 4 | Par 4 |
| Black | 419 |
| Blue | 403 |
| White | 376 |
| Gold | 320 |
| Red | 317 |


Hole #5
Men’s Handicap 17
Women’s Handicap 17
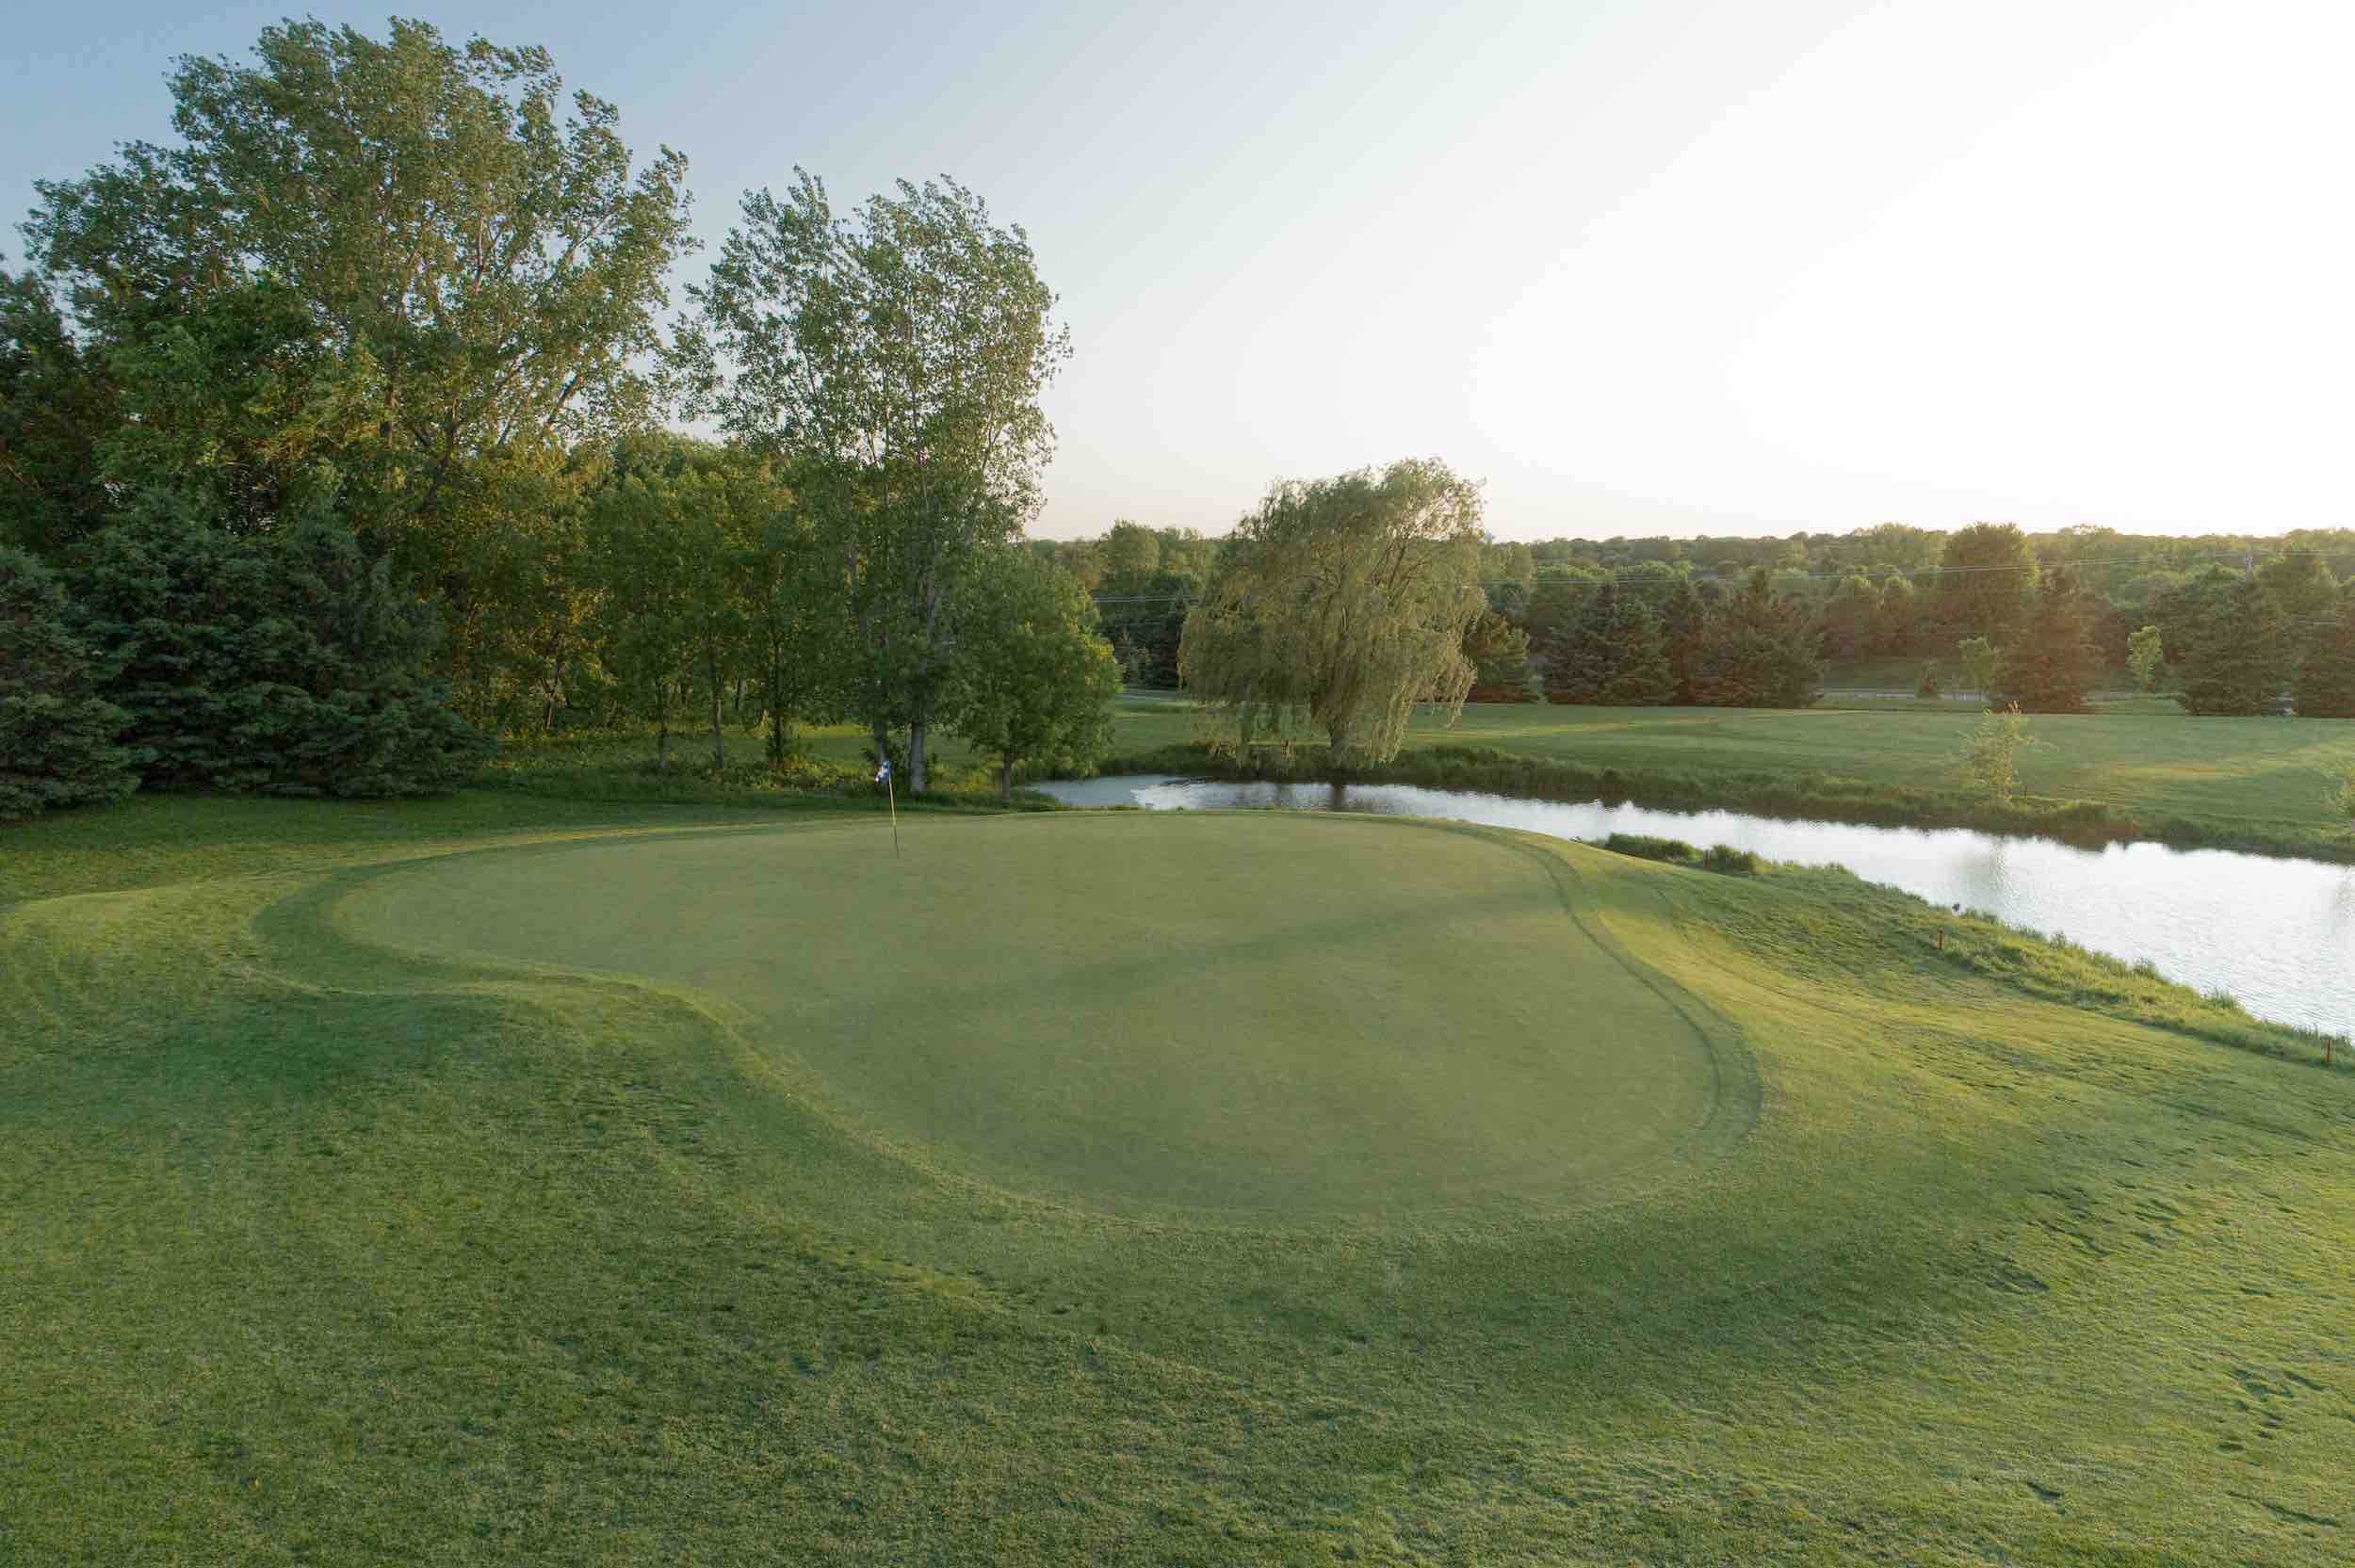
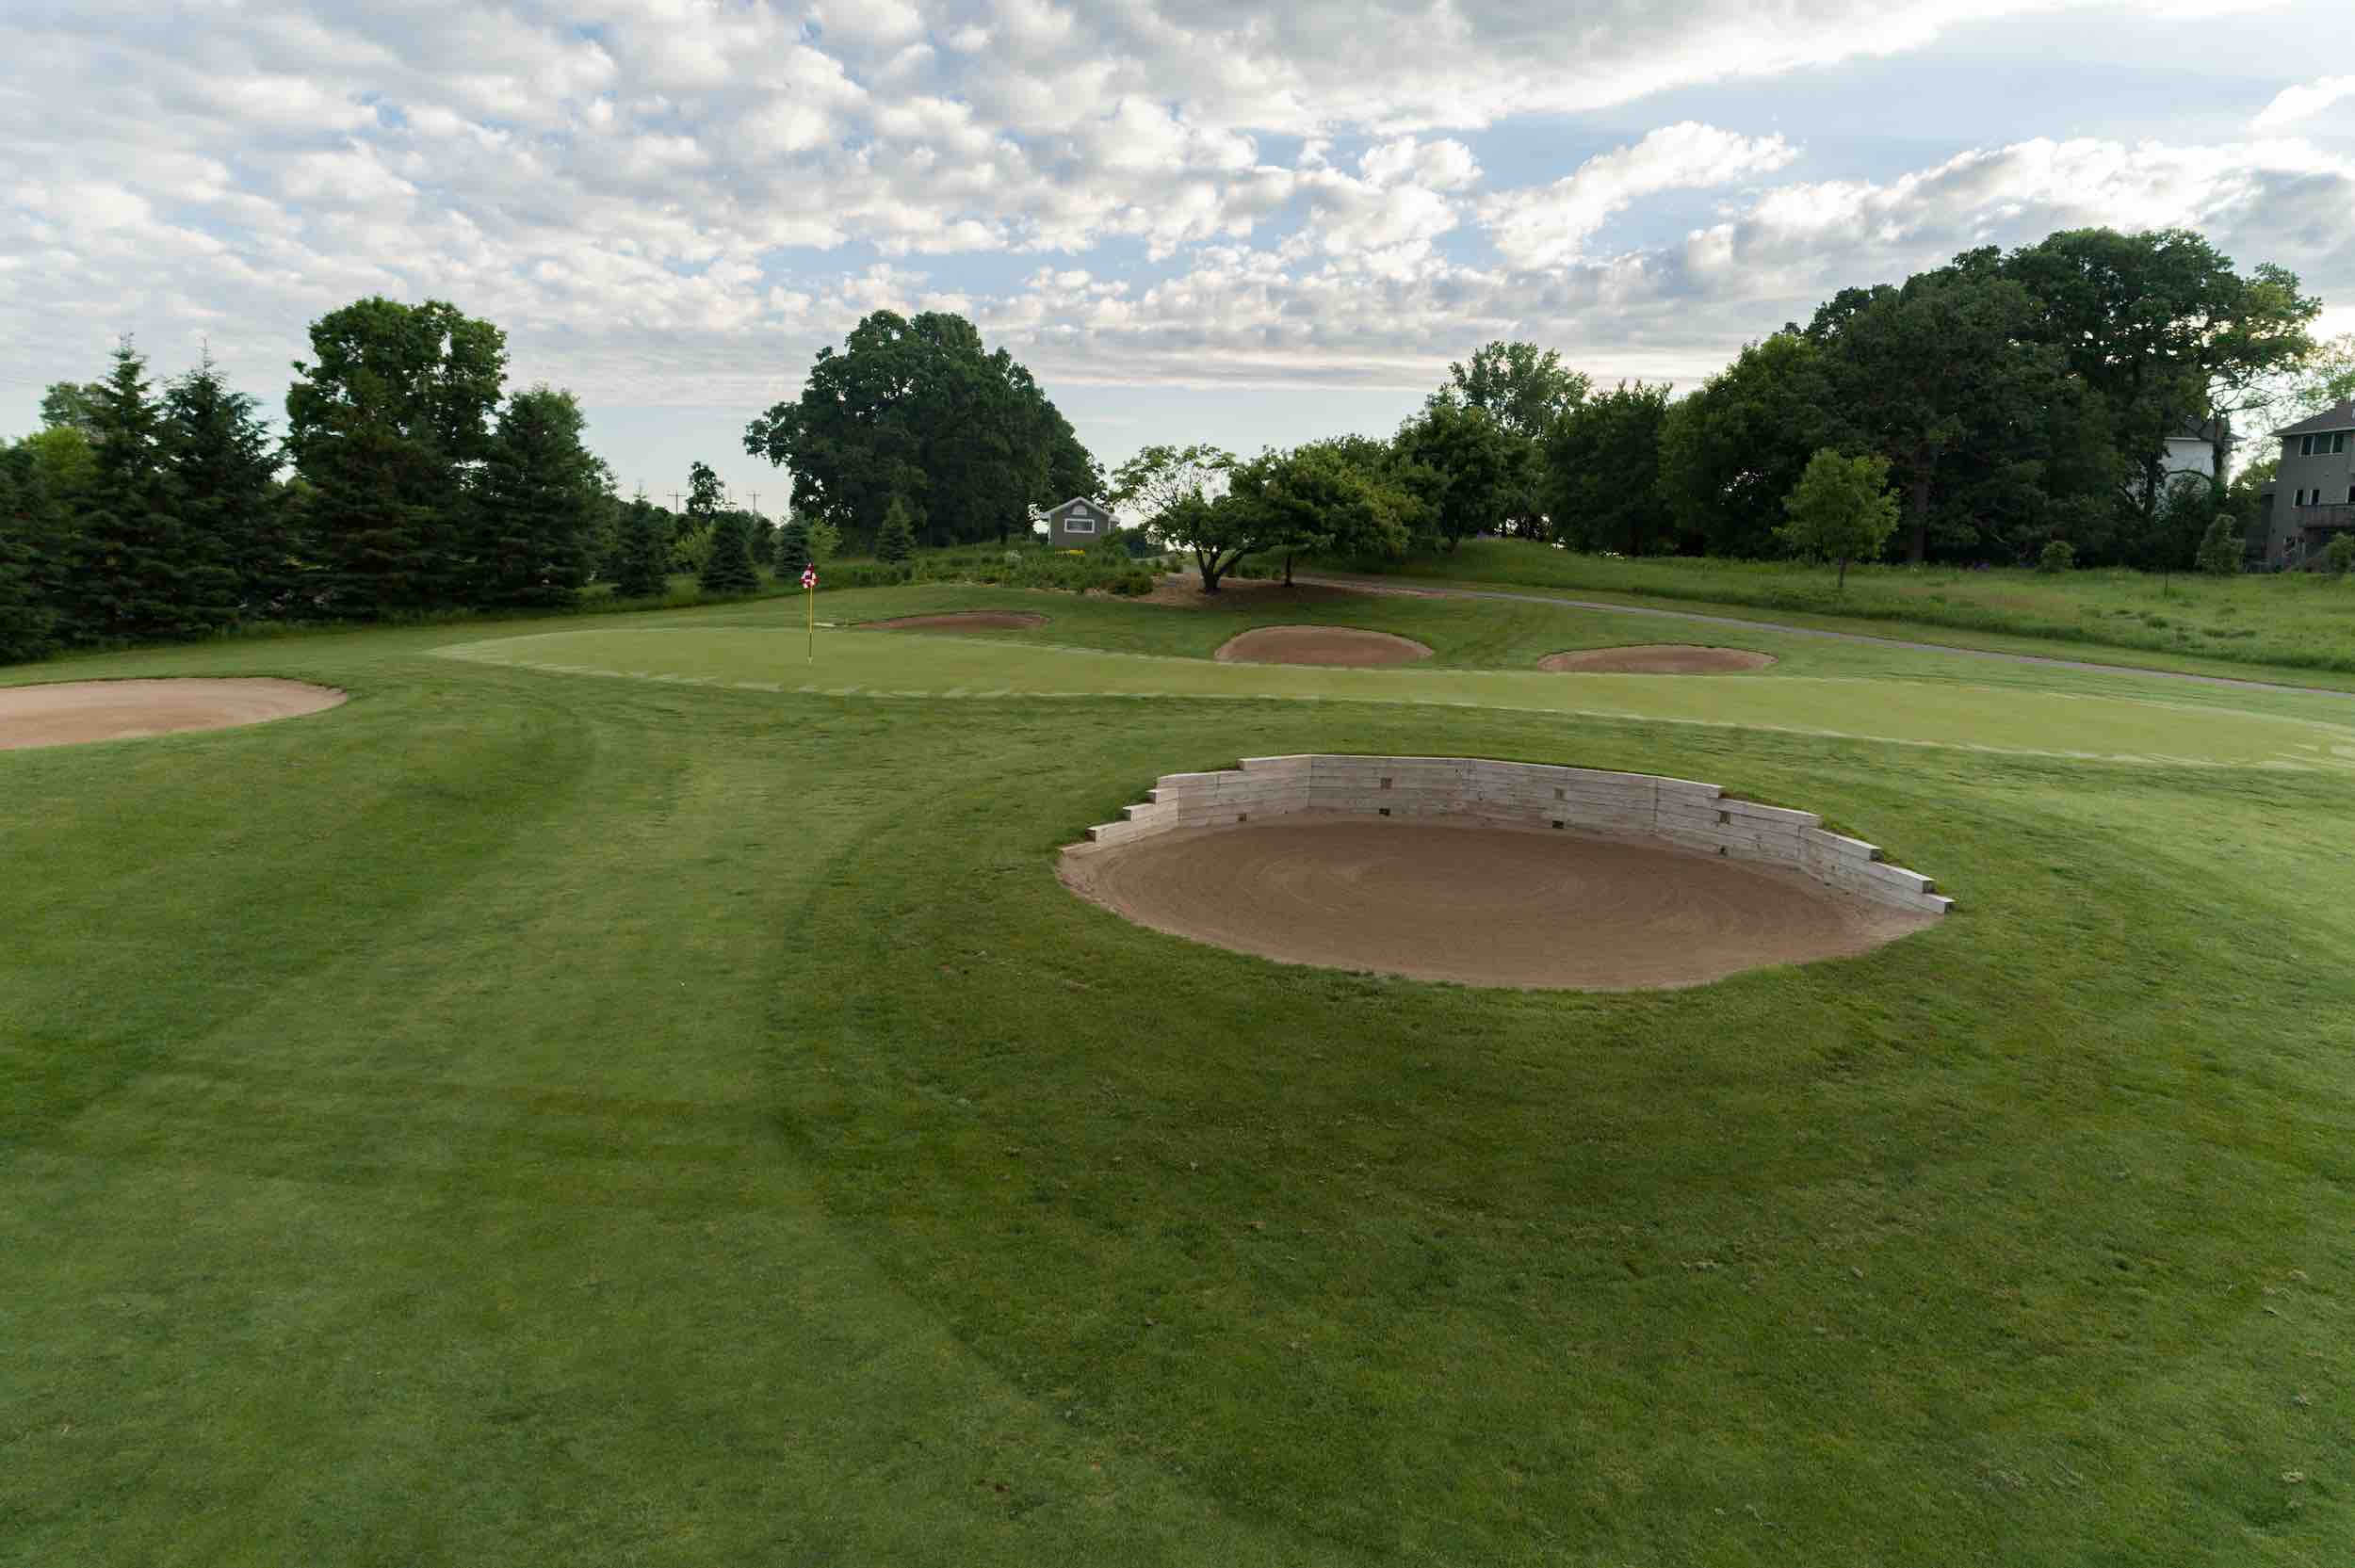
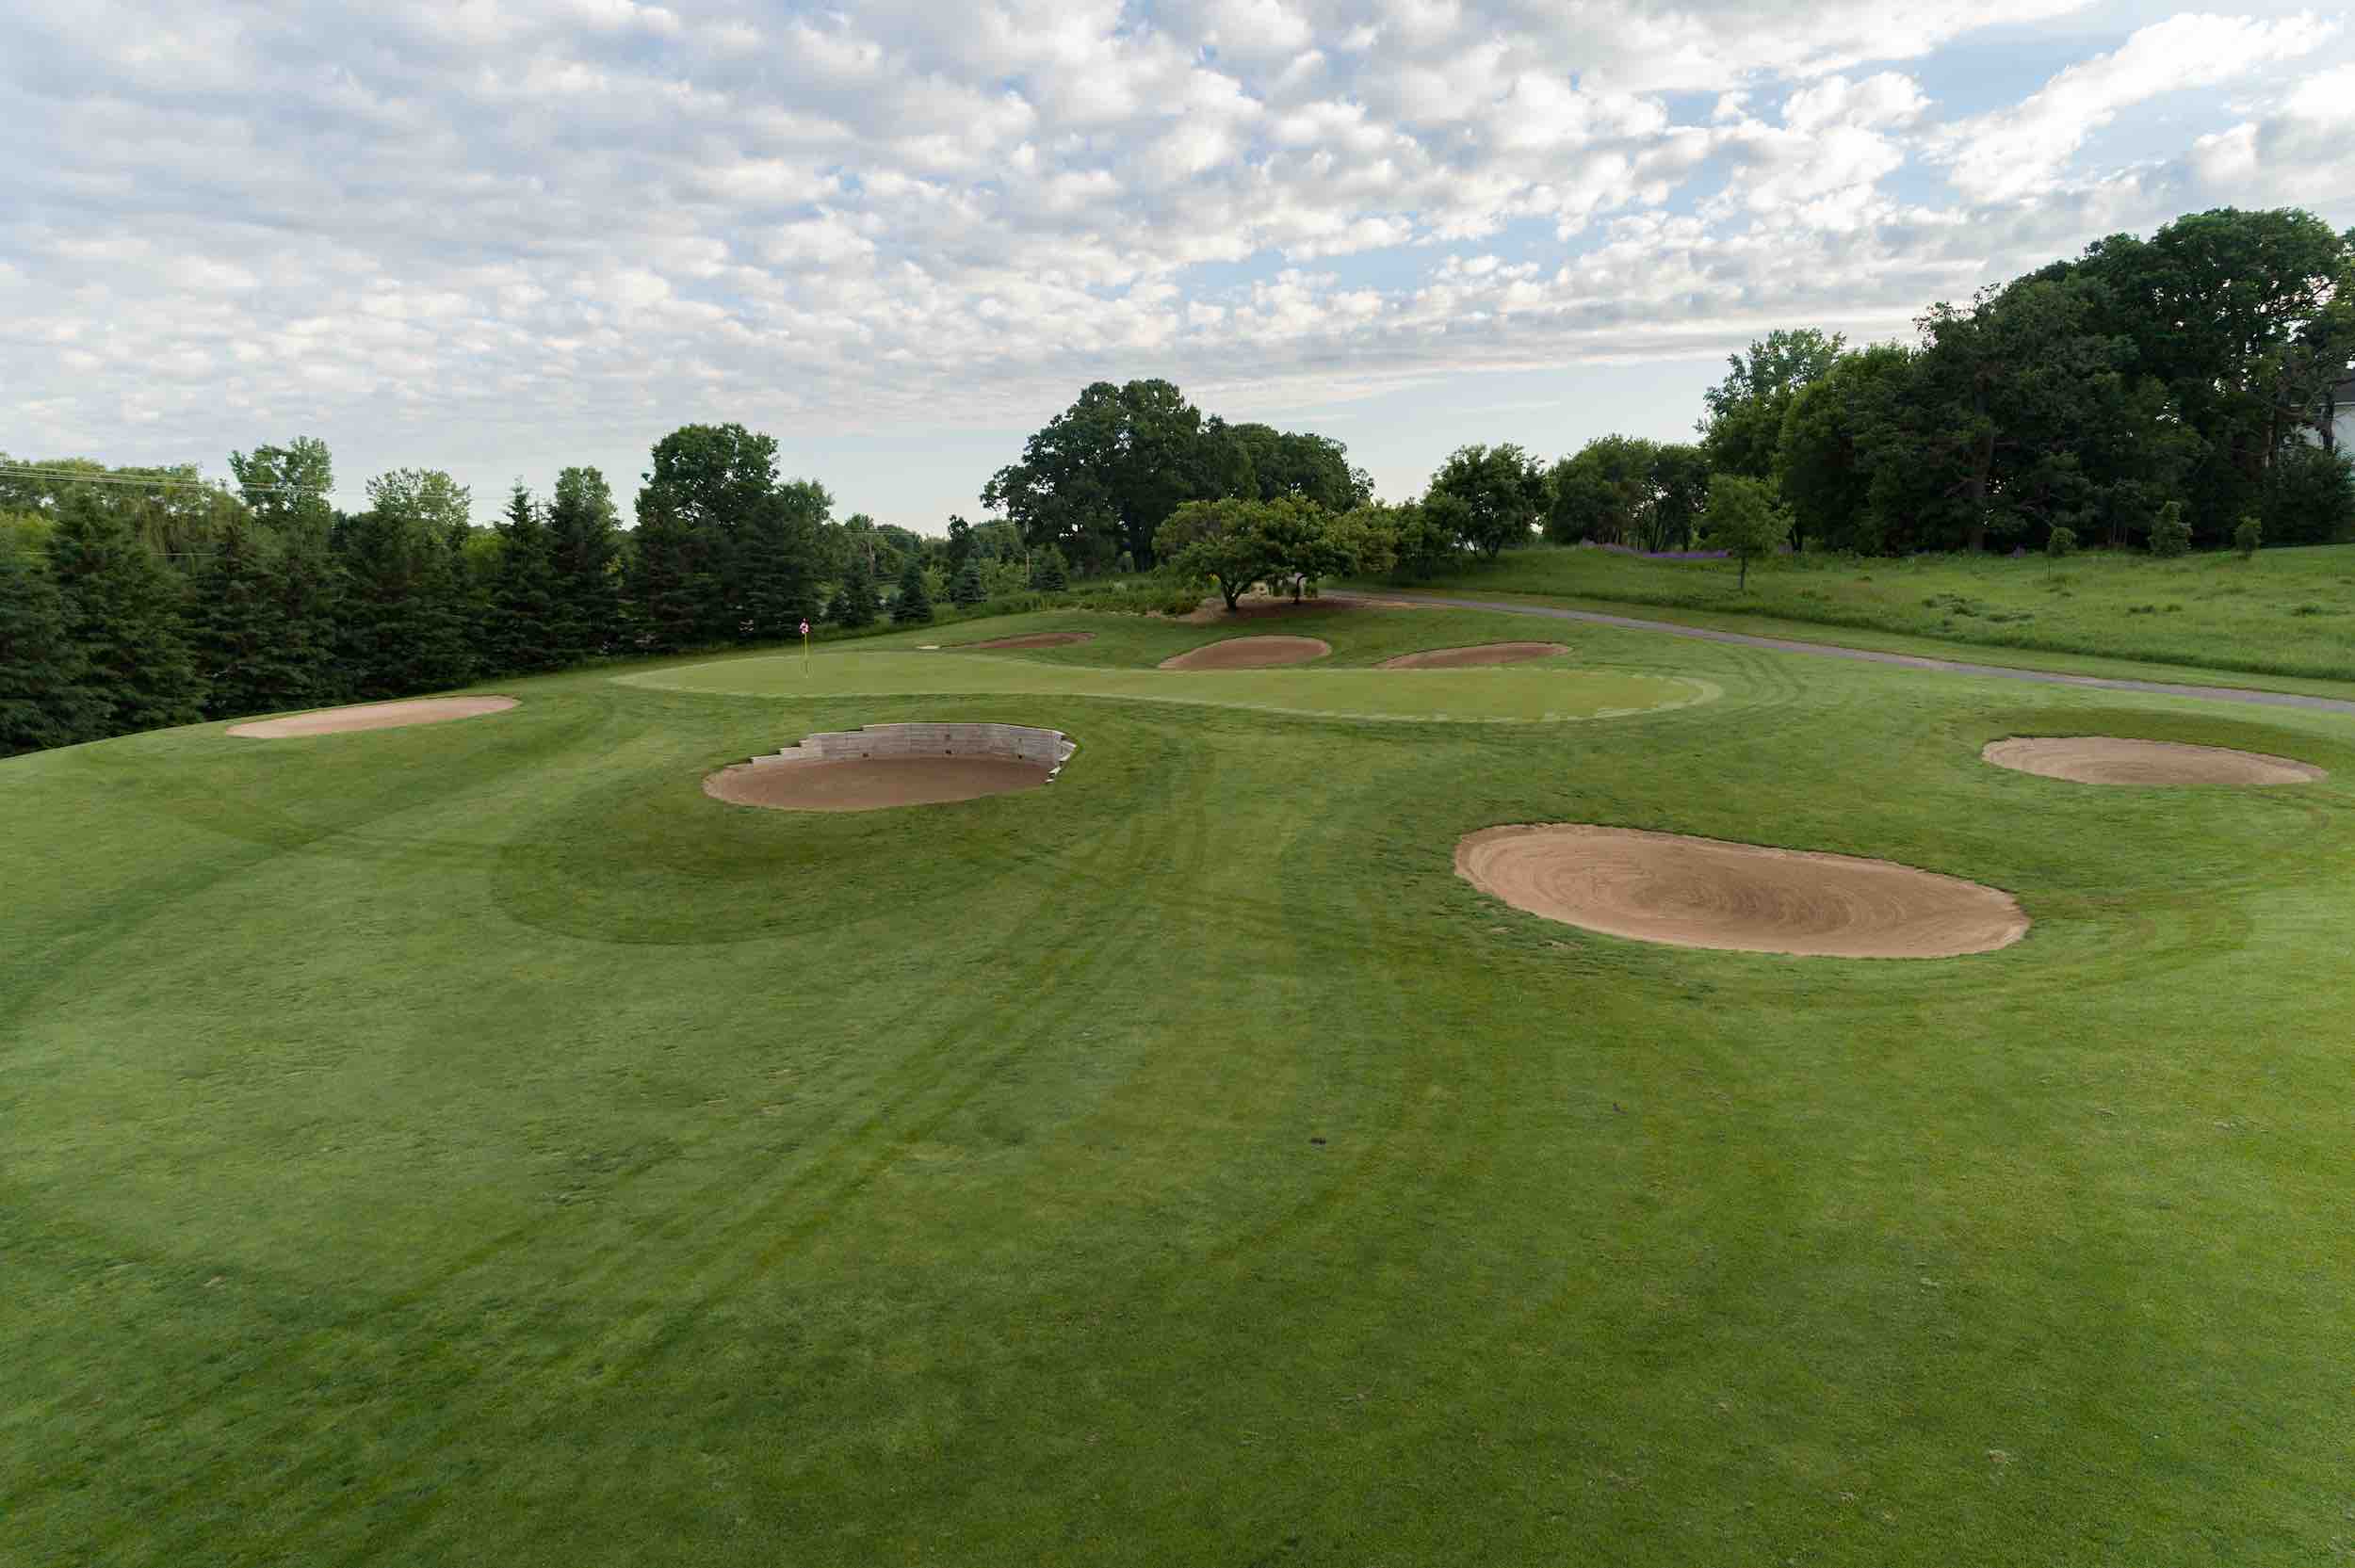
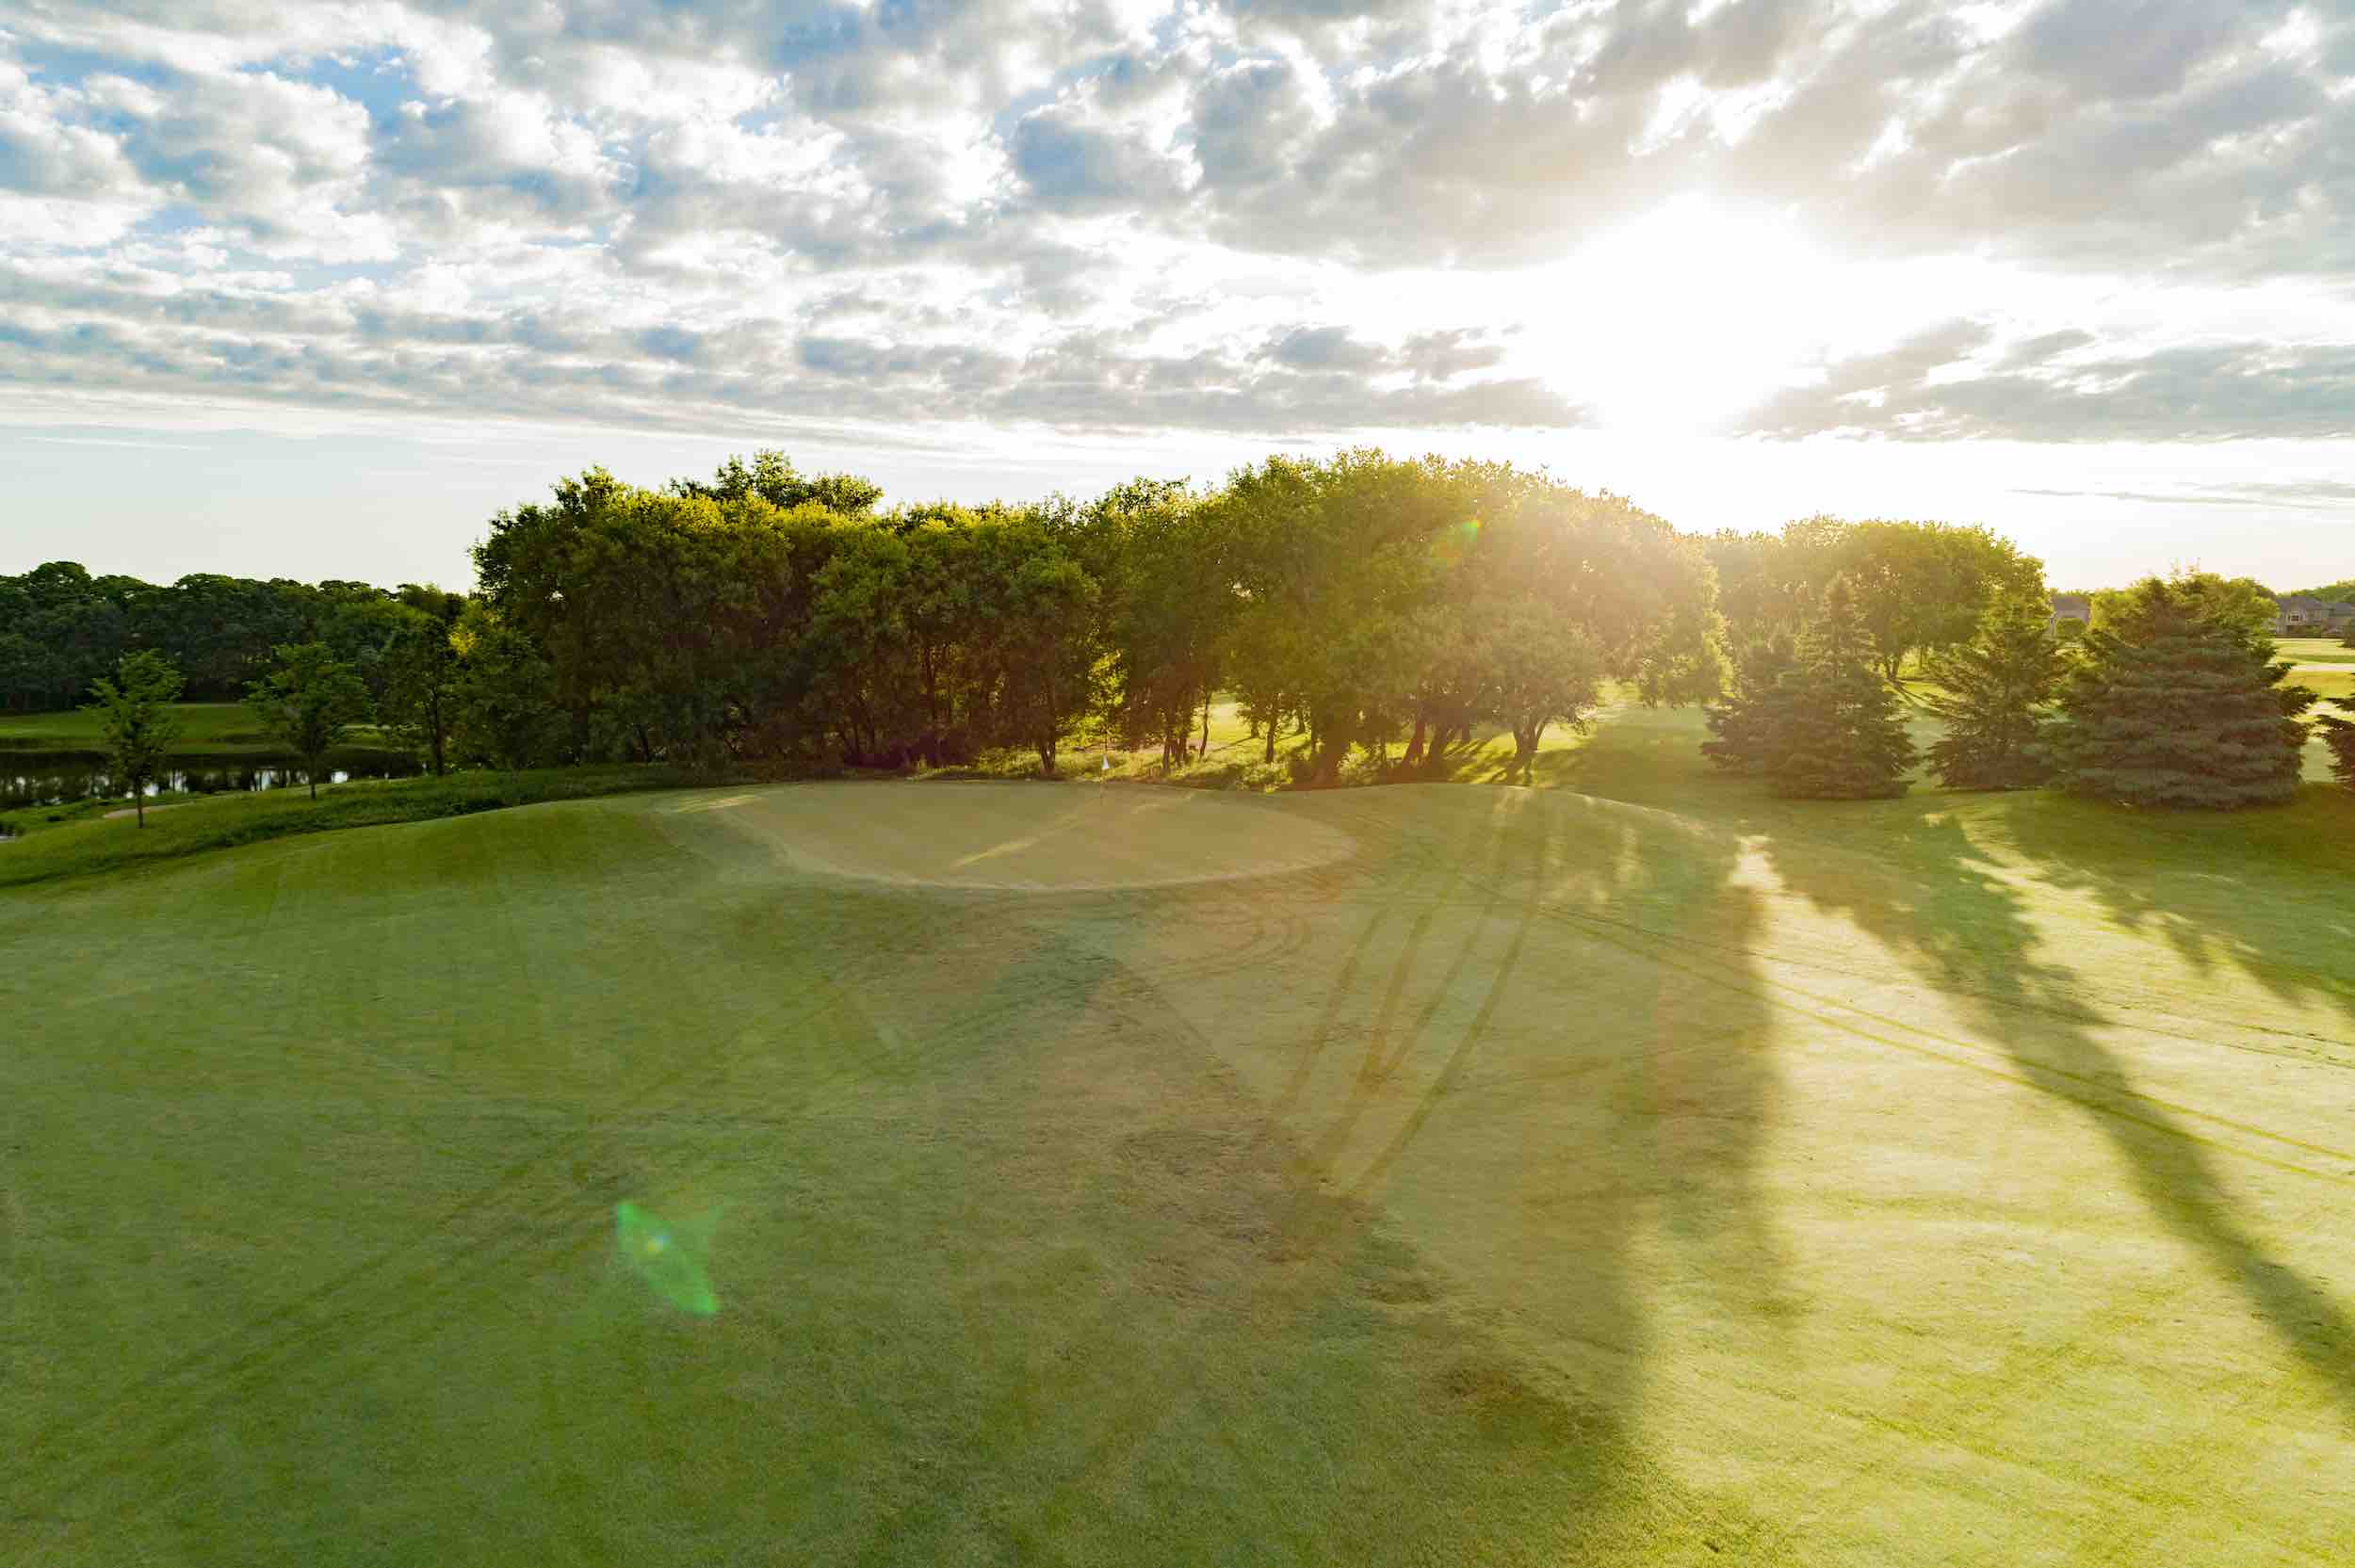
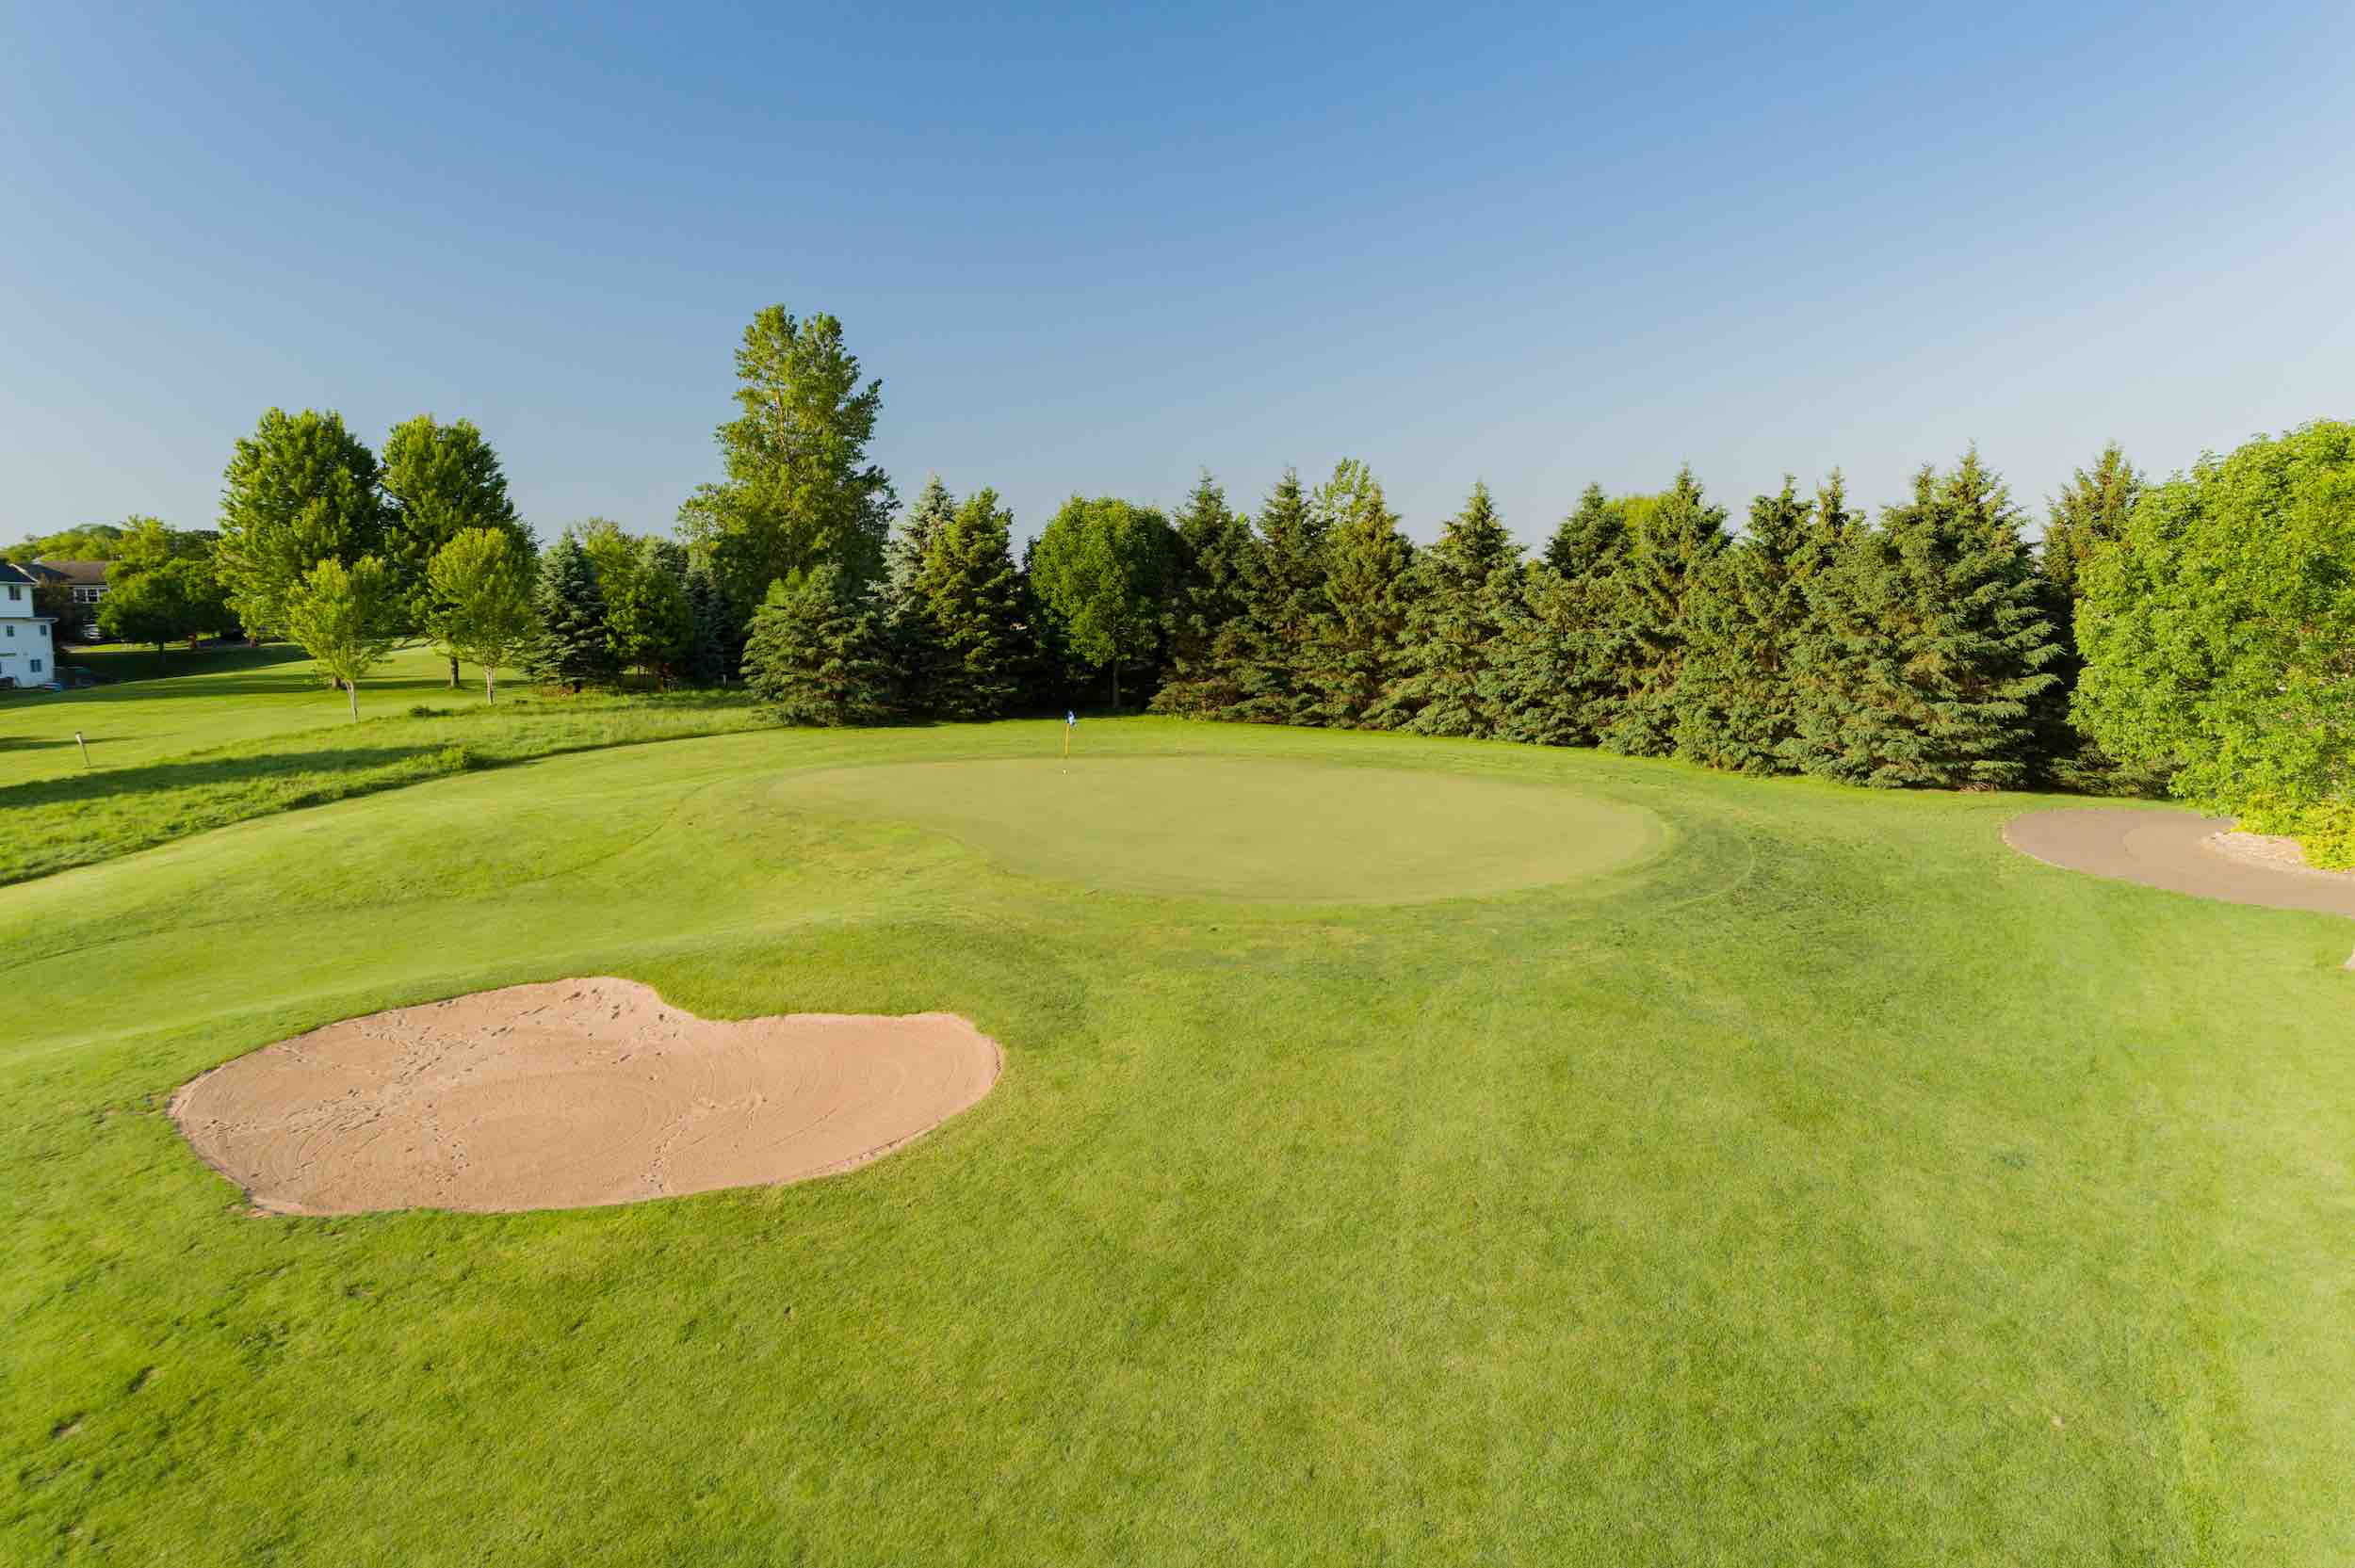
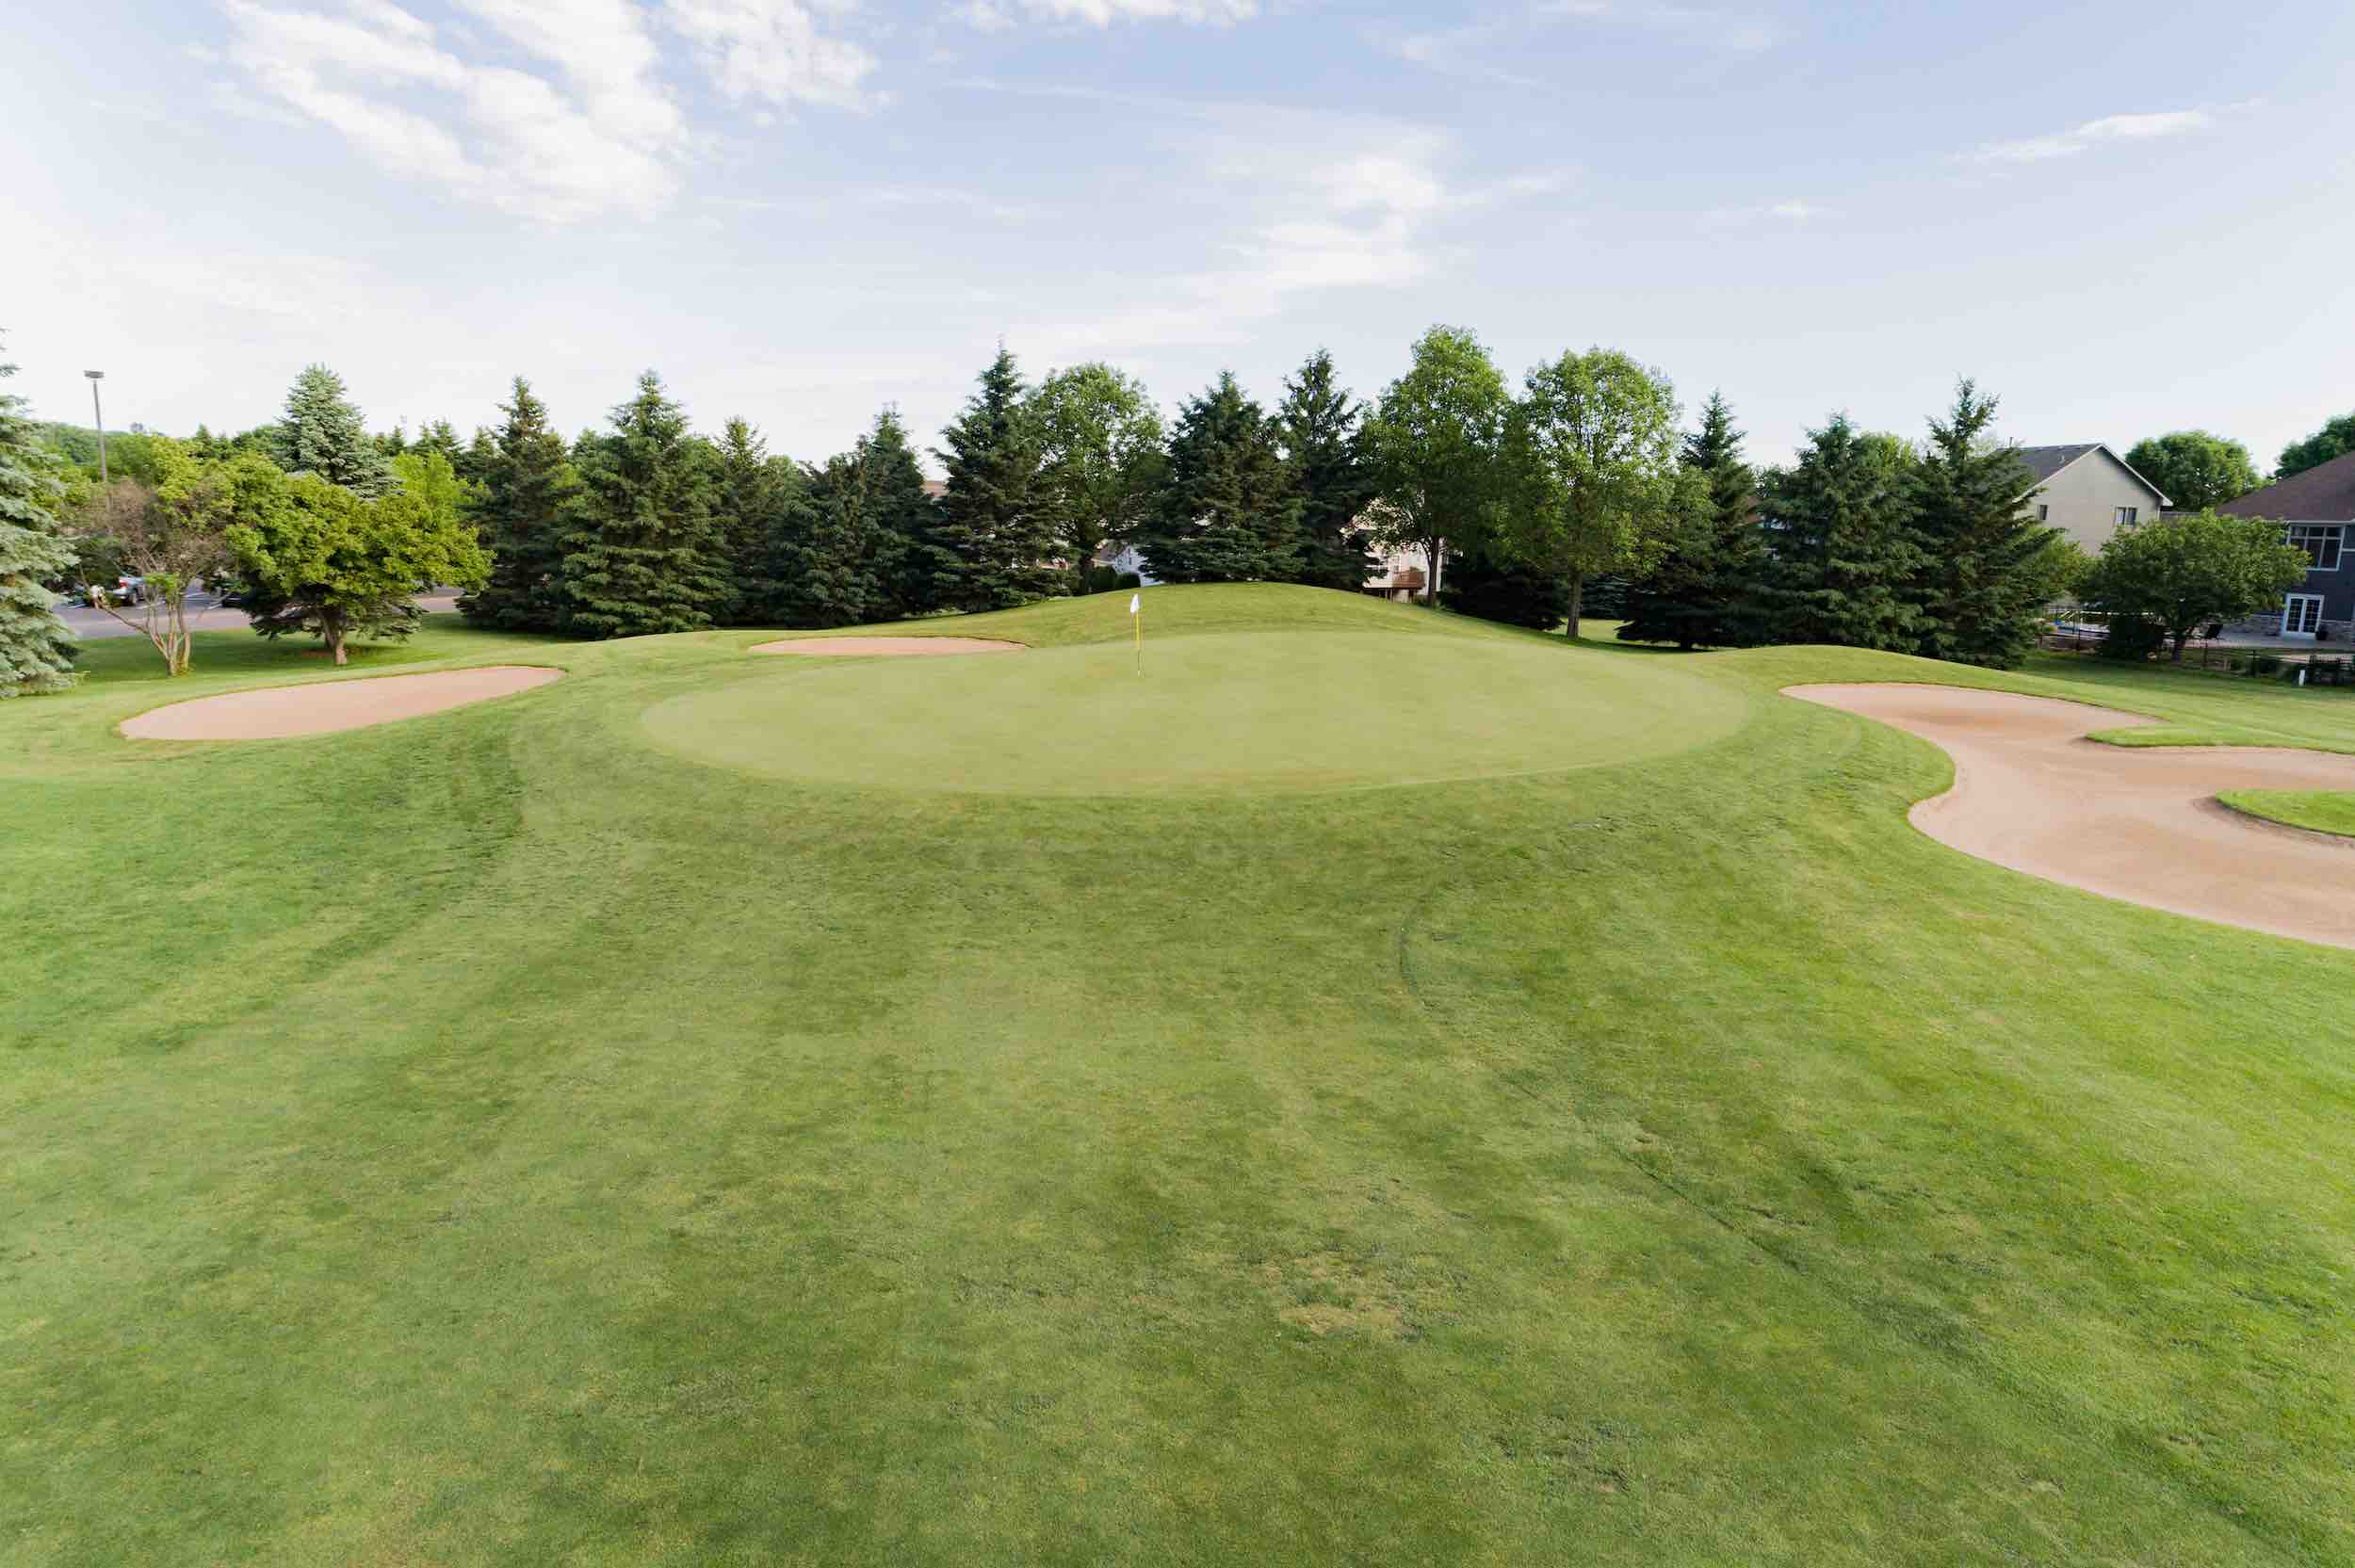
The fifth hole is the first par 3. It is short but can be a difficult hole. The elevated green is surrounded by 7 bunkers which will make par difficult if you find one.
The green is long and narrow so you need to make sure you hit your tee shot in the right area of the green depending on the pin placement.
| Hole 5 | Par 3 |
| Black | 135 |
| Blue | 125 |
| White | 113 |
| Gold | 105 |
| Red | 85 |


Hole #6
Men’s Handicap 3
Women’s Handicap 1
The sixth hole is a slight dog-leg right par 4. There is water to the right that comes into play so favor the left side of the fairway on your tee shot.
For your approach shot the safe play is to aim for the right side of the green. You will want to avoid the left side as it drops off and it can make for a difficult up and down.
| Hole 6 | Par 4 |
| Black | 443 |
| Blue | 419 |
| White | 391 |
| Gold | 342 |
| Red | 339 |


Hole #7
Men’s Handicap 15
Women’s Handicap 15
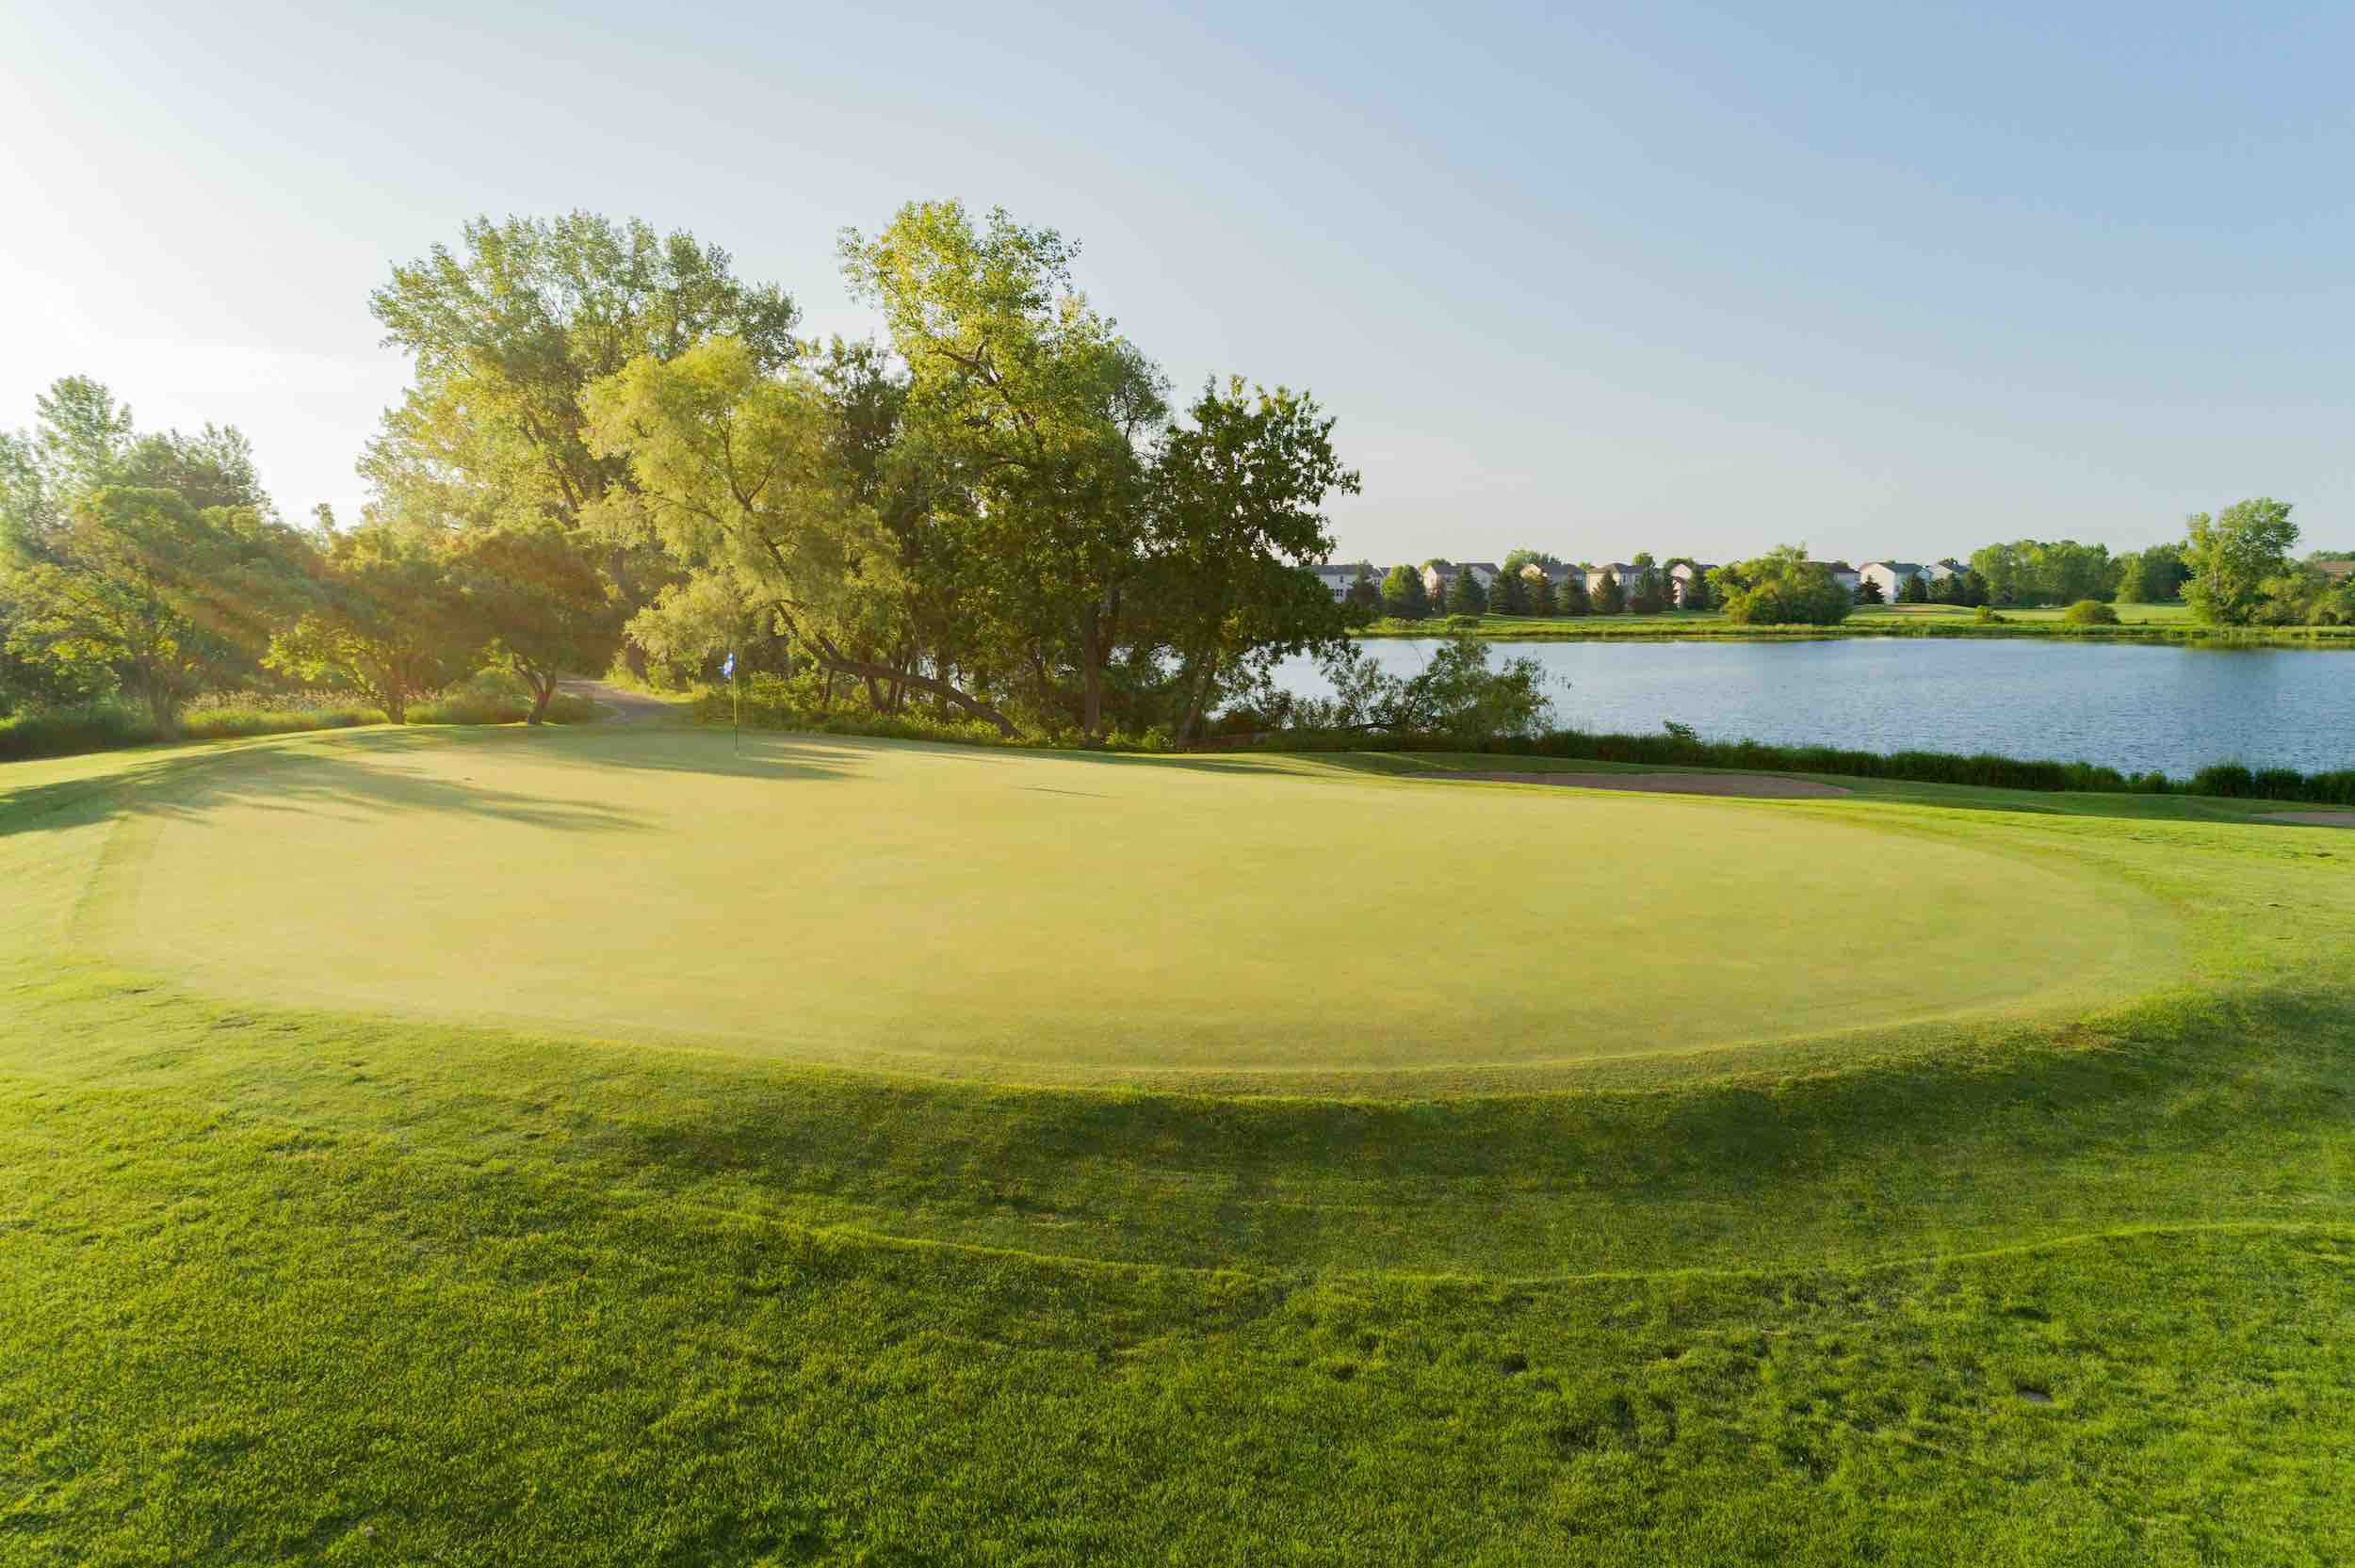
The seventh hole is the second par 3. Distance control off the tee is the key to hitting this large green and making par on this hole. If you do miss the green, you will want to avoid going left as the entire left side is surrounded by water. There are also three bunkers surrounding the green.
| Hole 7 | Par 3 |
| Black | 160 |
| Blue | 150 |
| White | 138 |
| Gold | 130 |
| Red | 124 |


Hole #8
Men’s Handicap 11
Women’s Handicap 5
The eighth hole is the shortest par 4 at Eagle Valley, but it is one of the more difficult. There is a forced carry over water to the left and trees to the right for you to navigate off the tee. If you find the fairway on this hole, you will have a short shot into this small, elevated green.
| Hole 8 | Par 4 |
| Black | 349 |
| Blue | 335 |
| White | 304 |
| Gold | 296 |
| Red | 260 |


Hole #9
Men’s Handicap 7
Women’s Handicap 13
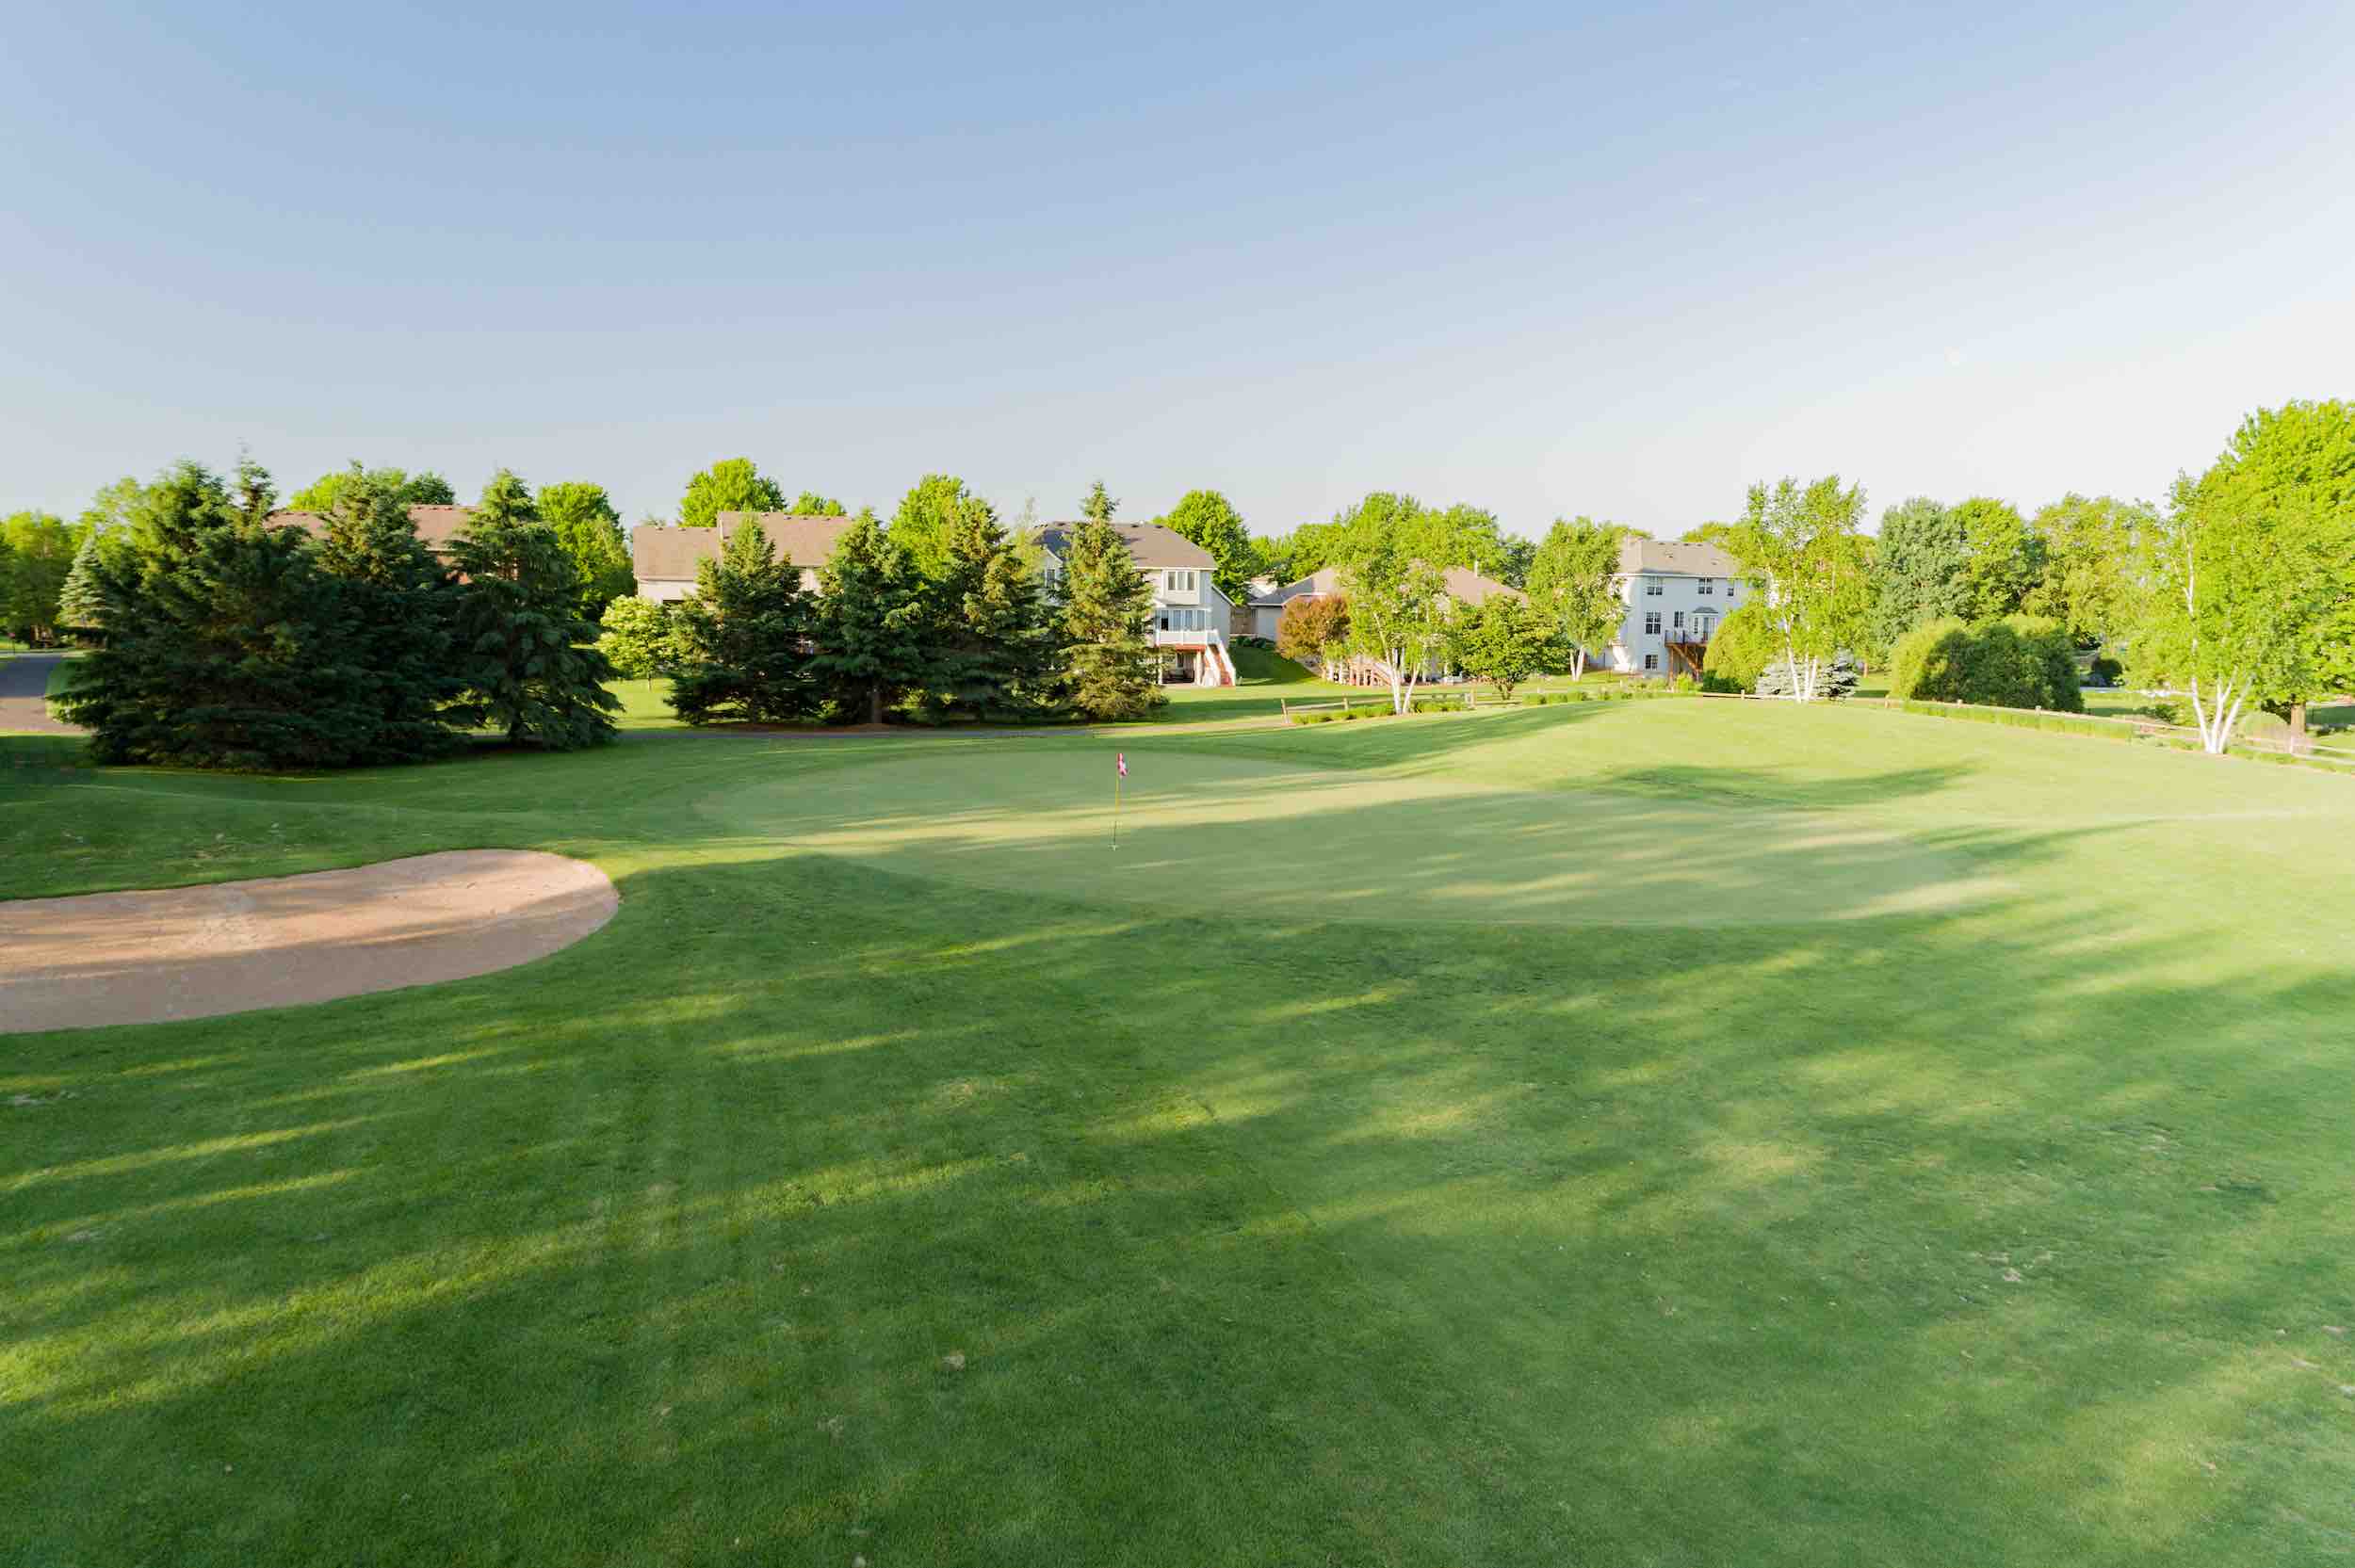
The front nine ends with this par 4. The right side is lined by trees so favor the left side of the fairway.
On your approach shot make sure to hit the proper area of the green because there is a ridge through the middle of the green that will make a two putt difficult if you hit the wrong area of the green.
| Hole 9 | Par 4 |
| Black | 403 |
| Blue | 373 |
| White | 361 |
| Gold | 353 |
| Red | 285 |


Hole #10
Men’s Handicap 16
Women’s Handicap 14
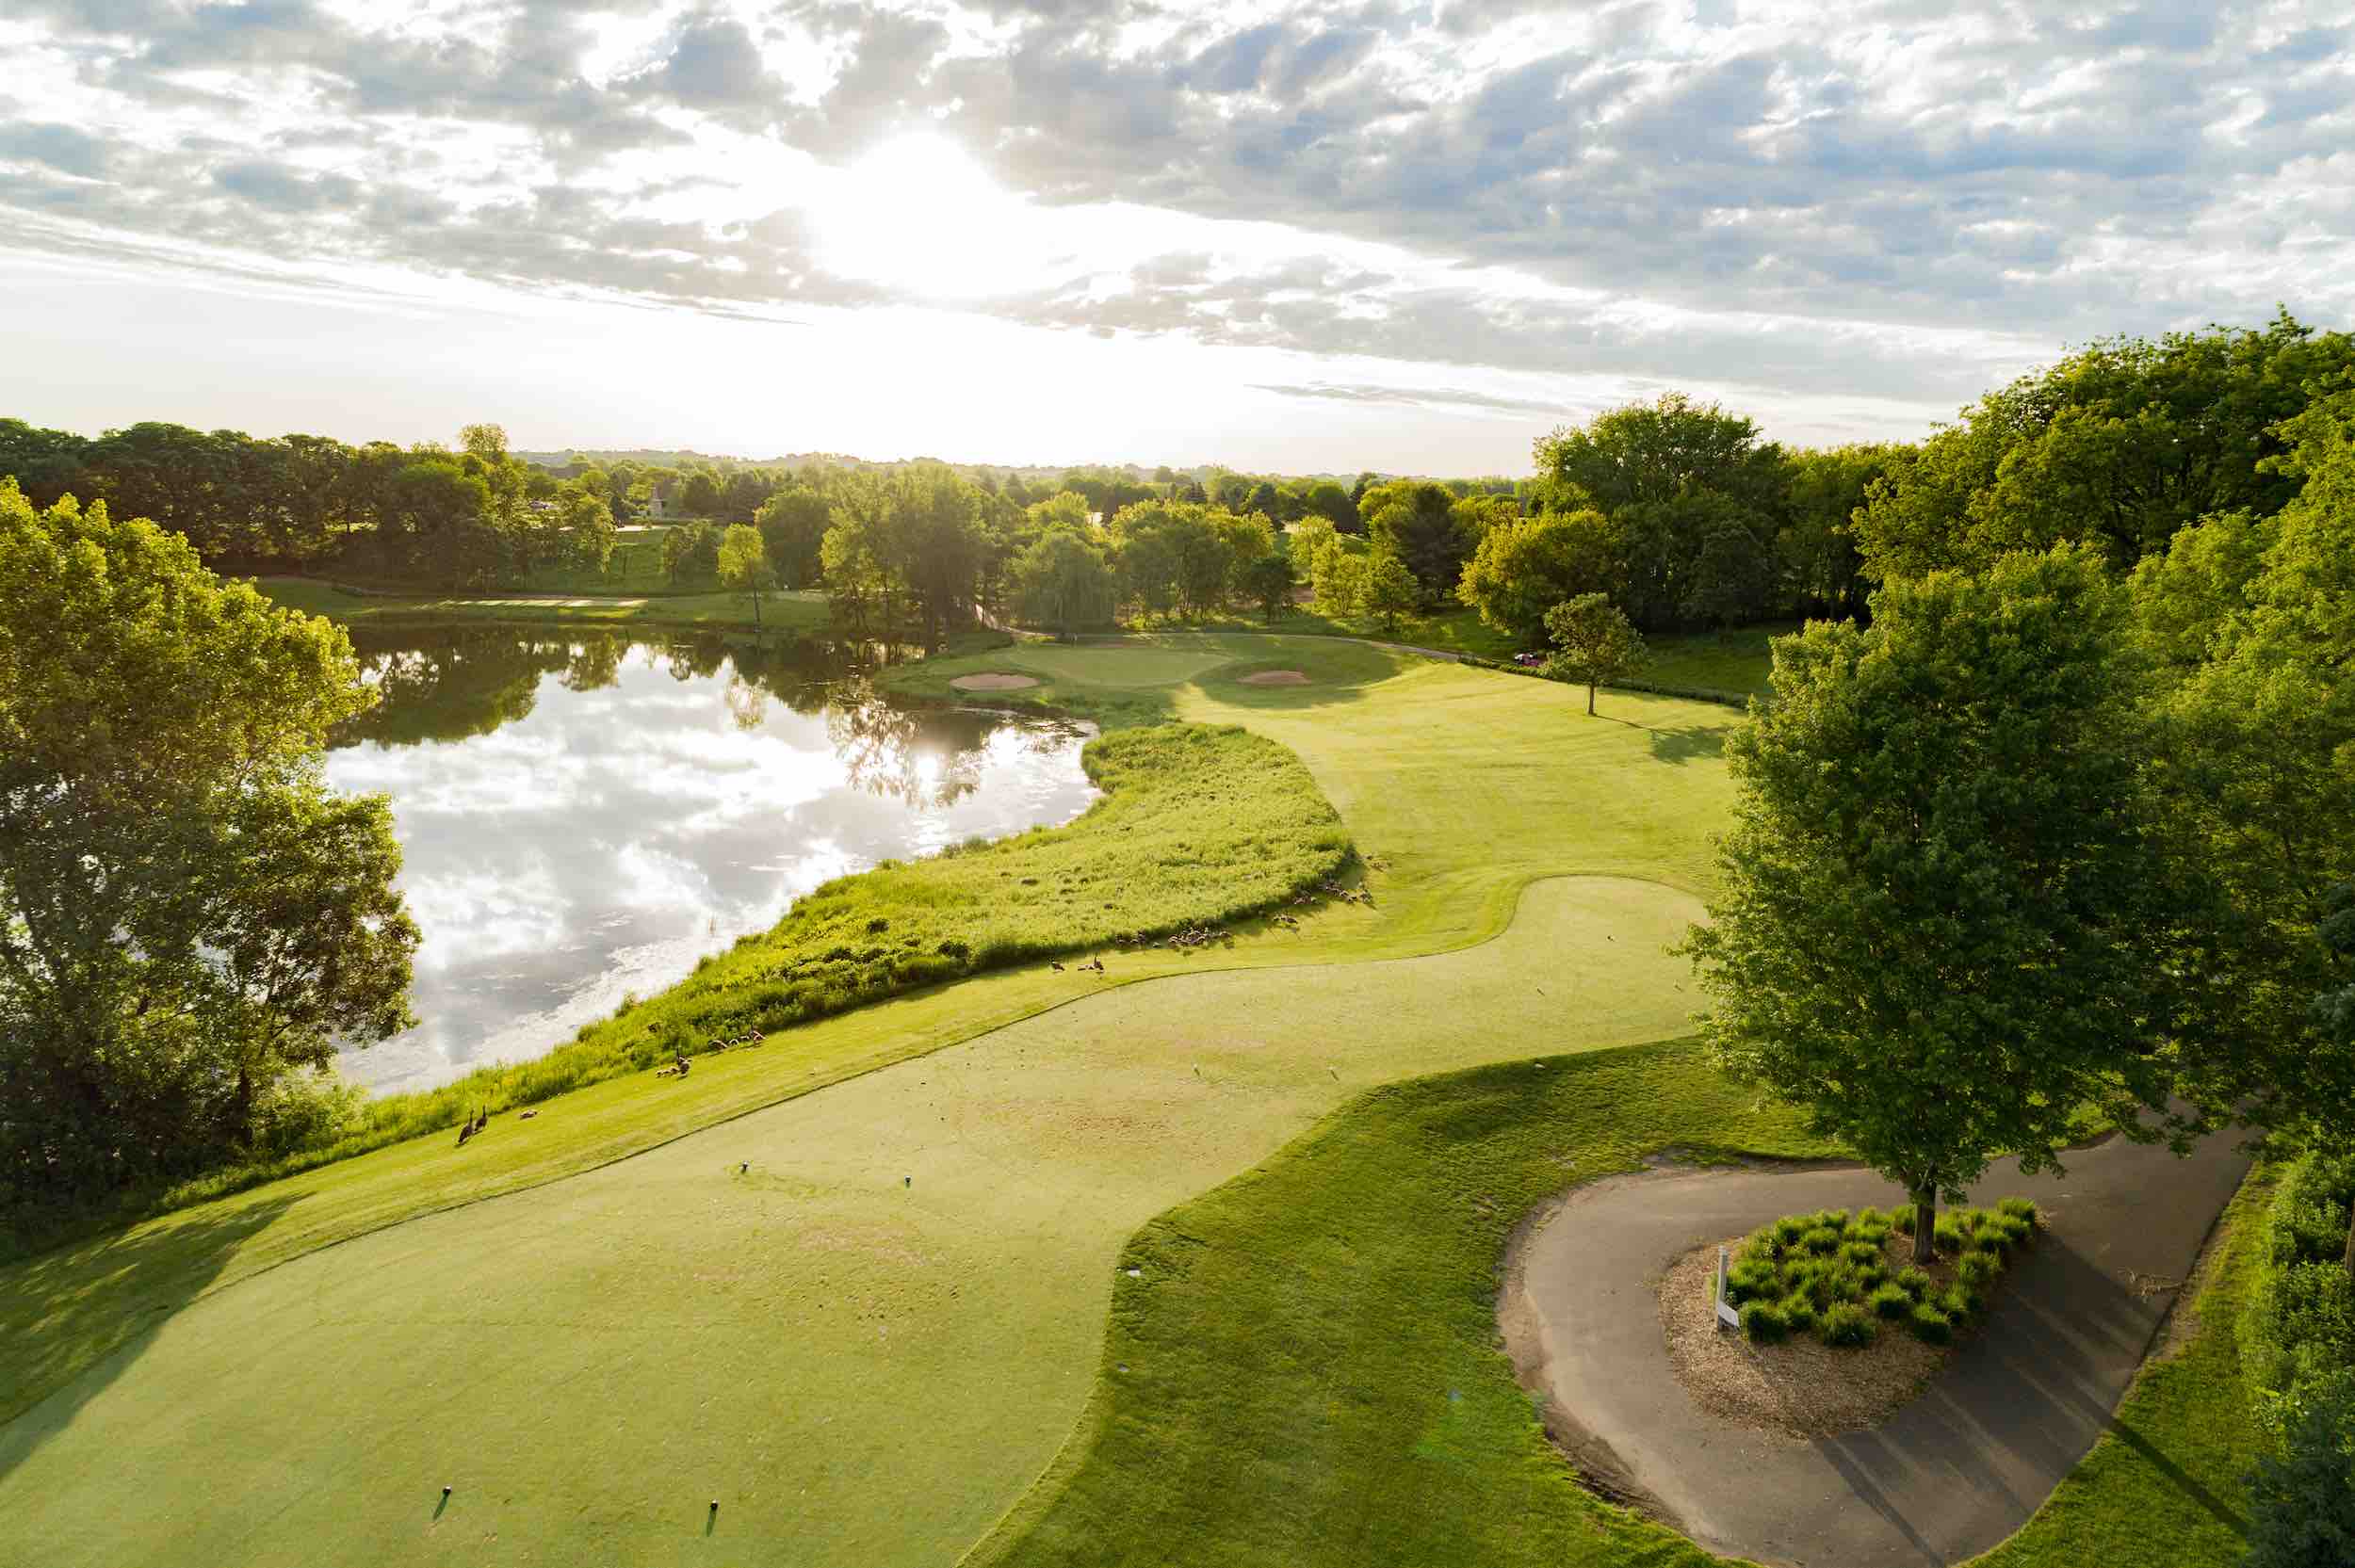
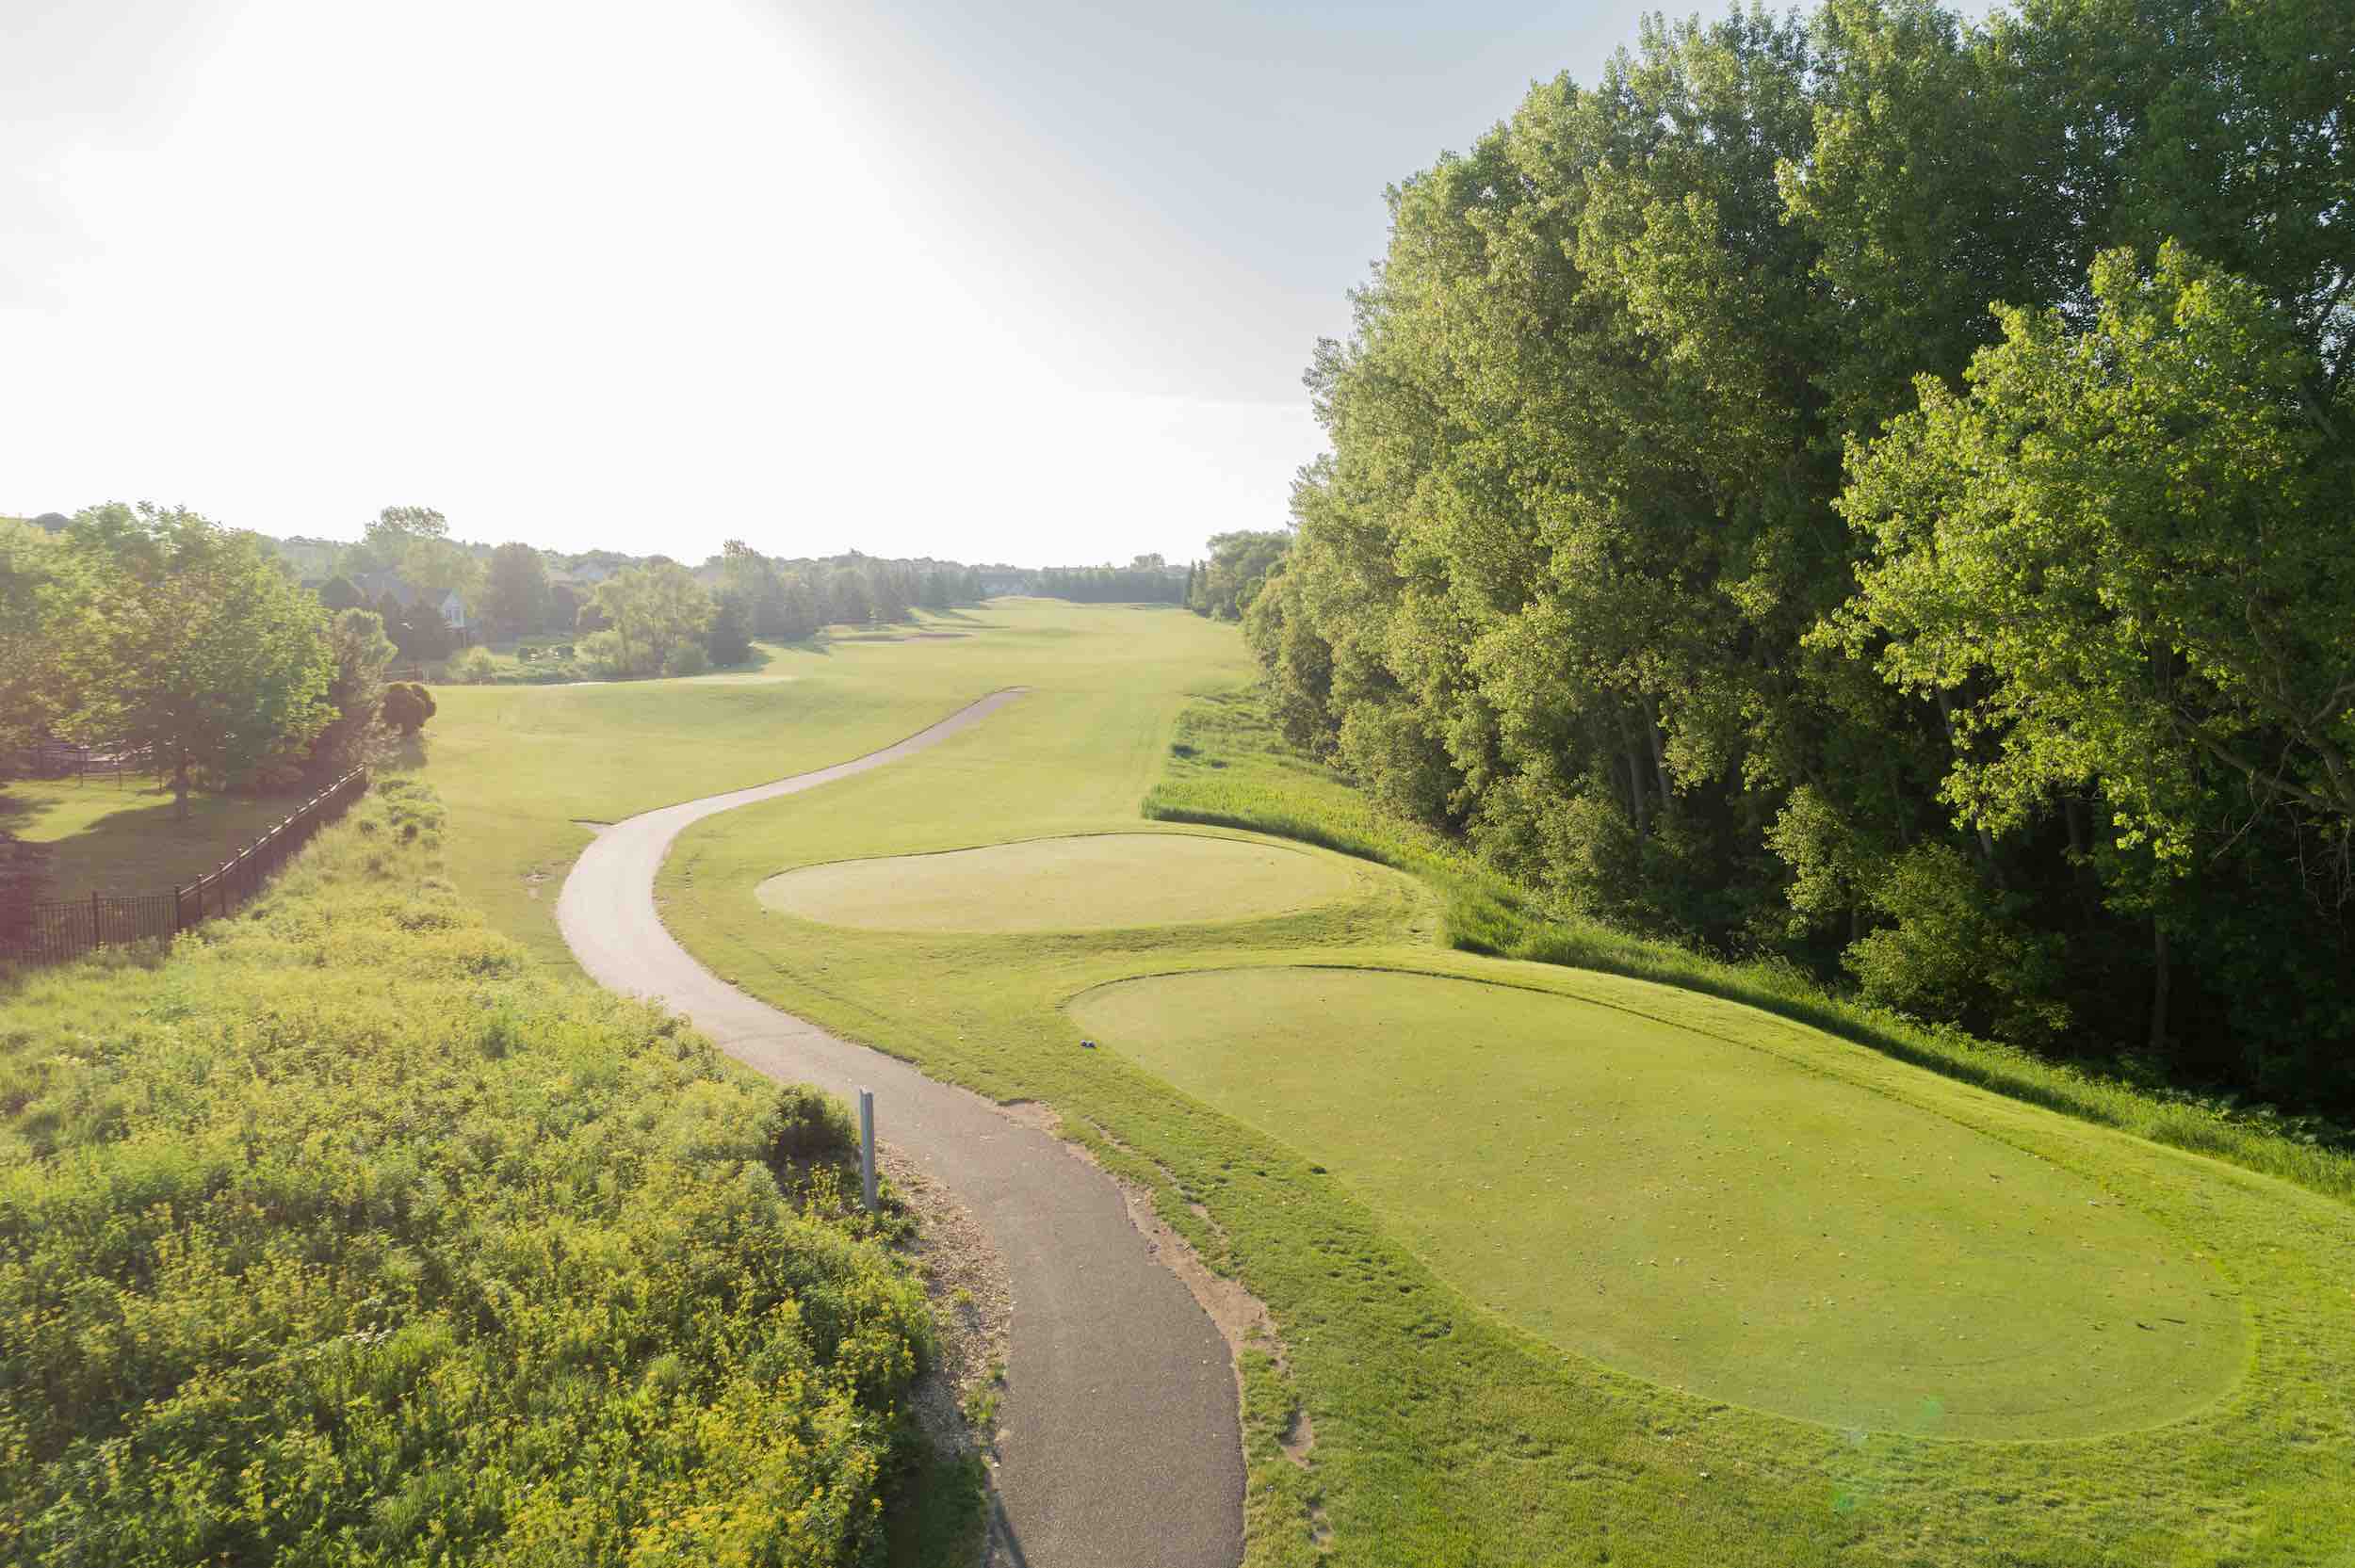
The back nine begins with a par 5 that is reachable in two for the longer hitter. Off the tee you will want to avoid the water down the right side of the fairway.
Accuracy is the key to your second shot because there is water on both sides of the fairway. If you manage to stay out of the water on your first two shots you will have a short approach shot and a good chance for birdie.
| Hole 10 | Par 5 |
| Black | 502 |
| Blue | 482 |
| White | 473 |
| Gold | 465 |
| Red | 422 |


Hole #11
Men’s Handicap 2
Women’s Handicap 2
The par 4 eleventh is one of the more difficult holes. The best option is to draw your tee shot around the dog leg.
If your tee shot does not draw, it could end up in the water or O.B. down the right side. The safe play is to hit a fairway wood off the tee and leave a longer approach shot to the green.
The green has bunkers to the right and can be difficult to hold with longer irons.
| Hole 11 | Par 4 |
| Black | 427 |
| Blue | 410 |
| White | 399 |
| Gold | 318 |
| Red | 315 |


Hole #12
Men’s Handicap 6
Women’s Handicap 8
The twelfth hole is a par 4 that usually plays into the prevailing wind. There is out of bounds to the left so make sure to favor the right side of this large fairway.
Take an extra club on your uphill approach shot to this large, flat green. If you can make a par on this hole you are picking one up on the field.
| Hole 12 | Par 4 |
| Black | 454 |
| Blue | 422 |
| White | 363 |
| Gold | 355 |
| Red | 343 |


")

Hole #13
Men’s Handicap 18
Women’s Handicap 18
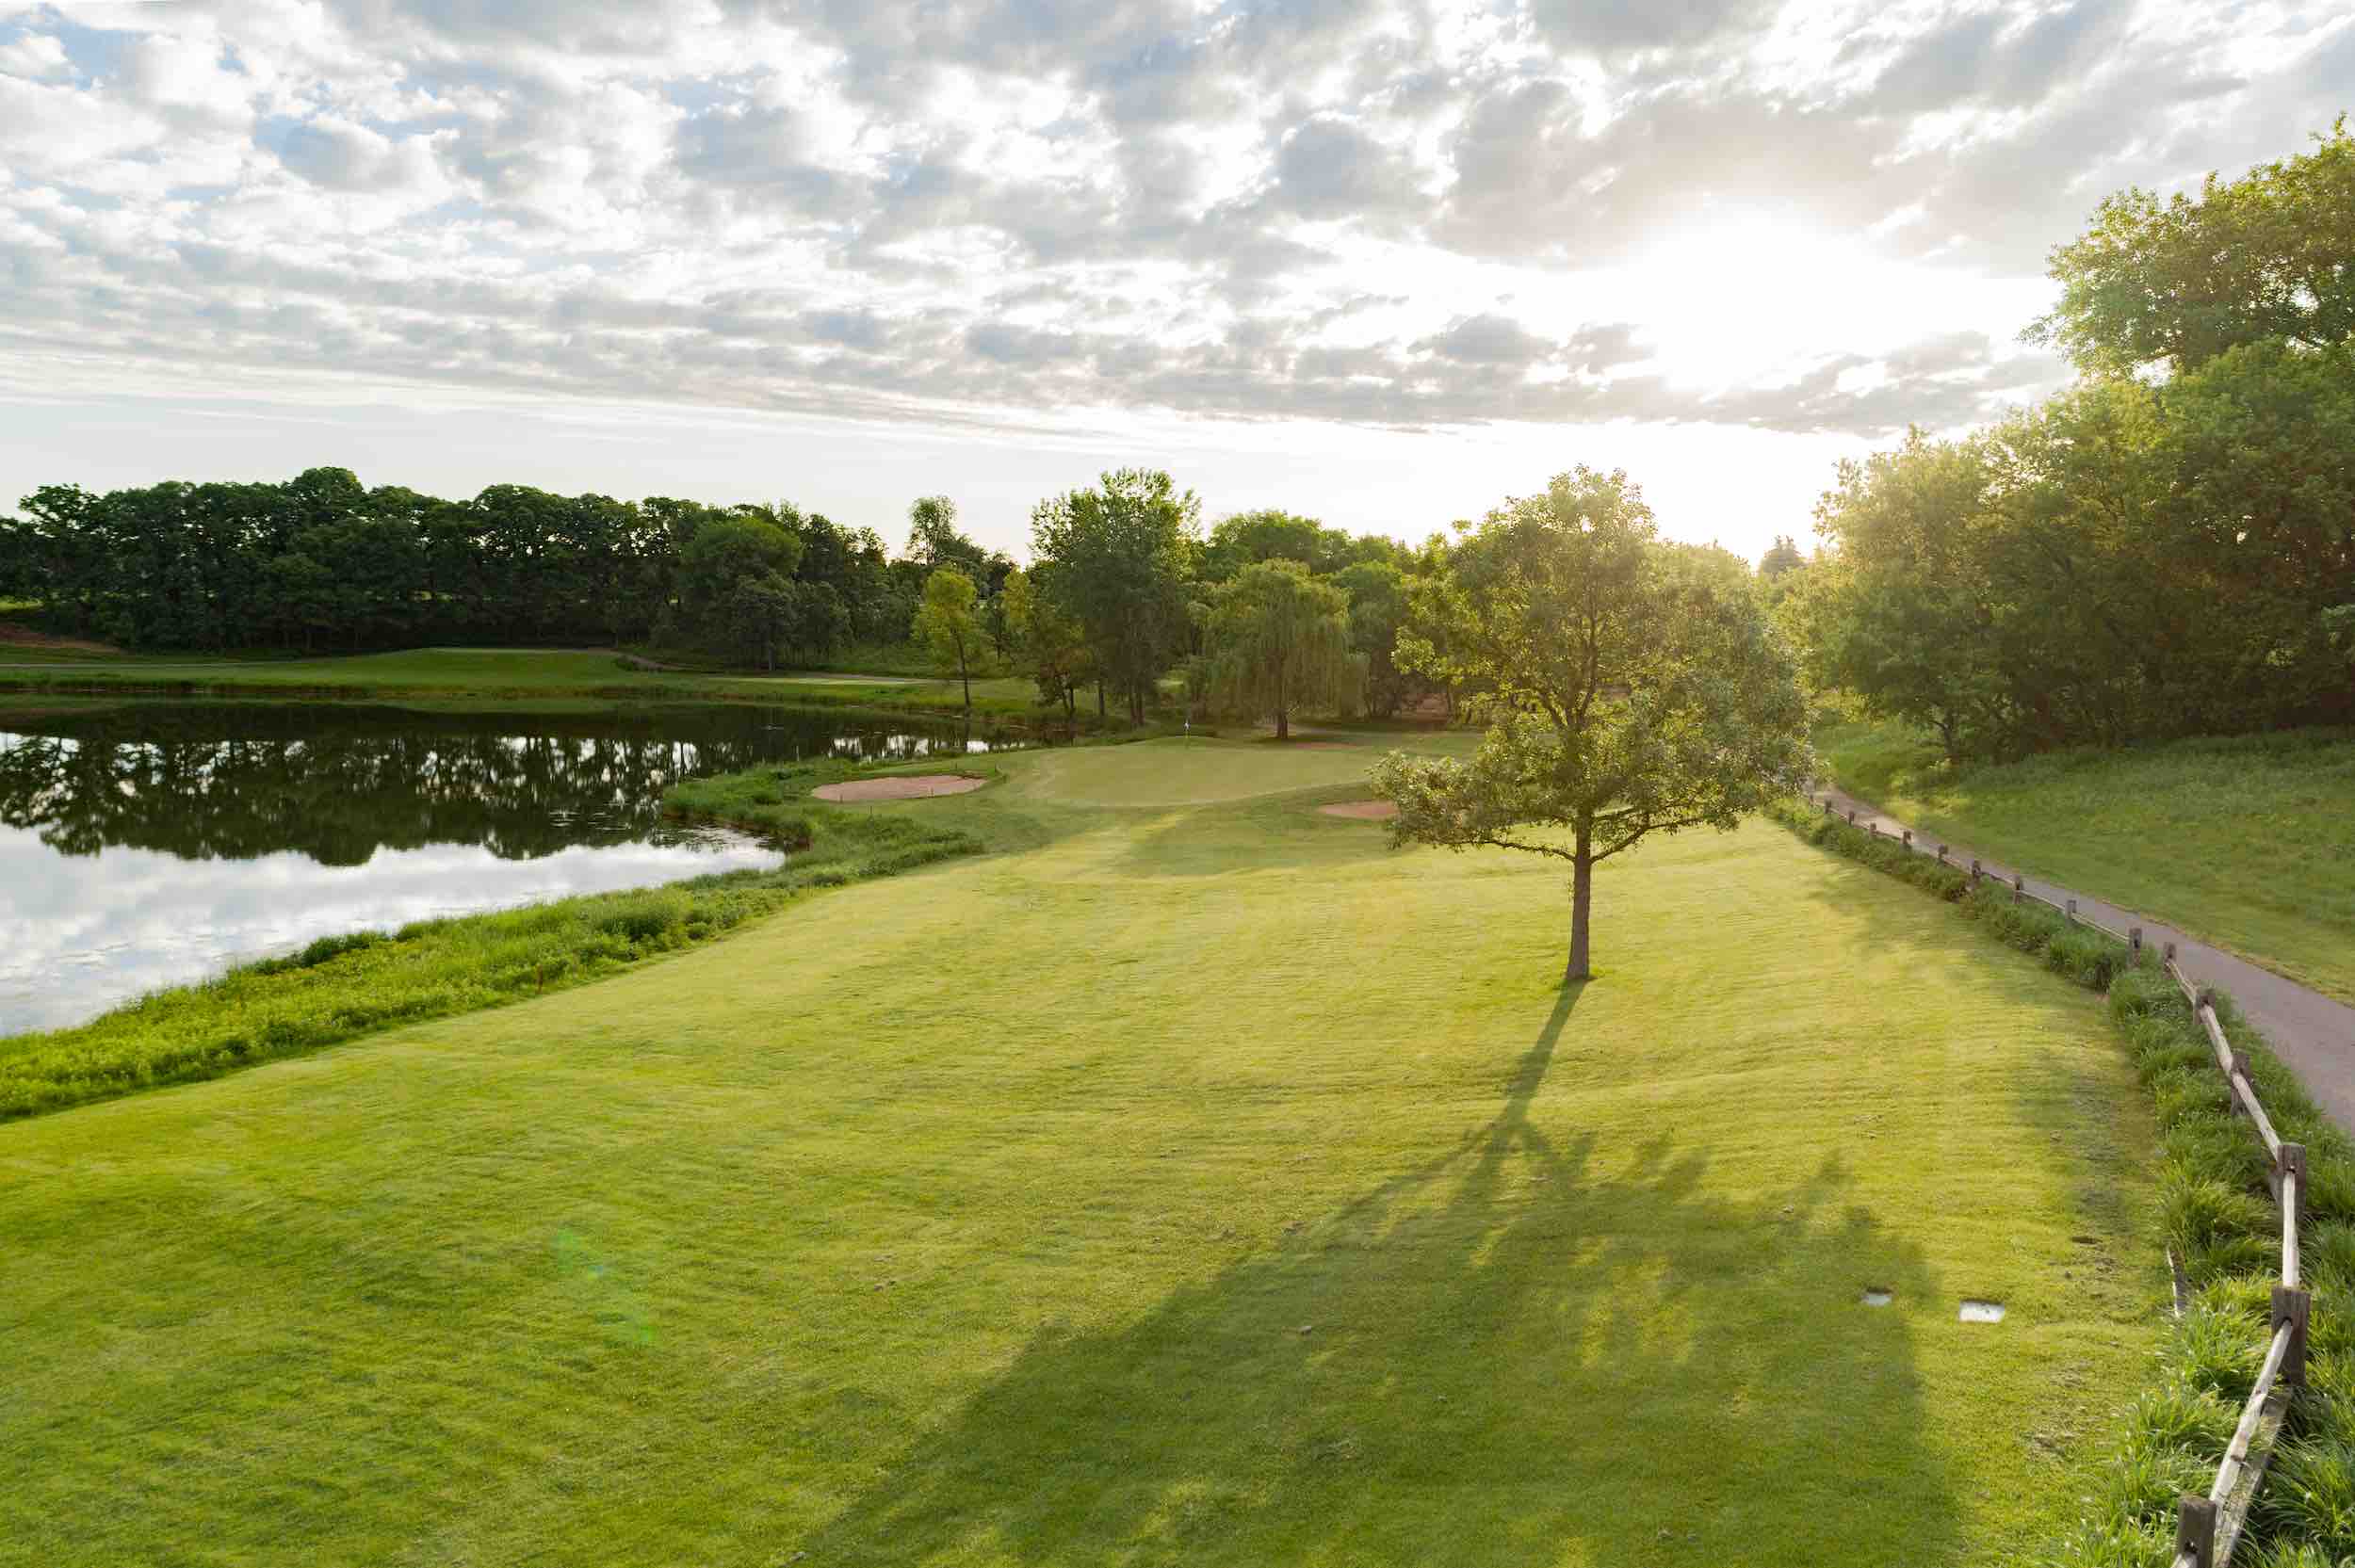
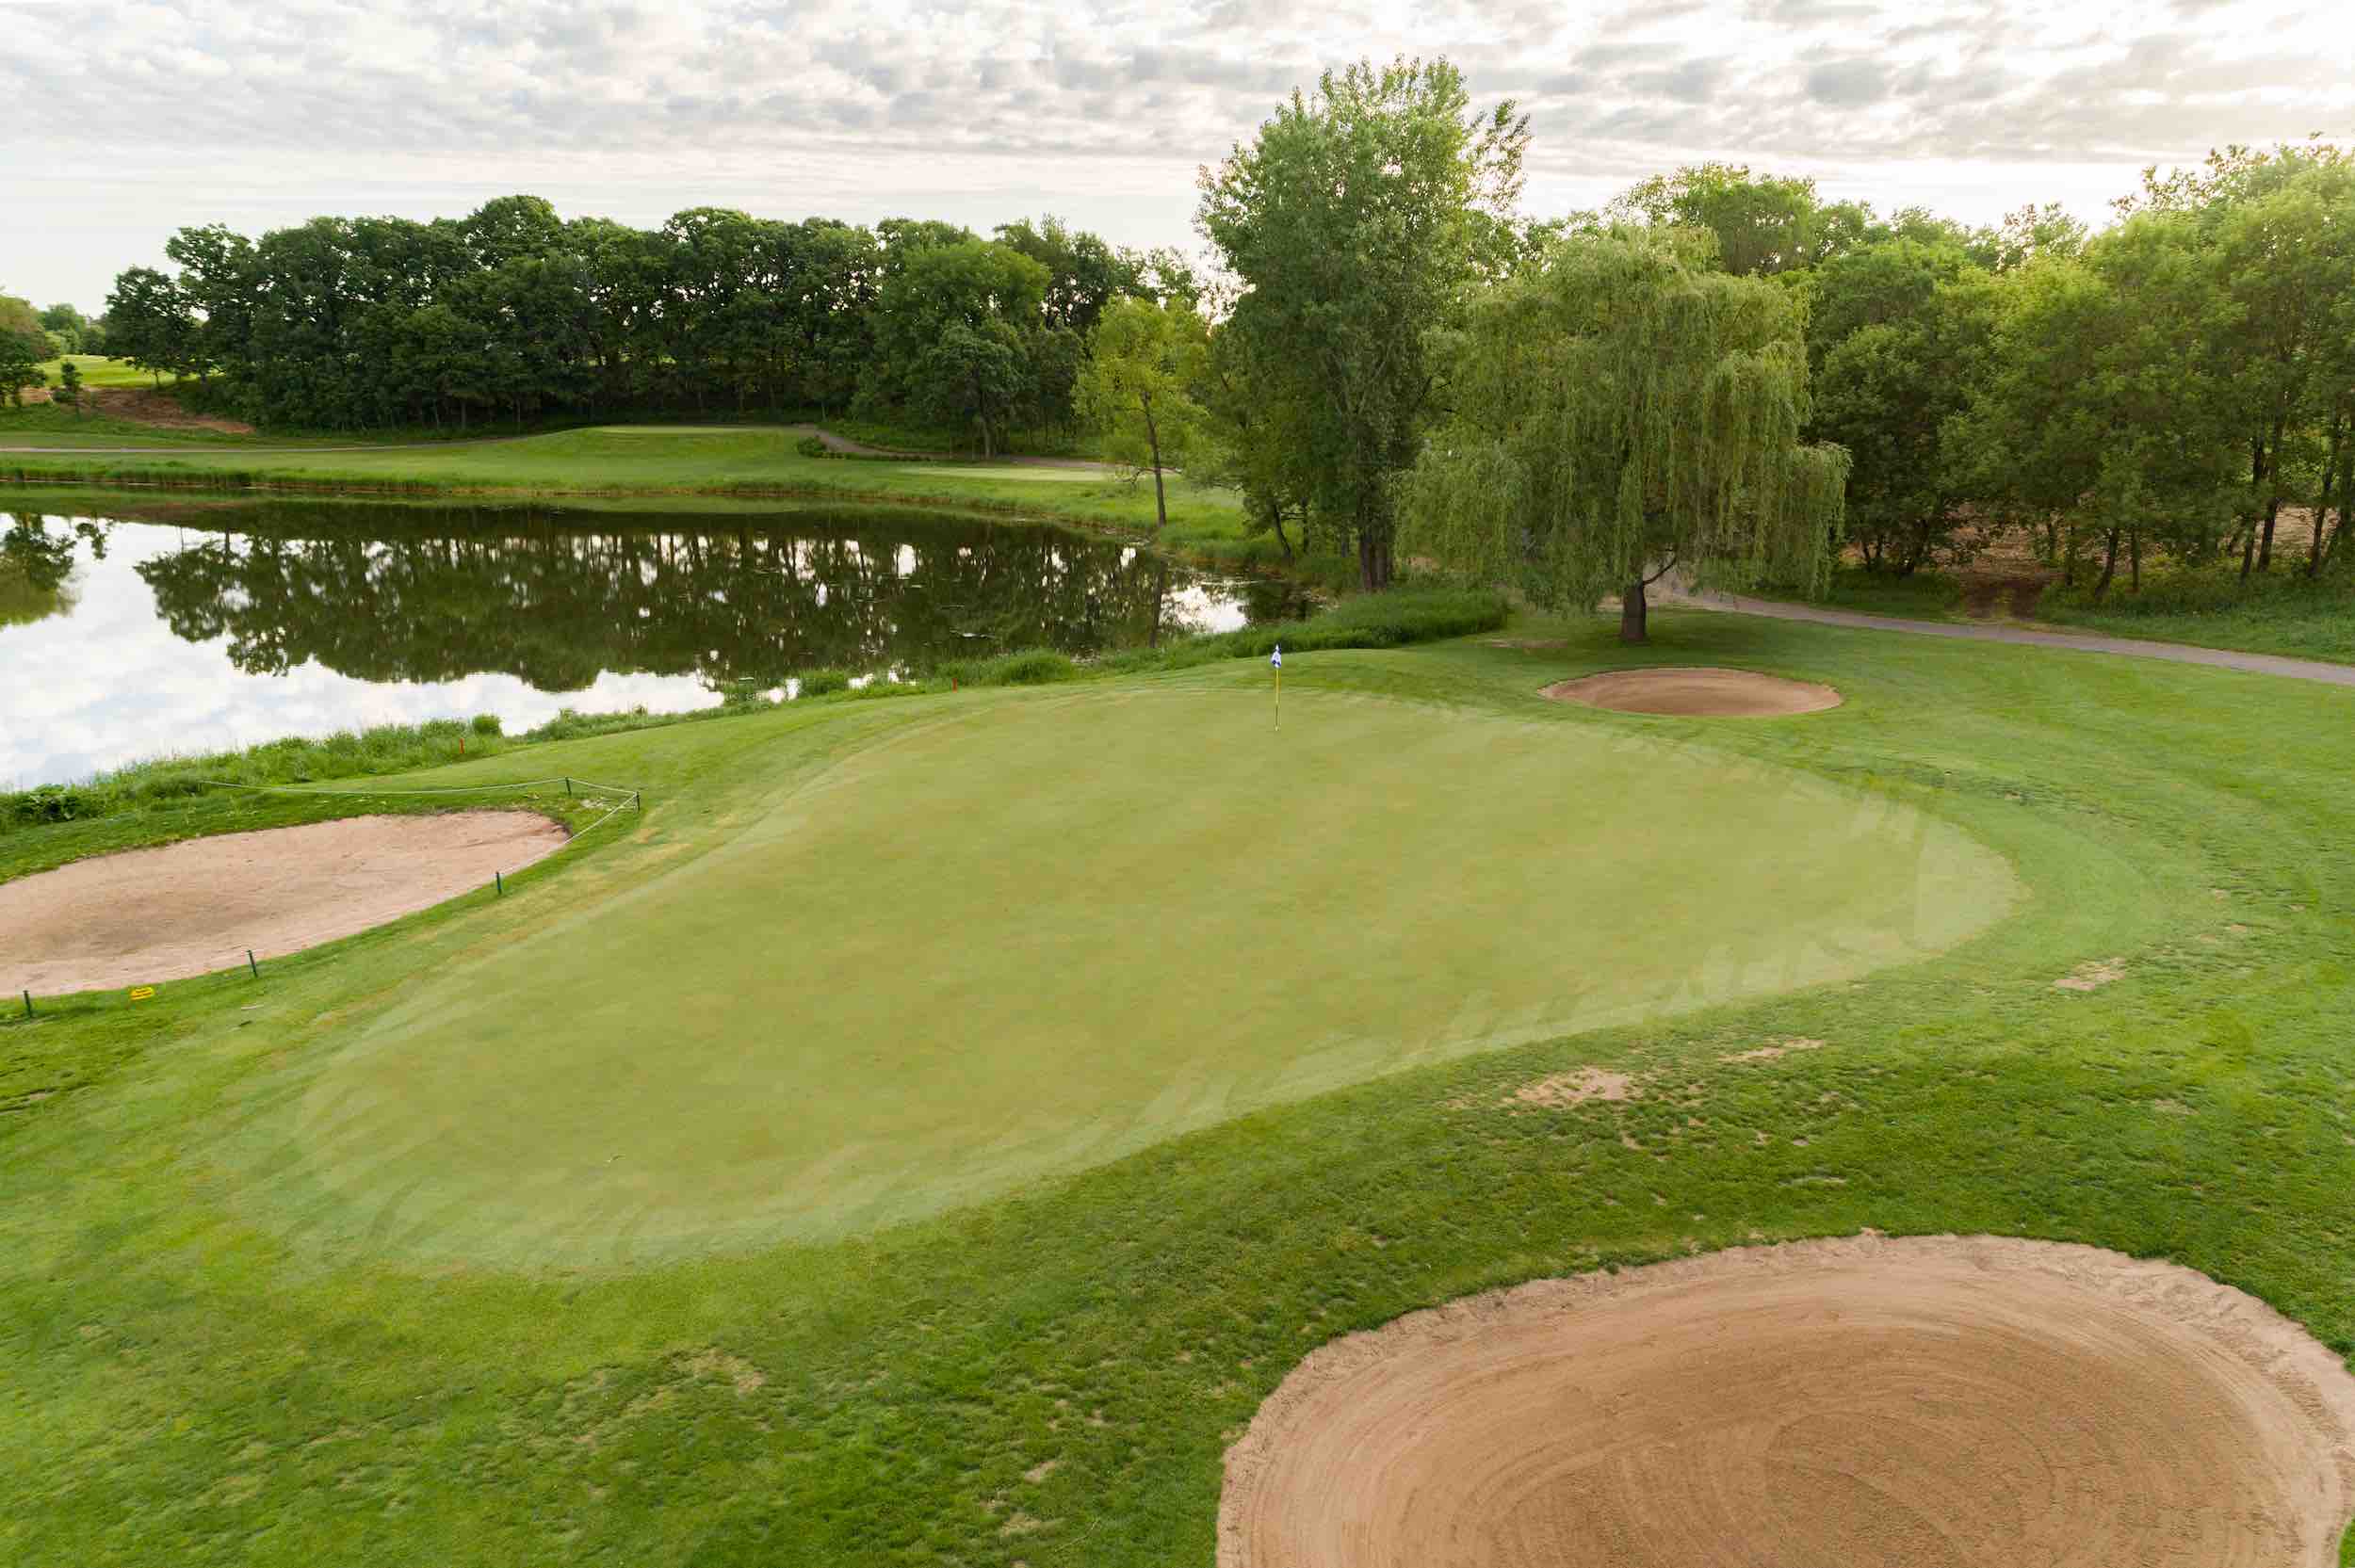
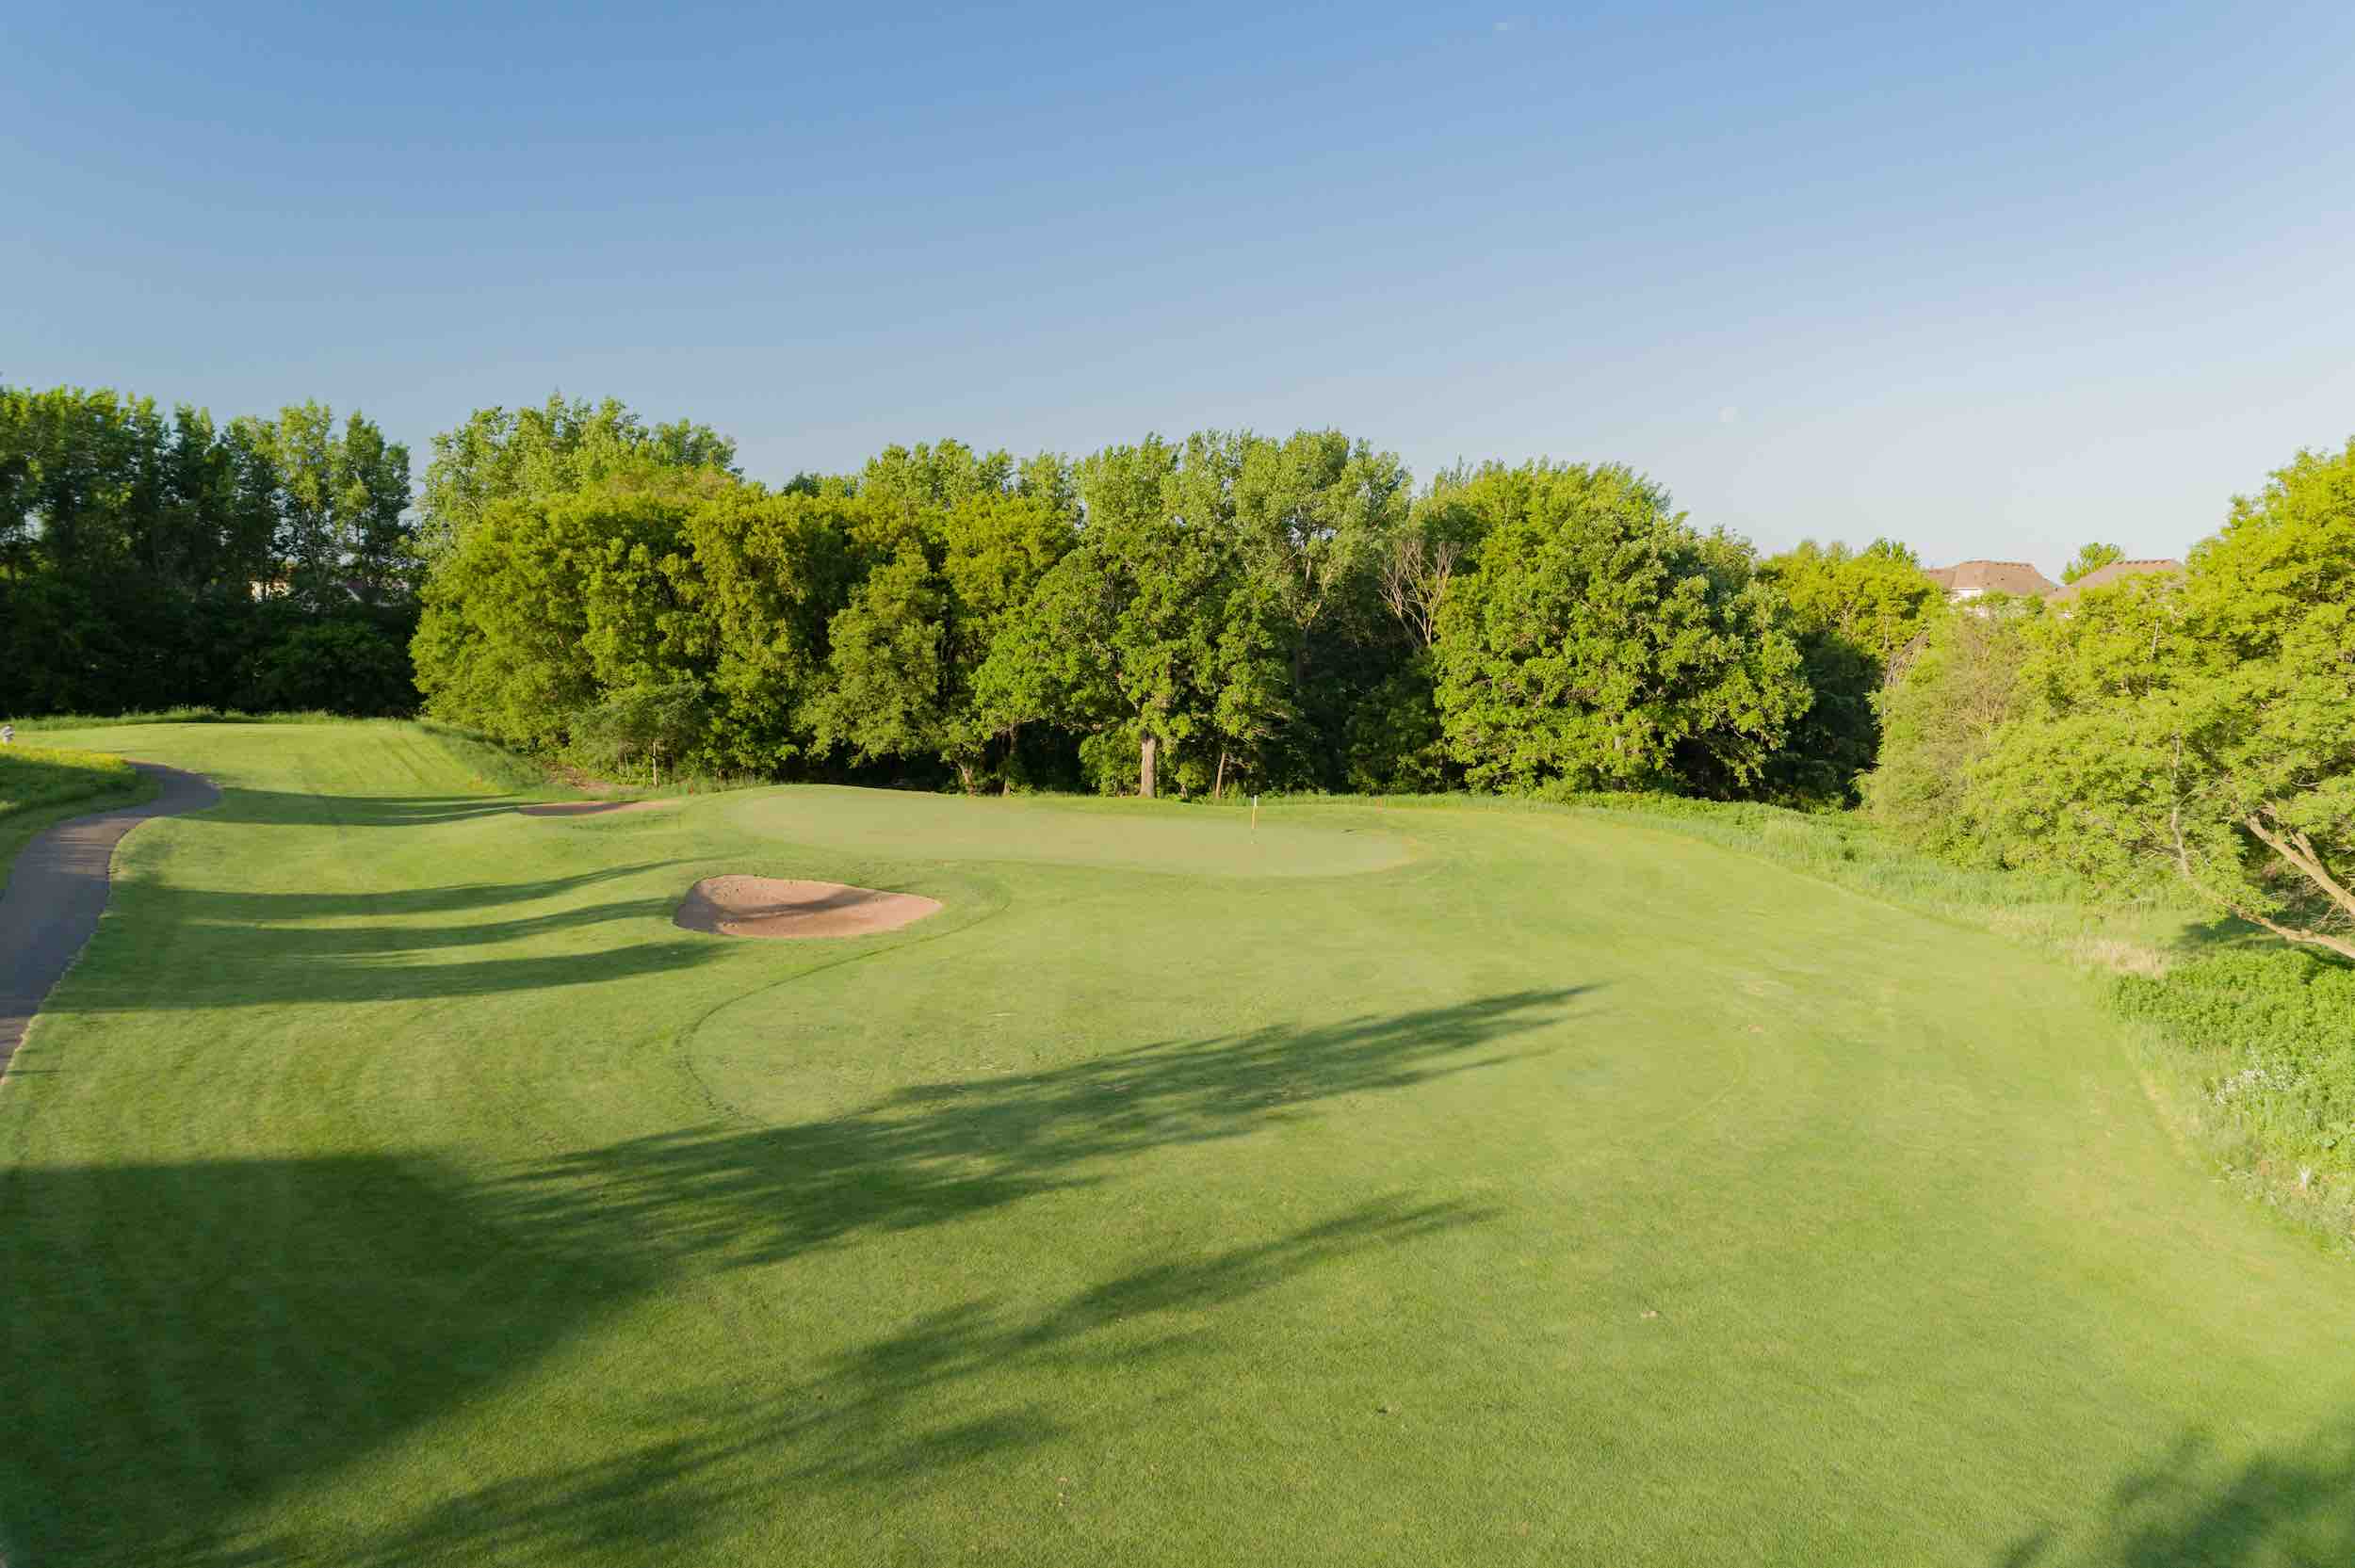
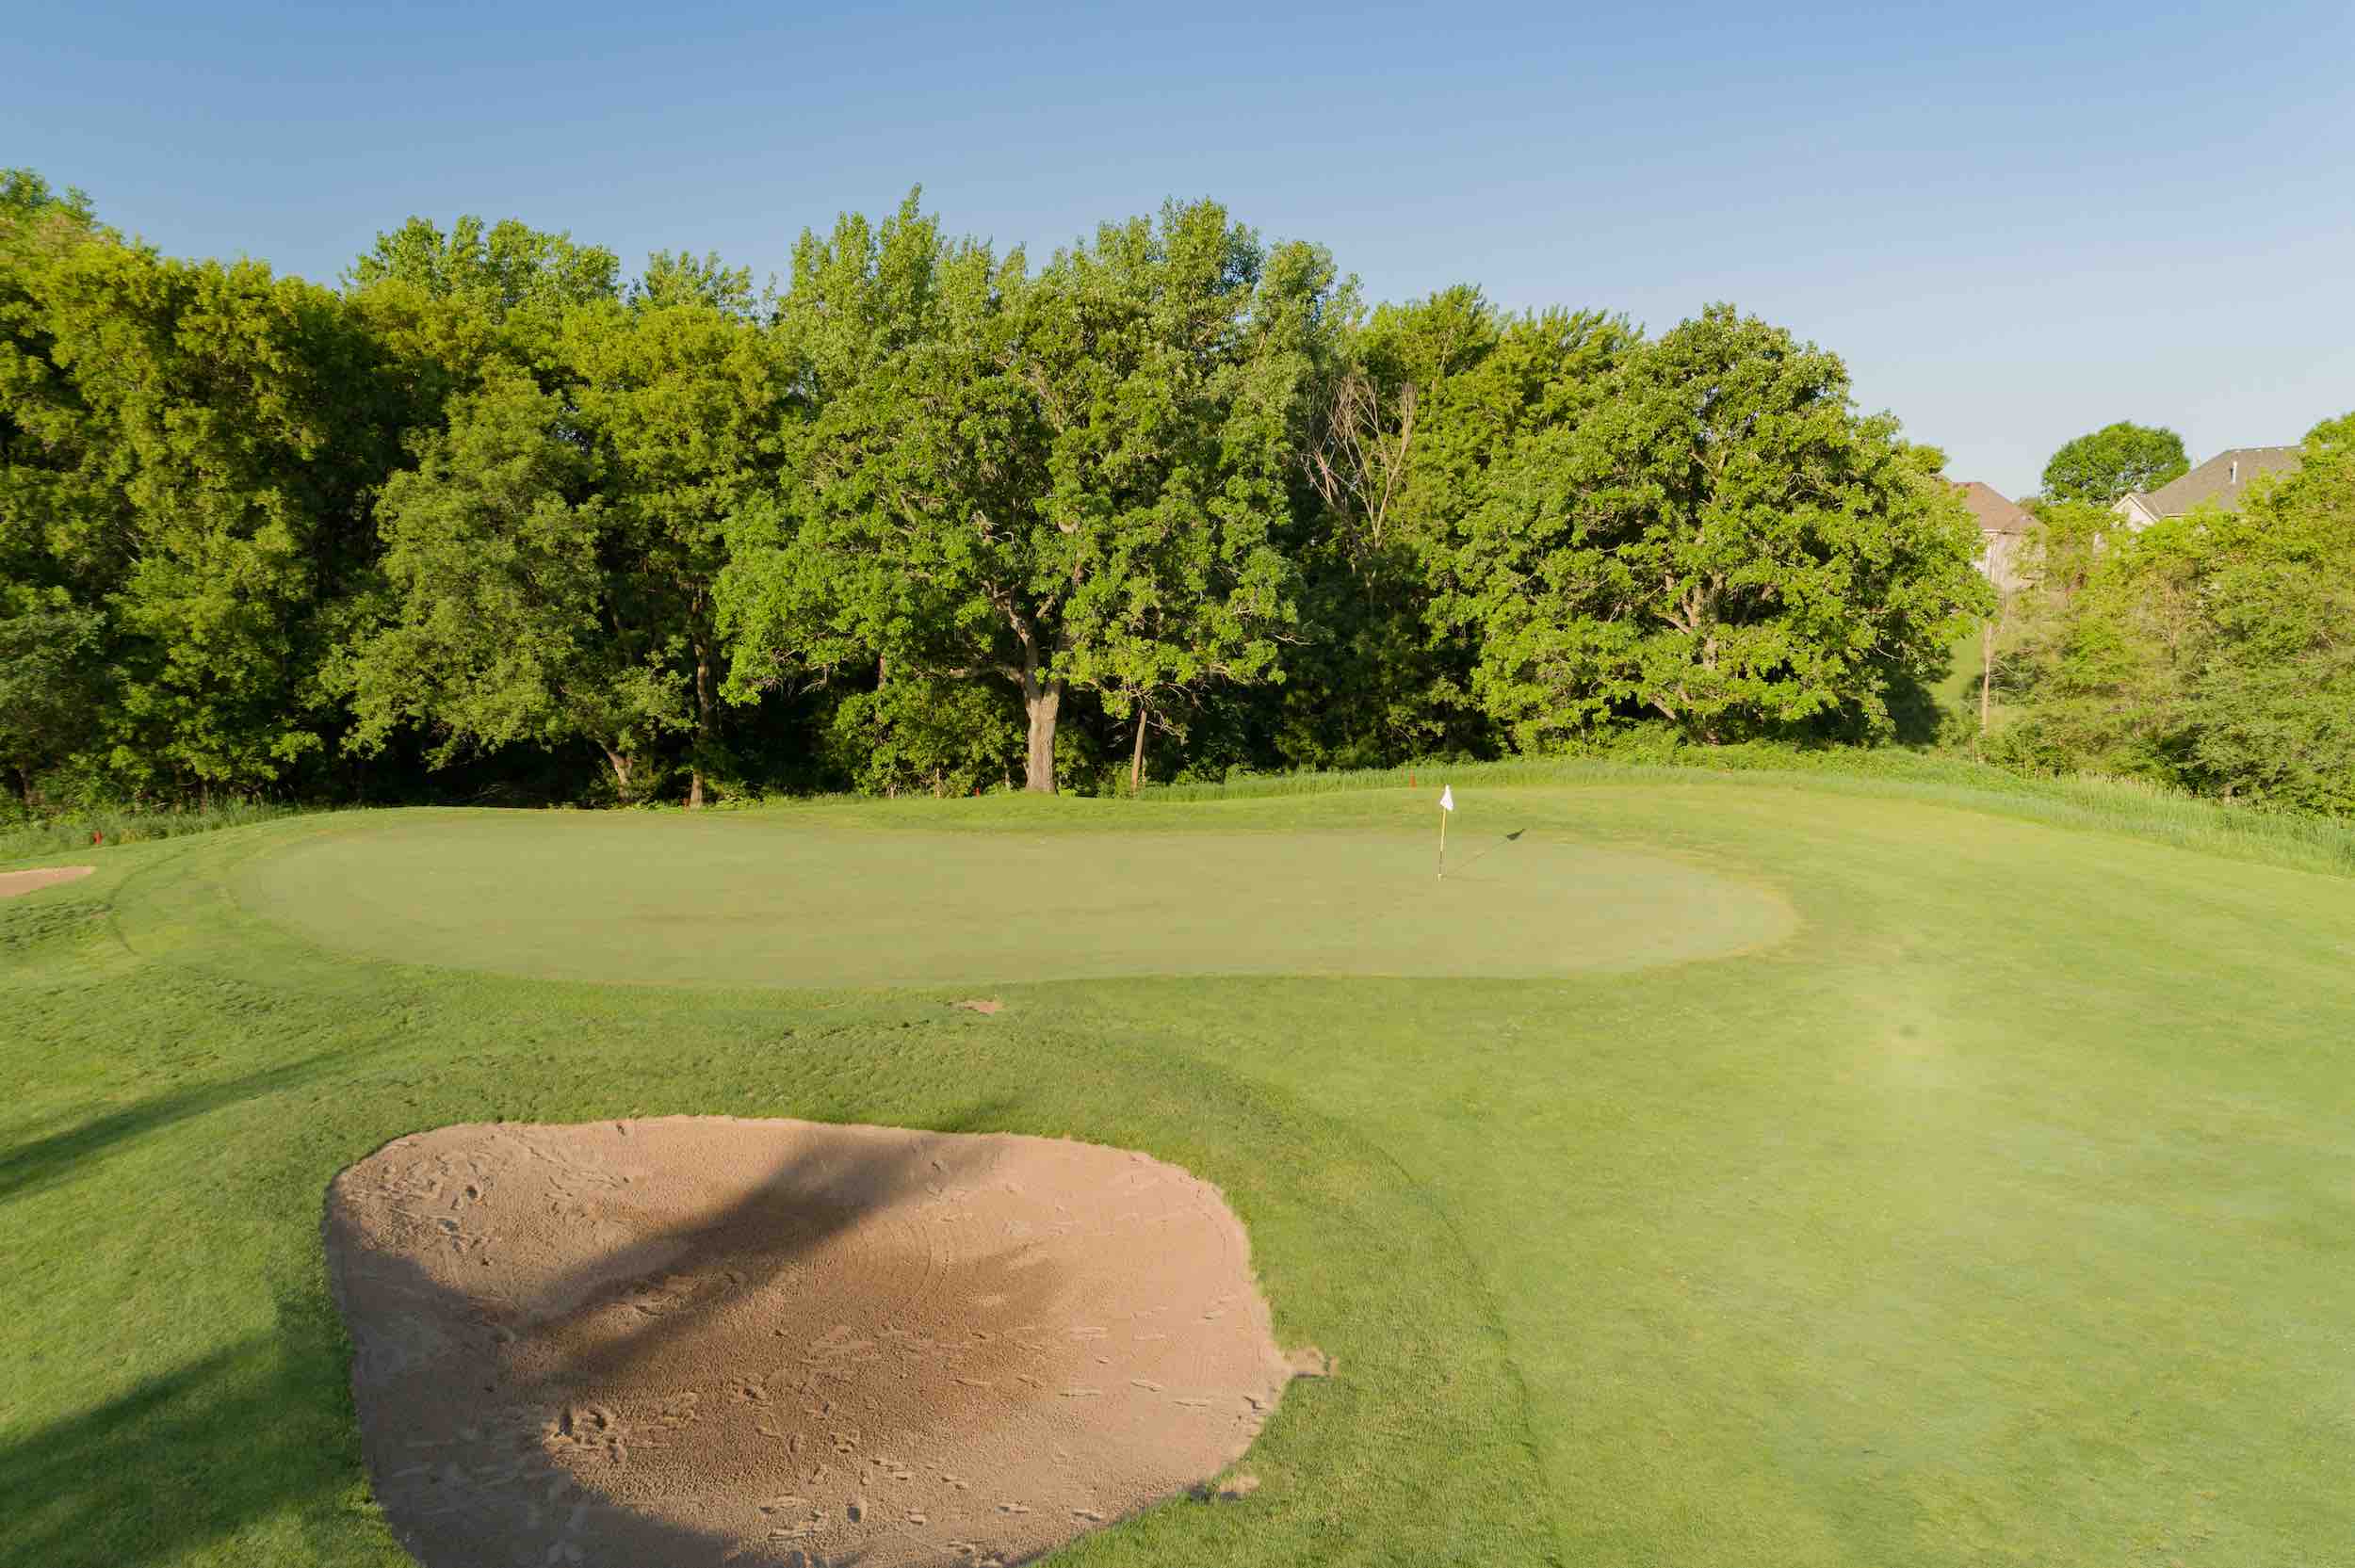
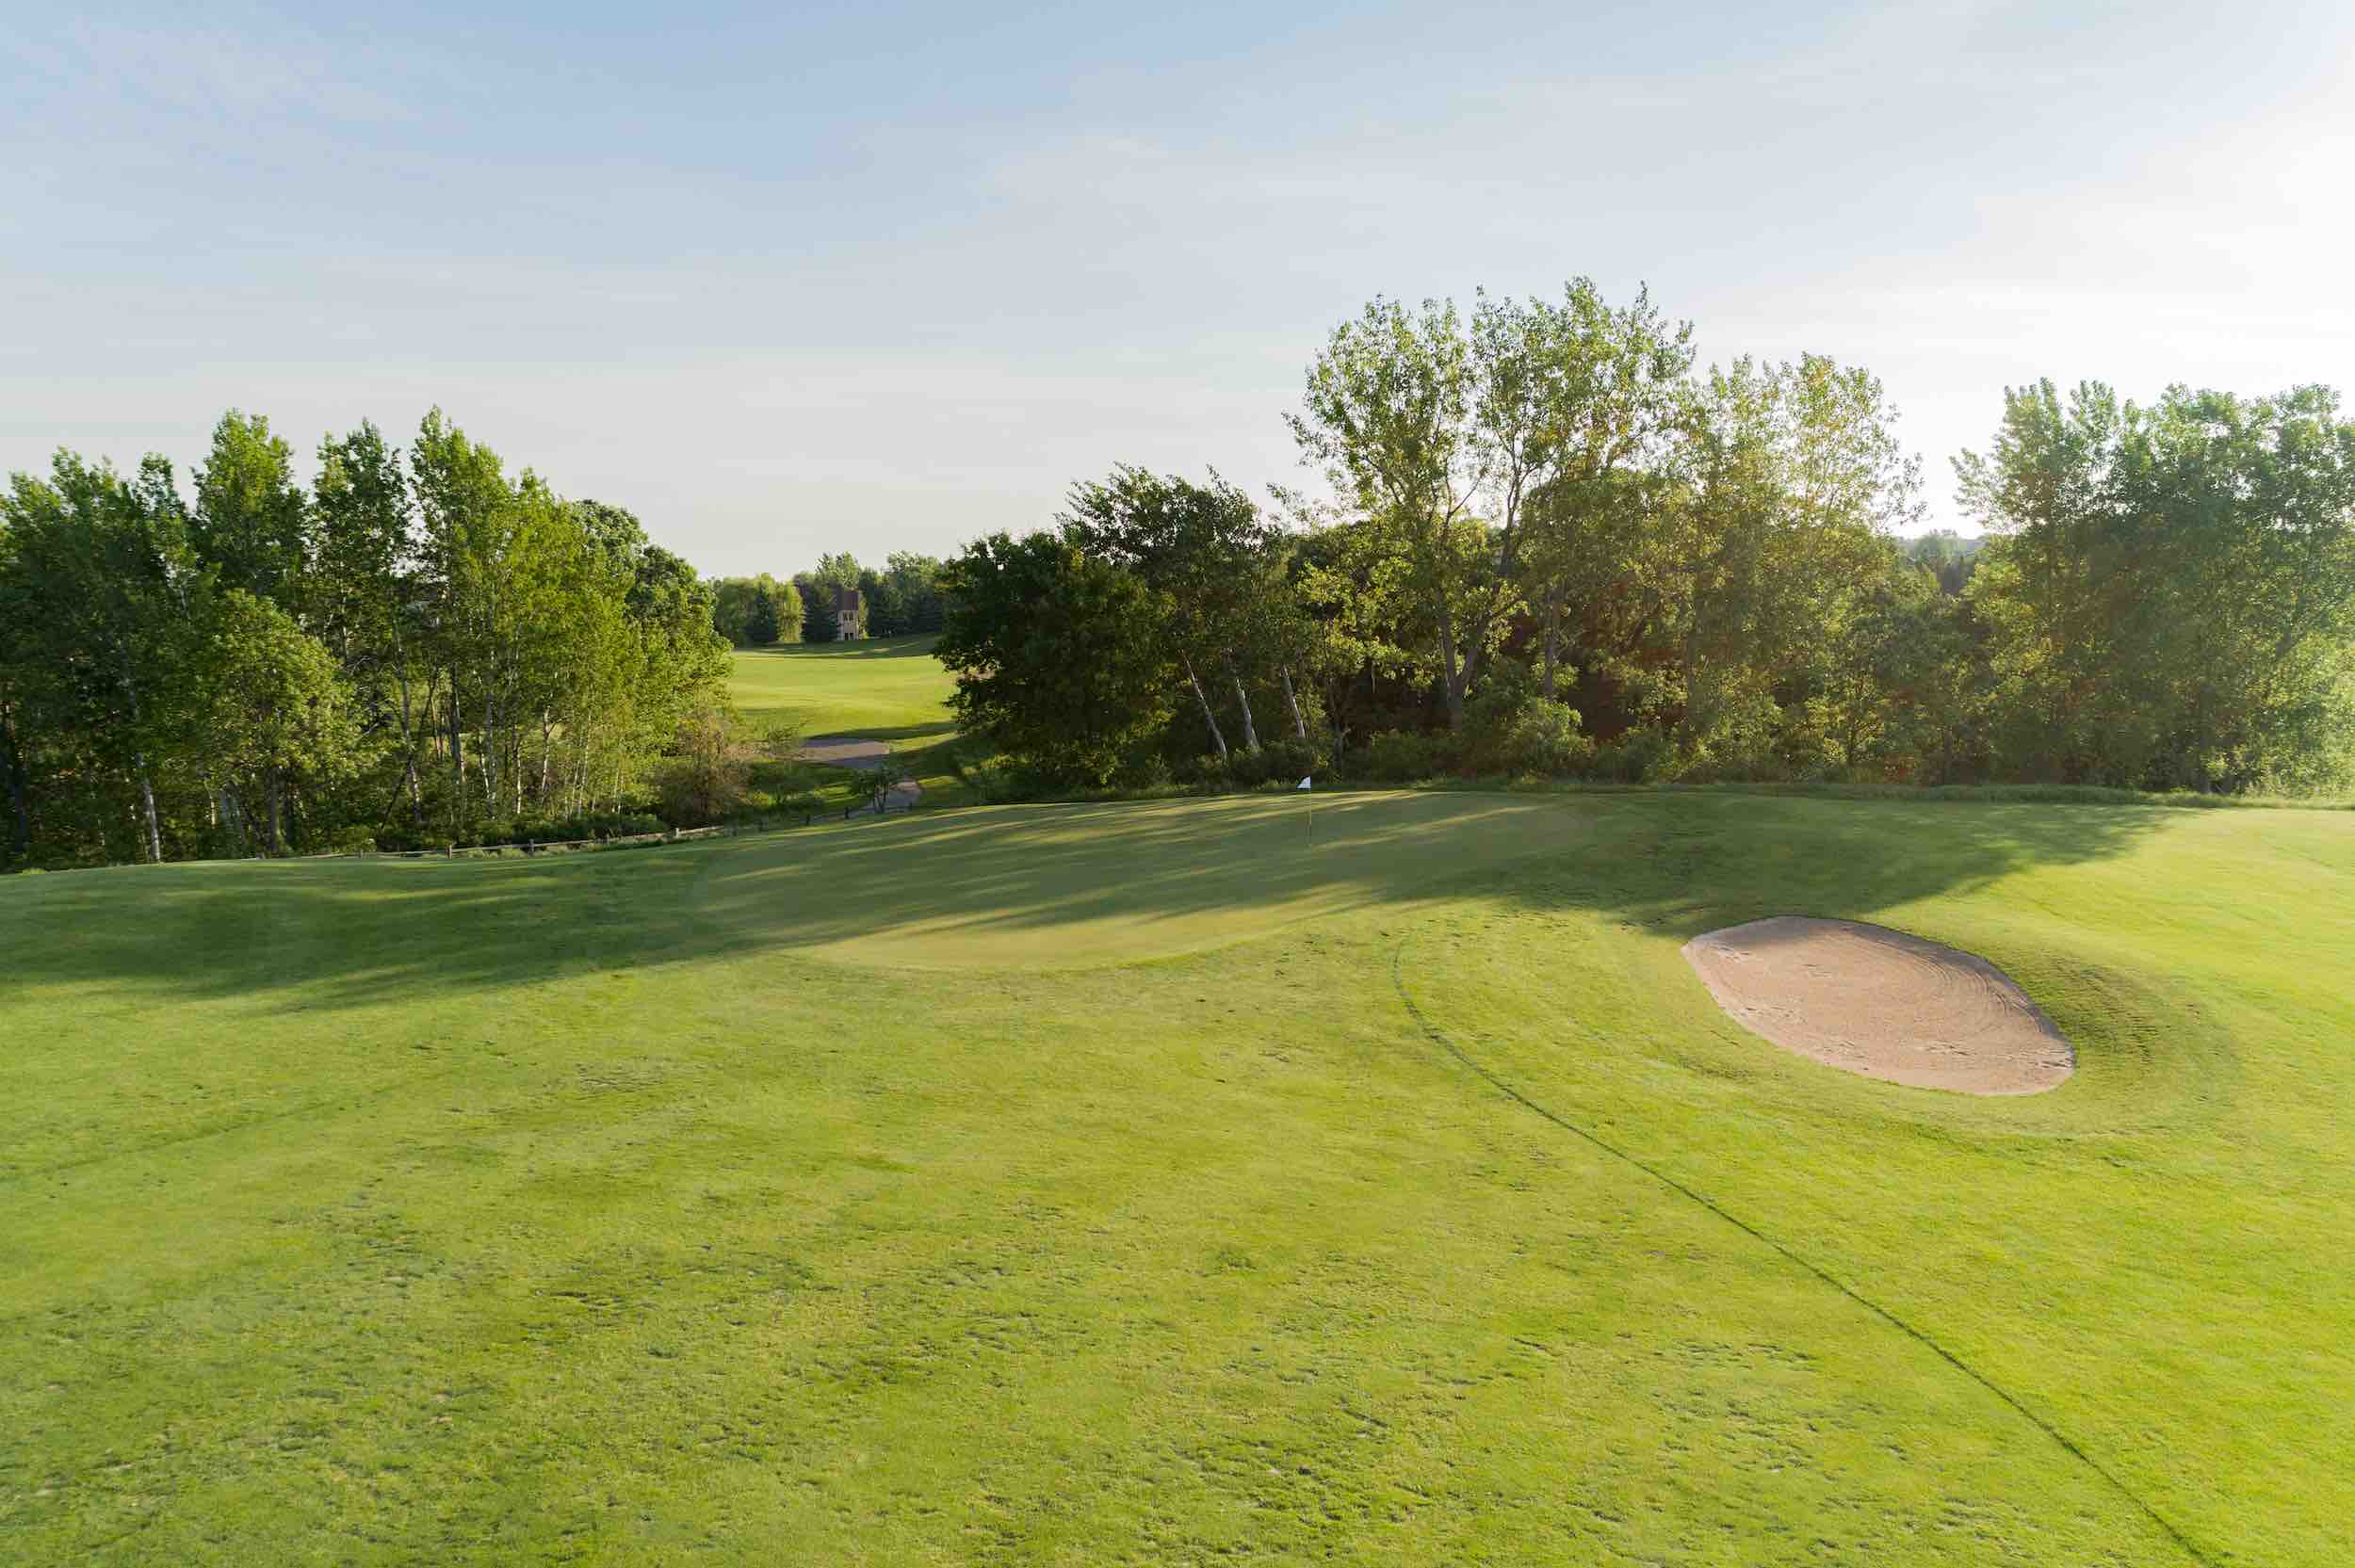
The first par 3 on the back nine comes on the 13th hole. You will want to avoid the two bunkers that guard the left side and front of the green.
There are also trees behind the green so make sure not to go long off the tee. The safest play is to aim for the center of the green and take your chance on making a putt on this long, narrow green.
| Hole 13 | Par 3 |
| Black | 179 |
| Blue | 170 |
| White | 155 |
| Gold | 147 |
| Red | 127 |


")
Hole #14
Men’s Handicap 10
Women’s Handicap 10
The fourteenth hole is a straight away par 5. The tee shot plays slightly up hill and you will want to avoid the trees on the right and bunkers left.
For your second shot you should aim for the left side of the fairway to avoid the fairway bunker on the right. If you can execute your first two shots, you will have a short approach shot to a large receptive green.
| Hole 14 | Par 5 |
| Black | 548 |
| Blue | 525 |
| White | 501 |
| Gold | 407 |
| Red | 404 |


Hole #15
Men’s Handicap 12
Women’s Handicap 12
The fifteenth hole is a short but tricky par 4. Accuracy off the tee is the key to a good score on this hole. The fairway is guarded by a water hazard and fairway bunkers on the left and the right.
Make sure to take an extra club or two on your approach shot to this uphill green and you will want to avoid the two bunkers to the left front of the green if you want to make a par.
| Hole 15 | Par 4 |
| Black | 366 |
| Blue | 345 |
| White | 317 |
| Gold | 309 |
| Red | 260 |


Hole #16
Men’s Handicap 14
Women’s Handicap 16
You will play your final par 3 on the sixteenth hole. This hole plays slightly downhill and there are trees behind the green and a bunker on the right.
The proper play is to aim towards the front left side of the green. If you do miss short of the green, you will have an easy chip to this large, flat green. Long is trouble.
| Hole 16 | Par 3 |
| Black | 204 |
| Blue | 191 |
| White | 164 |
| Gold | 156 |
| Red | 148 |


Hole #17
Men’s Handicap 4
Women’s Handicap 4
The seventeenth hole is a par 5 that dog legs to the right. There is water and trees that guard the entire right side of the hole so you will want to favor the left side of the fairway.
For your second shot you have two options; the first is to hit a wood and take a chance at carrying the ball to the fairway and having a short approach, or you can hit an iron which will leave you with a longer shot to the green. Your approach shot to the green will be uphill to a large green that is guarded by three bunkers.
| Hole 17 | Par 5 |
| Black | 534 |
| Blue | 519 |
| White | 506 |
| Gold | 420 |
| Red | 417 |


Hole #18
Men’s Handicap 8
Women’s Handicap 6
The final hole is a par 4 that dog legs to the left. This is a spectacular finishing hole that will test your nerves. Accuracy is important off the tee because there is water on both sides of the fairway.
If you manage to avoid the water, you will have a straight approach shot to a slightly elevated, flat green that is surrounded by three bunkers.
| Hole 18 | Par 4 |
| Black | 423 |
| Blue | 404 |
| White | 381 |
| Gold | 373 |
| Red | 297 |


